You can save Tesla dash cam footage by inserting a properly formatted USB drive, enabling the feature in vehicle settings, and manually saving clips using the dash cam icon or horn honk feature. If you've ever been in a fender bender or seen something wild on the road, you know how important it is to keep that footage safe. I've been driving my Tesla for over three years now, and I've lost count of how many times the dash cam has saved my bacon. In this guide, I'll walk you through everything you need to know about saving Tesla dash cam footage so you never lose a critical moment.

What You Need Before Saving Tesla Dash Cam Footage
Before you even think about recording and saving clips, you need the right gear. I learned this the hard way when my first USB drive failed during a road trip, and I lost a gorgeous sunset timelapse and a near-miss with a deer. Here's what you need:
- A high-quality USB flash drive (USB 3.0 or higher recommended)
- At least 64GB of storage (128GB is ideal for longer trips)
- A USB drive formatted to exFAT or FAT32 (MS-DOS)
- A USB splitter or hub if your Tesla has both USB-A and USB-C ports
Tesla officially recommends certain drives, but honestly, any reliable USB 3.0 drive with good read/write speeds works. I personally use a Samsung FIT Plus 128GB because it's small, stays cool, and has never let me down. Avoid cheap no-name brands. They corrupt easily, especially in the heat of a car dashboard.
How to Set Up Your USB Drive for Tesla Dash Cam
Setting up your USB drive properly is the foundation of reliable dash cam recording. Here's my step-by-step process that I use every time I set up a new drive:
- Format the drive on your computer using exFAT or FAT32 (MS-DOS) format.
- Create a folder called "TeslaCam" at the root of the drive.
- Plug the drive into your Tesla's USB port (usually located in the center console or glove box).
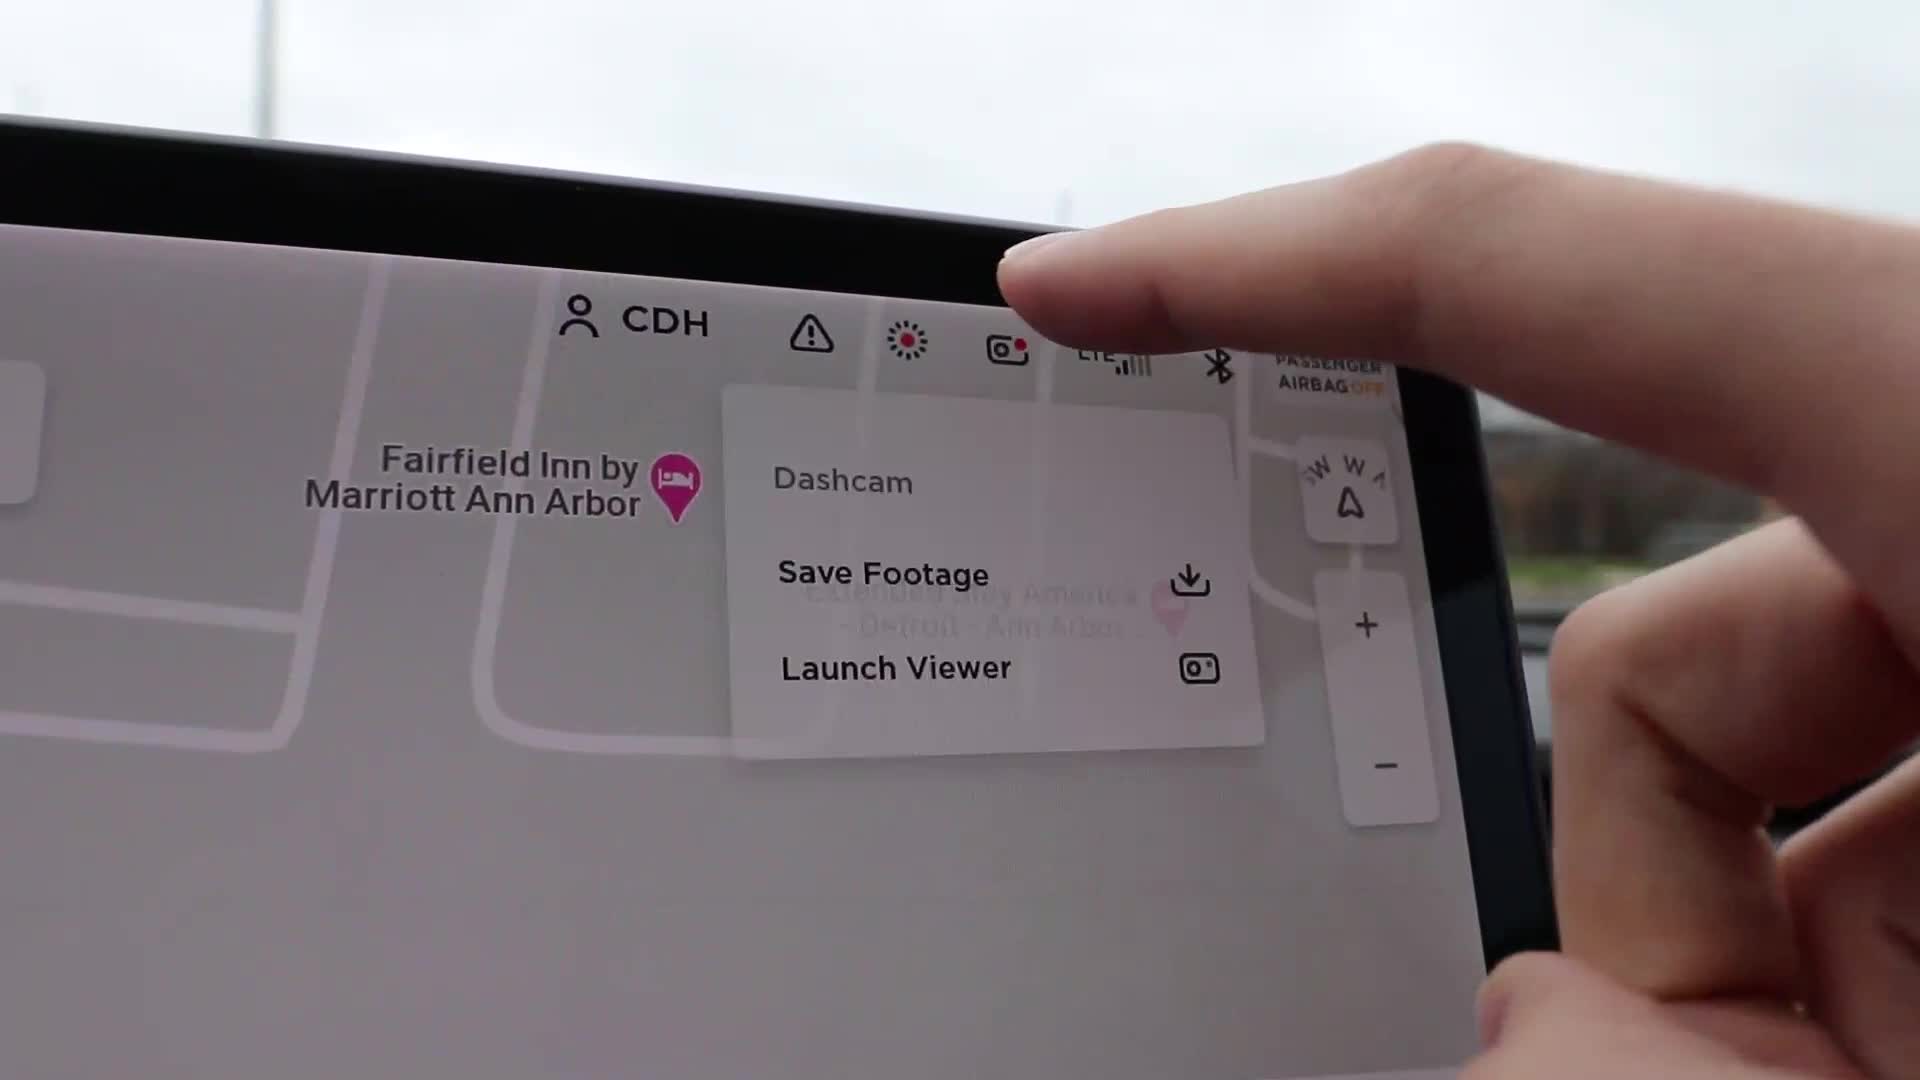
- Wait for the car to recognize the drive. The dash cam icon should appear in the top-right corner of your touchscreen.
- If the icon appears with a red dot, the drive isn't compatible. If it appears gray or with a clock symbol, it's recording properly.
The "TeslaCam" folder is crucial. If you don't create it, your car won't know where to save the footage. I made this mistake once and ended up with a drive full of music files instead of dash cam clips. Trust me, create that folder first.
How to Save Tesla Dash Cam Footage Manually
The most common way to save footage is the manual save method. This is what you do when something happens that you want to keep forever, like an accident, road rage incident, or a spectacular moment you want to share.
- Tap the dash cam icon at the top of your Tesla touchscreen.
- The icon will turn red, and a small notification will appear confirming the save.
- The last 10 minutes of footage will be saved to your USB drive in a folder called "RecentClips."
- You can also tap and hold the icon to save footage from a different time window.
The manual save captures video from all cameras simultaneously: front, rear, and side repeaters (if your model has them). I use this feature at least once a week, whether it's a close call in traffic or a funny moment with another driver. It's become second nature to tap that icon whenever something interesting happens.
How to Save Tesla Dash Cam Footage Using the Honk Feature
Did you know your Tesla can automatically save footage when you honk? This is a feature I didn't know existed for my first two years of ownership, and it's been a game-changer. Here's how it works:
- The honk feature is enabled in your Tesla's safety settings.
- When you honk the horn, the car automatically saves the last 10 minutes of footage.
- The clip is saved to a folder called "Honk" on your USB drive.
- This is perfect for capturing road rage incidents or sudden braking situations.
To enable this feature, go to Controls > Safety > Dashcam > "On Honk." I keep this turned on at all times. It's saved me twice in insurance disputes where the other driver claimed I was at fault. The honk capture provided video evidence that proved I wasn't.
How to View and Transfer Saved Tesla Dash Cam Footage
Once you've saved your footage, you need to get it off the USB drive and onto a device where you can view or share it. Here's my process:
- Safely eject the USB drive from your Tesla (go to Controls > Safety > Dashcam > Eject USB).
- Plug the drive into your computer.
- Open the "TeslaCam" folder.
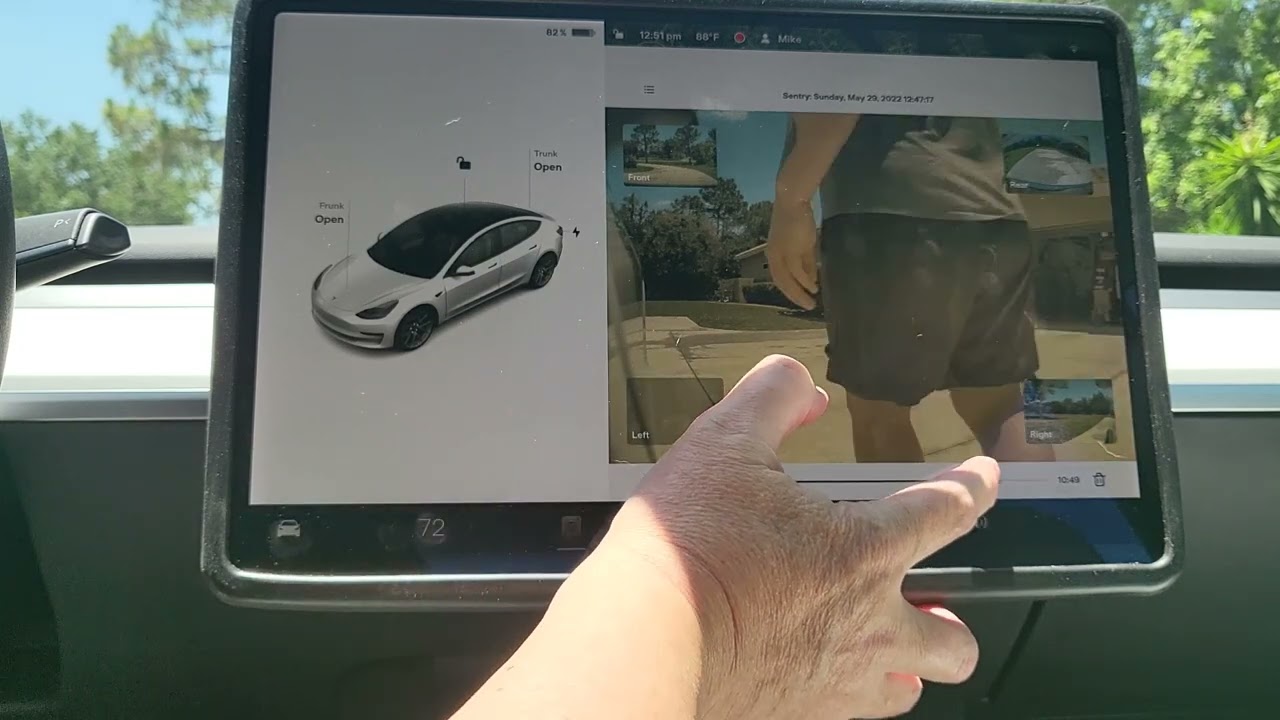
- You'll see subfolders like "RecentClips," "SavedClips," and "Honk."
- Each video is split into 1-minute clips, so you may need to combine them.
- Copy the files you want to keep to your computer or cloud storage.
The files are in MP4 format, so they play in any standard video player. I use VLC Media Player because it handles large files smoothly and doesn't require any special codecs. For combining multiple 1-minute clips, I use a free tool like HandBrake or iMovie, depending on whether I'm on PC or Mac.
Common Issues When Saving Tesla Dash Cam Footage
Even with the best setup, things can go wrong. Here are the most common issues I and other Tesla owners have faced:
- The dash cam icon shows a red dot: This means the drive isn't compatible, corrupted, or not formatted properly.
- Recordings are choppy or laggy: Your USB drive might be too slow. Upgrade to a USB 3.0 drive.
- The "TeslaCam" folder disappears: This usually means the drive needs to be reformatted.
- Footage doesn't save when tapping the icon: Try unplugging and replugging the drive. If that doesn't work, reformat it.
Heat is the biggest enemy of USB drives in cars. I've had drives fail in the middle of summer because they got too hot. If you live in a hot climate, consider using a drive with a metal casing for better heat dissipation, and never leave your car in direct sunlight for extended periods with the drive plugged in.
How Long Can You Record Tesla Dash Cam Footage?
The recording time depends on your USB drive's storage capacity. Here's a rough breakdown based on my experience:
- 64GB: Approximately 2-3 hours of continuous recording
- 128GB: Approximately 5-6 hours of continuous recording
- 256GB: Approximately 10-12 hours of continuous recording
- 512GB: Approximately 20-24 hours of continuous recording
The dash cam automatically overwrites the oldest footage when the drive is full, which is why the manual save feature is so important. I always keep my drive at 128GB because it gives me enough buffer for long road trips while ensuring I have room for important saved clips.

Best Practices for Managing Tesla Dash Cam Storage
After three years of managing dash cam footage, I've developed a routine that keeps everything organized and accessible:
- Back up important clips to cloud storage immediately after saving them.
- Format your USB drive once every 2-3 months to prevent file corruption.
- Keep a spare USB drive in your car in case your primary drive fails.
- Review your saved clips weekly to clear out anything you don't need.
- Label important clips with dates and brief descriptions in the file name.
I use Google Drive for cloud backups because it integrates well with my phone and computer. For really important incidents, I create a dedicated folder with the date, location, and a brief description. This has made insurance claims and legal disputes much easier to handle.
Tips for Maximizing Your Tesla Dash Cam Reliability
Reliability is everything when it comes to dash cams. Here are my top tips for ensuring your Tesla dash cam never misses a moment:
- Use a USB drive from a reputable brand (Samsung, SanDisk, or PNY).
- Avoid drives larger than 1TB, as some Tesla models don't support them.
- Keep your Tesla's software updated, as updates often include dash cam improvements.
- Don't use the same USB drive for music and dash cam footage.
- Check your dash cam icon regularly to ensure it's recording properly.
I check my dash cam icon every time I get in the car. It takes half a second, and it's saved me from missing critical footage on multiple occasions. Once, my drive had come loose during a car wash, and I noticed immediately because the icon was missing. I was able to fix it before driving off.
Frequently Asked Questions About Saving Tesla Dash Cam Footage
Can I save Tesla dash cam footage without a USB drive?
No, you cannot save Tesla dash cam footage without a USB drive. The footage must be stored on an external USB drive plugged into your Tesla's USB port. The car doesn't have internal storage for dash cam recordings.
How do I know if my Tesla is recording dash cam footage?
When your Tesla is recording dash cam footage, you'll see a small camera icon in the top-right corner of your touchscreen. If the icon has a red dot, the drive isn't compatible. If it's gray or has a clock symbol, it's recording properly.
Why does my Tesla dash cam keep stopping?
Your Tesla dash cam might keep stopping because of a faulty USB drive, improper formatting, or an incompatible drive. Try using a different USB 3.0 drive formatted to exFAT, and make sure the "TeslaCam" folder exists at the root of the drive.
Can I view Tesla dash cam footage on my phone?
Yes, you can view Tesla dash cam footage on your phone by removing the USB drive and using a USB-C to Lightning or USB-C to USB-C adapter. You can also transfer the files to your phone via cloud storage or by emailing them to yourself.
How do I save Tesla dash cam footage permanently?
To save Tesla dash cam footage permanently, copy the files from your USB drive to your computer or cloud storage as soon as possible. The dash cam will automatically overwrite old footage when the drive is full, so manual backups are essential for keeping important clips.
Conclusion
Saving Tesla dash cam footage is one of those things that seems complicated at first but becomes second nature once you understand the process. From choosing the right USB drive to mastering the manual save and honk features, every Tesla owner should know how to protect their footage. I've relied on my dash cam for everything from insurance claims to capturing unforgettable road trip moments, and it's been worth every penny of the investment. Take the time to set up your system properly today, and you'll have peace of mind knowing that every drive is being recorded and saved when it matters most. If you found this guide helpful, share it with other Tesla owners, and feel free to leave your own tips and experiences in the comments below!