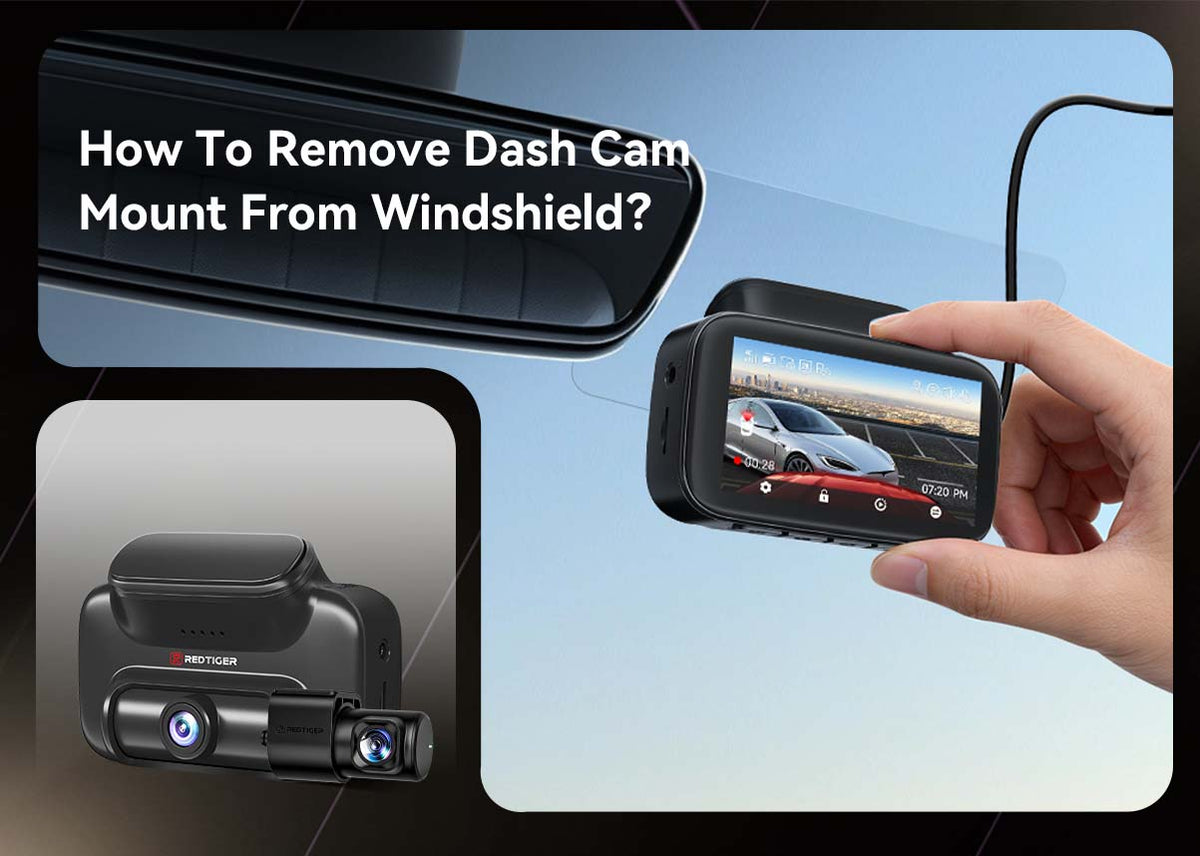
Removing a dash cam mount from your windshield is easier than you think—most adhesive mounts peel off with gentle heat and a soft plastic tool without leaving marks.
If you've ever looked at that little circle of sticky residue on your windshield and thought, "this is going to be a nightmare," take a deep breath. I've been there. Whether you're upgrading to a new dash cam, selling your car, or just tired of seeing the mount every time you drive, removing a dash cam mount is a quick, painless process when you know the right steps. I learned this the hard way after spending way too much time scrubbing at adhesive once, so let me save you that frustration.

Why You Might Need to Remove a Dash Cam Mount
Before we jump into the how, let's talk about the why. There are actually a few really good reasons you might want to remove that mount:
- You're upgrading to a new dash cam model
- The mount lost its grip and keeps falling
- You're selling or trading in your vehicle
- You want to clean sticky residue buildup
- You're switching to a different mount style, like a suction cup or rearview mirror mount
In my experience, the most common reason is simply that the adhesive has worn out. Dash cam mounts are designed to hold strong, but over time, heat from the sun, cold mornings, and general wear can break down even the best adhesives. That's actually good news for removal, because it means the bond is already weakening.

What You'll Need Before You Start
Gathering your supplies first makes the whole process smoother. Trust me, nothing is worse than being mid-removal and realizing you don't have what you need. Here's my go-to toolkit:
- A plastic pry tool or old credit card
- A microfiber cloth (the softer the better)
- A small amount of rubbing alcohol or glass cleaner
- Optional: A hair dryer or heat gun on low setting
- Optional: Goo Gone or a similar adhesive remover
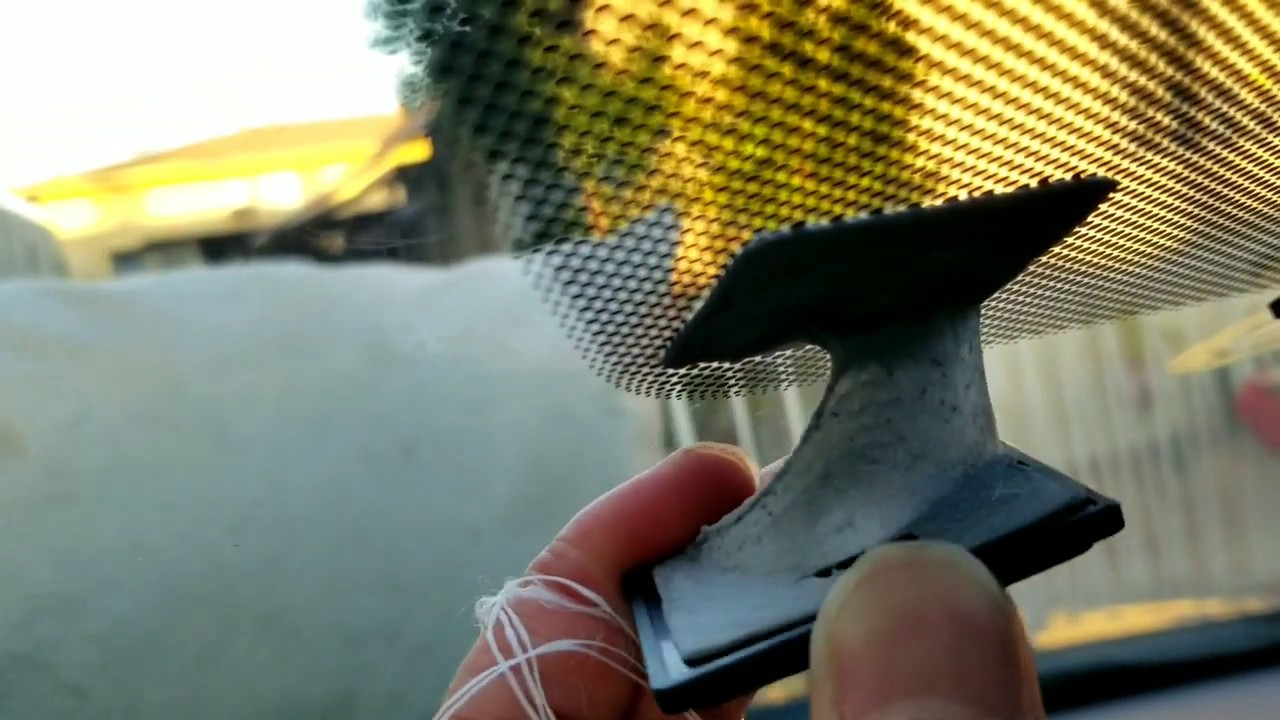
- Optional: Dental floss for stubborn spots
Avoid using metal tools at all costs. I learned this lesson the expensive way when I scratched a windshield once. A simple credit card works just as well and won't damage your glass.
Step-by-Step Guide: How to Remove a Dash Cam Mount From Your Windshield
Let's break this down into clear, simple steps that anyone can follow. Whether you've got a suction cup mount, an adhesive mount, or a magnetic mount, these steps will work.
Step 1: Detach the Dash Cam Itself
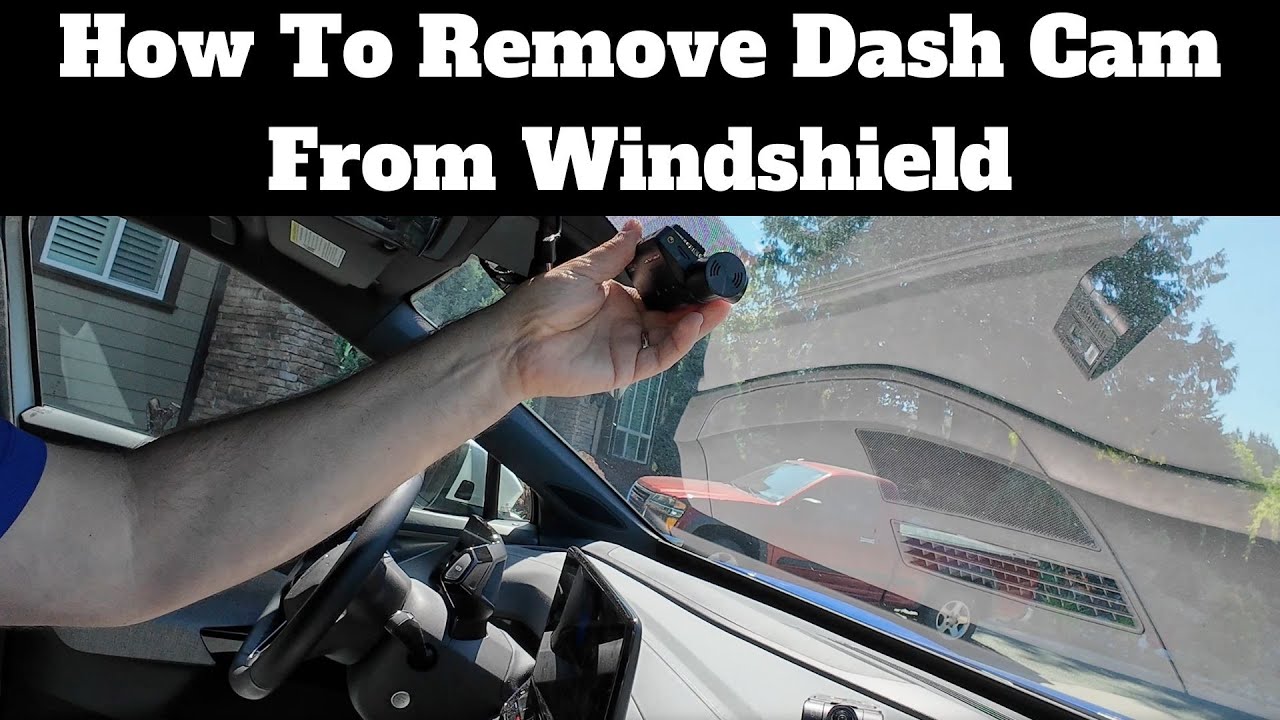
This might sound obvious, but you'd be surprised how many people skip this step. Carefully slide the dash cam off the mount first. Most modern dash cams simply pull straight off or have a small release button. Place the camera somewhere safe, like the passenger seat or a soft cloth.
I always recommend doing this in a shaded area or garage if possible. Direct sunlight can make the adhesive even stickier and harder to work with.
Step 2: Apply Gentle Heat to Loosen the Adhesive
Heat is your best friend when it comes to adhesive removal. Turn your hair dryer to medium heat and hold it about six inches from the mount for 30 to 60 seconds. The heat softens the adhesive, making the bond much weaker.
If you're using a heat gun, keep it on the lowest setting and keep it moving. You don't want to crack your windshield from extreme temperature changes, especially in cold weather. I've found that a hair dryer is safer and gets the job done just as well.
Step 3: Use a Plastic Tool to Gently Pry the Mount
Take your plastic pry tool, old credit card, or even a guitar pick and slide it under the edge of the mount. Work slowly and gently, applying steady pressure. If the mount doesn't budge, apply more heat and try again.
The key here is patience. I know it's tempting to yank it off, but slow and steady wins the race. Pulling too hard can damage the mount or, worse, leave you with a chunk of adhesive still stuck to the glass.
Step 4: Remove Stubborn Adhesive Residue
Even after the mount comes off, you'll often see a ring of sticky residue left behind. Don't panic. This is completely normal and easy to clean.
Spray a small amount of rubbing alcohol or glass cleaner onto a microfiber cloth and gently rub the area in circular motions. The residue should lift right off. For tougher spots, a tiny amount of Goo Gone works wonders, but make sure to clean the area with glass cleaner afterward.
Step 5: Clean and Polish the Glass
Once the mount and adhesive are gone, give the area a final wipe down with your microfiber cloth and glass cleaner. This removes any leftover streaks and leaves your windshield looking crystal clear.
Step back and admire your work. There's something deeply satisfying about a clean, residue-free windshield.
Different Types of Dash Cam Mounts and How to Handle Each
Not all mounts are created equal. Here's how to approach the most common types.
Suction Cup Mounts
These are by far the easiest to remove. Simply pull the small tab or lever that releases the suction, and the mount pops right off. If it's stuck, warm water and a bit of wiggling should do the trick. No adhesive involved, no residue left behind.
Adhesive Mounts
These are the most common and require the heat and pry method I described above. The adhesive is usually a 3M-style tape, which is strong but designed to be removable with a little effort.
Magnetic Mounts
Magnetic mounts usually have a small metal disc attached to the windshield with adhesive. Remove the disc the same way you would an adhesive mount, then clean the area thoroughly. The magnet itself just pops off.
Rearview Mirror Strap Mounts
These wrap around your rearview mirror and require no windshield contact at all. Simply unclip or unscrew the straps and you're done. Easy as pie.
Common Mistakes to Avoid When Removing a Dash Cam Mount
I've made a few of these mistakes myself, so learn from my errors:
- Using metal tools: This can scratch or crack your windshield. Always stick with plastic.
- Pulling too hard: Yanking the mount can damage the windshield or leave adhesive behind.
- Skipping the heat step: Cold adhesive is much harder to remove. Always warm it up first.
- Using harsh chemicals: Avoid acetone or abrasive cleaners, as they can damage your windshield's protective coating.
- Rushing the cleanup: Take your time with the residue. A few extra minutes of gentle cleaning beats scrubbing for hours.

Tips for Reinstalling a New Dash Cam Mount
Once your windshield is clean, you're ready for a fresh start. Here are a few tips I've picked up over the years:
- Choose a spot that doesn't obstruct your view. Most states have laws about where you can mount devices on your windshield.
- Clean the area with rubbing alcohol before applying a new adhesive mount. This ensures a strong bond.
- If using a suction cup, slightly moisten the cup before pressing it to the glass.
- Wait 24 hours before attaching the camera to a new adhesive mount. This lets the adhesive cure properly.
How to Remove Stubborn Adhesive That Won't Budge
Sometimes, despite your best efforts, adhesive just won't come off. Here's my nuclear option for those tough cases:
- Apply more heat and let it sit for a minute.
- Use dental floss to gently saw back and forth under the residue. The thin thread can get into spots your plastic tool can't reach.
- Try a dedicated adhesive remover like 3M Adhesive Remover or Goo Gone.
- As a last resort, a magic eraser can work, but use it gently to avoid scratching the glass.
If you're still struggling after trying all of these, a professional auto detailer can handle it in minutes. No shame in asking for help.

Frequently Asked Questions
Will removing a dash cam mount damage my windshield?
No, if you do it correctly, your windshield will be perfectly fine. Using plastic tools and gentle heat prevents any damage. Just avoid metal tools and excessive force.
What if the mount leaves a sticky residue?
This is normal and easy to fix. Use rubbing alcohol, glass cleaner, or a mild adhesive remover with a microfiber cloth. The residue should come off within a few minutes of gentle rubbing.
Can I remove a dash cam mount in cold weather?
Yes, but it will be a bit harder. The cold makes adhesive stiffer and stronger. Warm up your car first or use a hair dryer to apply extra heat to the mount before removal.
How do I remove a dash cam mount without leaving residue?
Use heat to loosen the adhesive and remove the mount slowly. Clean the area immediately with rubbing alcohol before the residue has a chance to set or attract dust.
Is it safe to use Goo Gone on my windshield?
Yes, Goo Gone is safe for automotive glass. Just make sure to clean the area thoroughly with glass cleaner afterward to remove any oily residue the product might leave behind.
Wrapping It Up
Removing a dash cam mount from your windshield doesn't have to be stressful. With a little patience, the right tools, and some gentle heat, you can have a clean, residue-free windshield in under 15 minutes. The key is to take your time, avoid metal tools, and always clean the area thoroughly when you're done.
Now that you know how easy it is, you can confidently upgrade your dash cam, switch mount styles, or prep your car for sale without worrying about windshield damage. If you found these tips helpful, drop a comment below with your own dash cam experiences or questions. Safe driving and happy mounting.