
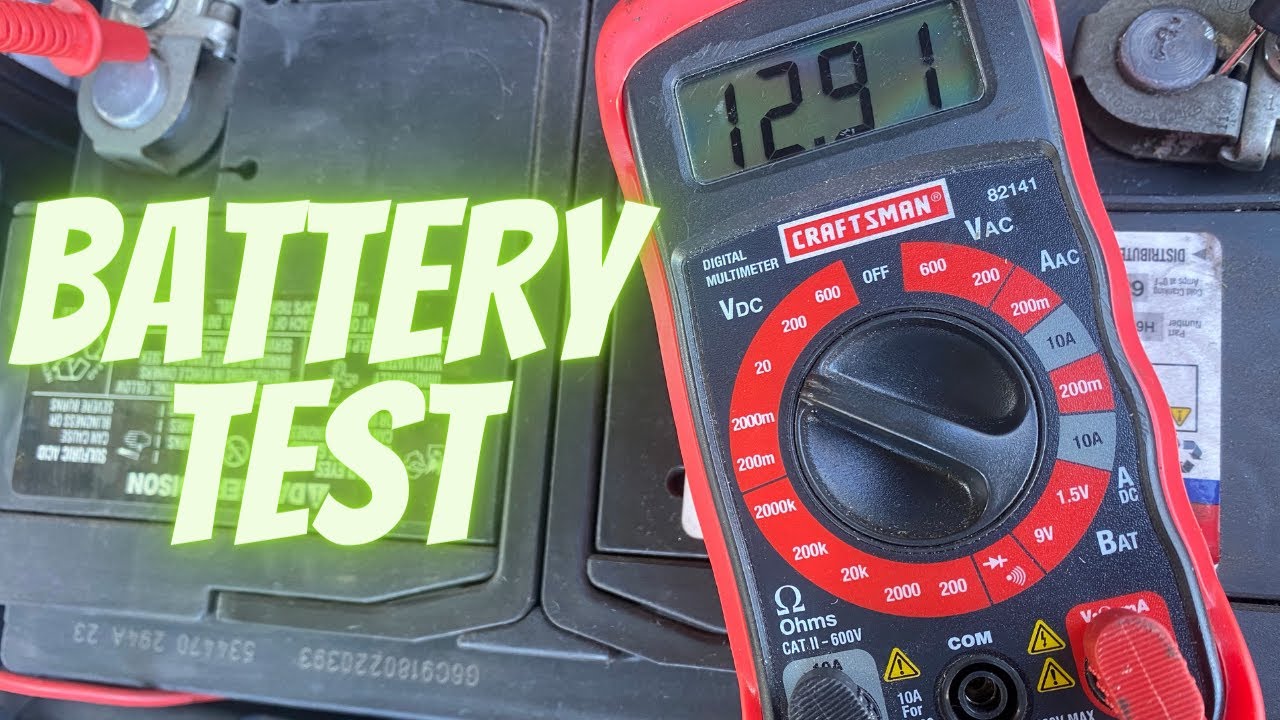
Set your voltmeter to the 20V DC setting to test a car battery accurately and safely. This single setting covers the full voltage range of any 12V automotive battery, whether it's resting, charging, or under load. Using the wrong setting can give you a misleading reading or even damage your meter, so getting this step right is the foundation of every battery test you'll ever do.
I've tested hundreds of car batteries over the years, from beat-up work trucks to pristine classic cars, and the DC voltage setting on a multimeter has never let me down. Whether you're chasing down a parasitic drain, prepping for winter, or just buying a used car, knowing exactly which setting to use saves you time, money, and frustration. Let's walk through the whole process so you can test your battery like a seasoned mechanic, even if it's your very first time popping the hood.

Understanding Your Voltmeter and Why the DC Setting Matters
A digital multimeter has two main voltage modes: AC (alternating current) and DC (direct current). Car batteries run on DC power, so the DC setting is the only one that will give you accurate readings. Inside the multimeter, the DC setting is typically marked with a solid line over a dashed line (⎓), while AC is marked with a wavy line (~). Using AC on a battery will either show zero or a nonsensical number, and worse, it can blow a fuse in cheaper meters.
Most digital multimeters also have multiple ranges within the DC mode, like 2V, 20V, 200V, and 600V. For a 12V car battery, you want the 20V DC range. This range is high enough to capture the battery's full voltage when the engine is running (which can hit 14.7V) and low enough to give you accurate decimal places when the battery is at rest (around 12.6V). Auto-ranging meters will do this for you automatically, but if you're using a manual-ranging meter, always dial it to 20V DC.
If you only have a 2V range, it won't read above 2 volts and will likely just show a "1" or "OL," meaning over limit. A 200V range will work but gives you less precision. The 20V range is the sweet spot for automotive work.
Step-by-Step Guide to Testing Your Car Battery with a Voltmeter
Testing a car battery at home takes about five minutes once you know the steps. Here's exactly how I do it every single time.
What You'll Need
A digital multimeter with a working battery
Safety glasses and gloves (optional but smart)
A clean rag to wipe the terminals
Your car's owner's manual (for battery location, though it's almost always under the hood)
Safety First
Before you touch anything, make sure the car is off, the keys are out of the ignition, and the headlights and any accessories are switched off. A car battery can deliver a nasty shock if you accidentally bridge the terminals with a ring or metal tool. I always pop the hood, let the car sit for at least an hour (or overnight if possible) so the surface charge dissipates, and then get to work.
Locate the Battery and Identify the Terminals
Pop the hood and find the battery. In most cars, it's on the driver's side near the front, but some models tuck it under the rear seat or in the trunk. The battery has two posts: a positive post marked with a "+" and usually a red cover, and a negative post marked with a "−" and usually a black cover. Make sure you can clearly see which is which.
Set Your Voltmeter to 20V DC
Turn the dial on your multimeter to the 20V DC setting. If your meter is auto-ranging, just turn it to the DC voltage section (⎓). Double-check that you're not on AC voltage or the resistance (Ω) setting. This is the single most common mistake beginners make, and it leads to garbage readings.
Connect the Probes Correctly
Plug the black probe into the "COM" (common) jack on your multimeter. Plug the red probe into the "V" jack, which is usually labeled for voltage. Now, touch the red probe to the positive battery terminal and the black probe to the negative terminal. It doesn't matter if you touch the metal clamp or the post itself, but make sure you have a solid metal-to-metal connection.
If you see a negative sign in front of the number, don't panic. It just means your probes are reversed. The battery is fine; you just touched the wires backward. Swap them and you'll get a positive reading.
Read the Voltage
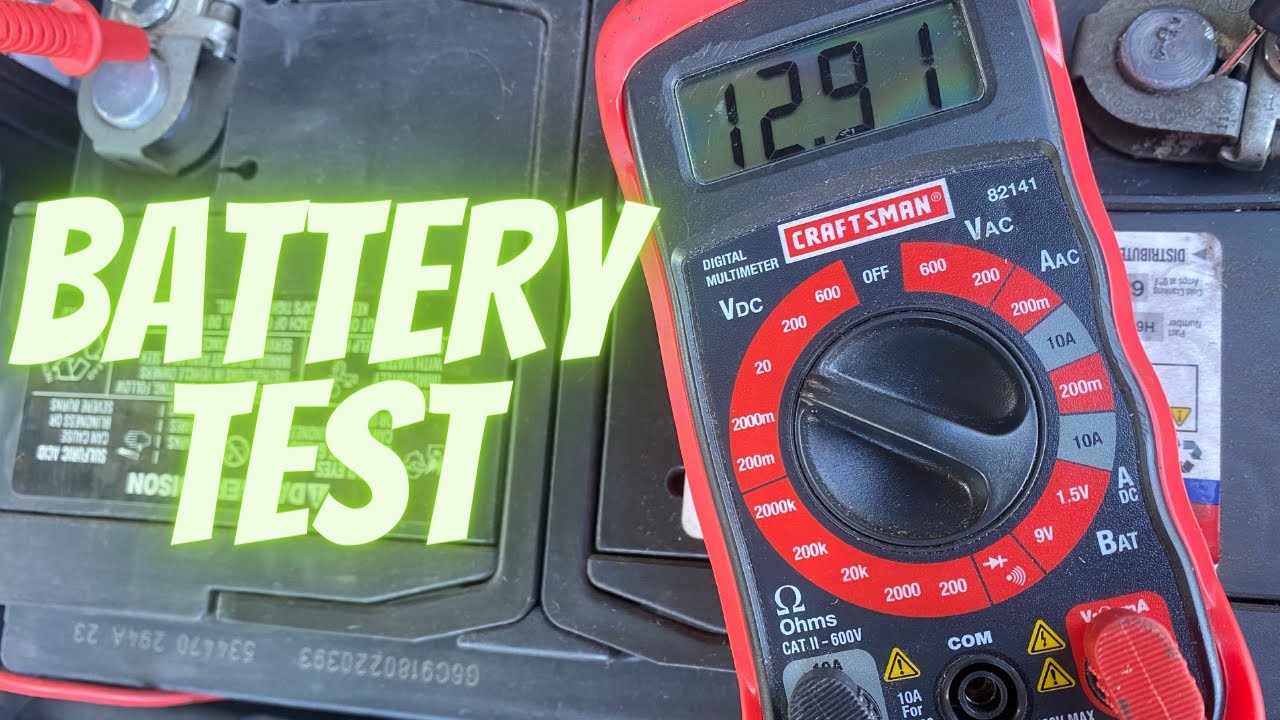
Look at the display. A fully charged, healthy 12V battery at rest should read between 12.4 and 12.7 volts. Anything below 12.0 volts means the battery is discharged and may need a jump or a charge. Anything above 12.9 volts suggests surface charge from recent driving, which is why you let the car sit before testing.
If you see a reading below 11.8 volts, the battery is deeply discharged and might be sulfated or damaged. A reading of 0 volts or very close to it means there's a dead cell, and it's time for a new battery.
How to Test the Battery While the Engine Is Running
Once you've tested the resting voltage, you can learn even more by testing the charging system. Start the engine and let it idle. With the meter still connected, the voltage should jump up to between 13.7 and 14.7 volts. This shows that the alternator is charging the battery properly.
If the voltage stays below 13.5 volts, the alternator might be failing. If it climbs above 15 volts, the voltage regulator is likely shot, which can cook your battery and electronics. I always do this test with the headlights and AC on to simulate a real load. If the system holds voltage under load, you're solid.
What the Numbers Really Mean
Reading the number on your multimeter is one thing, but understanding what it means for your battery's health is another. Here's my cheat sheet that I keep taped inside my toolbox:
12.6 to 12.7 volts: Fully charged and healthy. Nothing to worry about.
12.4 to 12.5 volts: Around 75% charged. Fine for now, but keep an eye on it.
12.2 to 12.3 volts: Around 50% charged. Time to hook up a charger.
12.0 to 12.1 volts: Around 25% charged. Weak; expect trouble starting.
Below 11.9 volts: Discharged or damaged. Charge it and retest, or replace it.
Temperature also affects these numbers. A cold battery (below freezing) will read slightly lower because the chemical reactions inside slow down. A hot battery (above 100°F) can read higher and is more prone to failure. Always compare readings to the conditions you're in.
Common Mistakes to Avoid When Testing a Car Battery
I've watched people make the same handful of mistakes over and over, and they almost always lead to bad data or damaged gear. Here's what to watch out for.
First, never test a battery right after driving. The surface charge can inflate the reading by half a volt or more, making a weak battery look great. Let the car sit for at least an hour, or better yet, test it first thing in the morning before you start the engine.
Second, don't let the probes touch each other while they're connected to the battery. This creates a short circuit through your multimeter, which can blow the internal fuse or, in rare cases, damage the meter permanently. Keep the probe tips clean and separated.
Third, avoid testing through the plastic terminal covers if you can help it. Some covers are conductive, but many aren't, and they can throw off your reading. Always touch the metal post or the bare metal of the cable clamp.
Finally, don't ignore corroded terminals. If your battery posts are caked in white, blue, or green powder, clean them with a wire brush and a mixture of baking soda and water before testing. Corrosion acts like an insulator and will give you artificially low readings.
When to Test Your Battery and Why It Matters
I test my own car's battery twice a year, once in the fall before the first cold snap and once in the spring after a long winter. Cold weather is brutal on batteries because the engine oil thickens and the chemical reactions inside the battery slow down. A battery that reads 12.4 volts in October might drop to 11.8 volts by December and leave you stranded.
You should also test the battery any time you notice slow cranking, dim headlights, or a check engine light related to the charging system. If your car sits for long periods, like a weekend toy or a seasonal vehicle, test it monthly. Batteries self-discharge at a rate of about 5% to 10% per month, and a dead battery can sulfate and lose capacity permanently in as little as a few weeks.
If you buy a used car, always test the battery before you sign the paperwork. A new battery costs around $100 to $200 installed, and a failing alternator can run $500 or more. A five-minute voltage test can save you from inheriting someone else's problem.
Choosing the Right Voltmeter for the Job
You don't need a fancy Fluke meter to test a car battery, but you do need a meter that works. I've had great luck with mid-range digital multimeters from brands like Innova, AstroAI, and Klein Tools. Look for one with:
A clear, backlit display so you can read it in dim engine bays
Auto-ranging capability (so you don't have to dial in the 20V setting manually)
A sturdy set of test leads with sharp probe tips
At least a 10A current rating, in case you want to do more advanced tests later
True RMS capability is nice but not necessary for basic battery testing
If you're on a tight budget, a $15 meter from the hardware store will work fine for occasional use. Just make sure it has a fresh battery of its own; a dying meter can give you fluctuating readings.

Frequently Asked Questions
Can I test a car battery with the engine running?
Yes, and you should. With the engine idling, the voltage should read between 13.7 and 14.7 volts if the alternator is charging properly. This test tells you whether the battery is receiving a charge, not just what its resting state is. Always do both tests for a complete picture.
What does a reading of 0 volts mean?
A reading of 0 volts means there's a dead cell inside the battery, the terminals are completely disconnected, or the battery is physically damaged. In most cases, a reading this low means the battery needs to be replaced. Try cleaning the terminals and retesting; if it's still zero, the battery is toast.
Is 11.9 volts bad for a car battery?
Yes, 11.9 volts is considered discharged and potentially damaged. A healthy battery should never drop below 12.0 volts at rest. If you see 11.9 volts, charge it immediately with a quality battery charger. If it doesn't bounce back above 12.4 volts after a full charge, it's time for a replacement.
Can I use an analog multimeter to test a car battery?
You can, but it's much harder to read accurately. Analog meters use a needle on a scale, and a 12V battery will barely move the needle, making precise readings difficult. Digital meters give you exact numbers to the tenth of a volt, which is critical for battery diagnostics. Stick with digital unless that's all you have.
How often should I test my car battery?
Test it at least twice a year, ideally before winter and after summer. Extreme temperatures are hard on batteries, and catching a weak one early prevents breakdowns. If your car sits for more than a week without driving, test it monthly or hook up a battery tender to keep it topped off.
Wrapping It All Up
Testing your car battery with a voltmeter is one of the easiest and most valuable skills you can learn as a driver. All it takes is setting your meter to 20V DC, touching the probes to the right terminals, and knowing what the numbers mean. A healthy battery sits between 12.4 and 12.7 volts, and a healthy charging system pushes that to 13.7 to 14.7 volts when the engine is running. Anything outside those ranges tells you it's time to charge, test further, or replace.
The peace of mind you get from knowing your battery's condition is worth the five minutes it takes to check. I still test my own cars religiously, and it's saved me from being stranded more times than I can count. Grab your multimeter, set it to 20V DC, and take the mystery out of your car's electrical system. If you found this guide helpful, share it with a friend who hates dealing with car problems, or drop a comment below with your own battery testing tips and tricks.