Installing a dash cam in a car is a straightforward DIY project that takes about 20 to 45 minutes using basic tools like a plastic pry tool and a microfiber cloth. Most modern dash cams are designed for plug-and-play installation, so you don't need professional help to get clear, continuous recording of your drives.
I've installed over a dozen dash cams in everything from compact sedans to older trucks, and I can tell you the process is far less intimidating than it looks. Once you understand where the camera goes, how to hide the wires, and how to power it cleanly, you'll wonder why you waited so long. A dash cam is one of the smartest investments you can make for your vehicle, offering protection against false claims, hit-and-runs, and insurance fraud while giving you peace of mind every time you turn the key.

What You'll Need Before Installation
Before you touch a single wire, gather your tools and understand your dash cam kit. Most packages include the main camera unit, a mounting bracket or adhesive pad, a power cable (usually 10 to 13 feet long), a car charger adapter, and a microSD card. Some premium models also include a hardwiring kit for a more permanent setup.
Here's a quick checklist of what to have on hand:
- Dash cam with included mount and cable
- MicroSD card (Class 10 or higher, 32GB to 256GB)
- Plastic trim removal tool or a flat, non-marring screwdriver
- Microfiber cloth and isopropyl alcohol
- Cable clips or adhesive mounts (often included)
- Optional: hardwiring kit, fuse tap, and add-a-circuit fuse holder
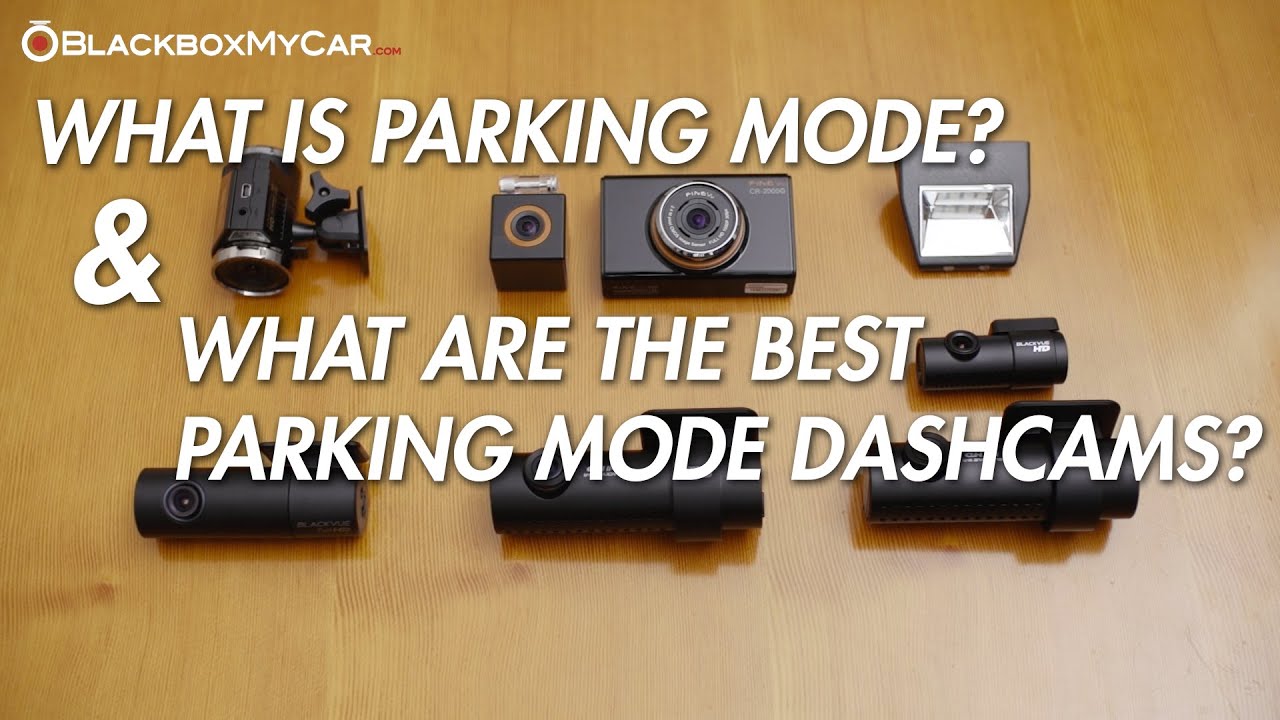
If your dash cam supports parking mode, you'll want a hardwiring kit or a dedicated battery pack. Parking mode lets the camera record when the engine is off, which is invaluable for catching door dings in parking lots or vandalism overnight.
Choosing the Right Mounting Location
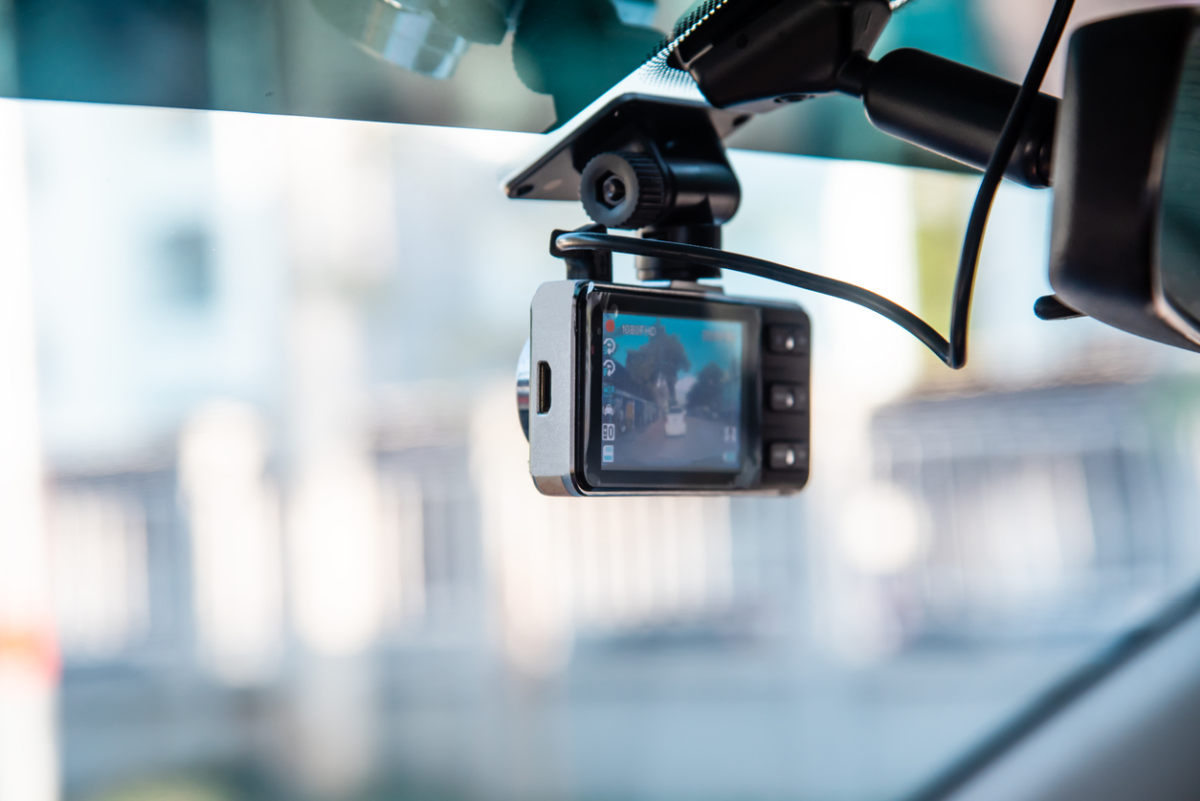
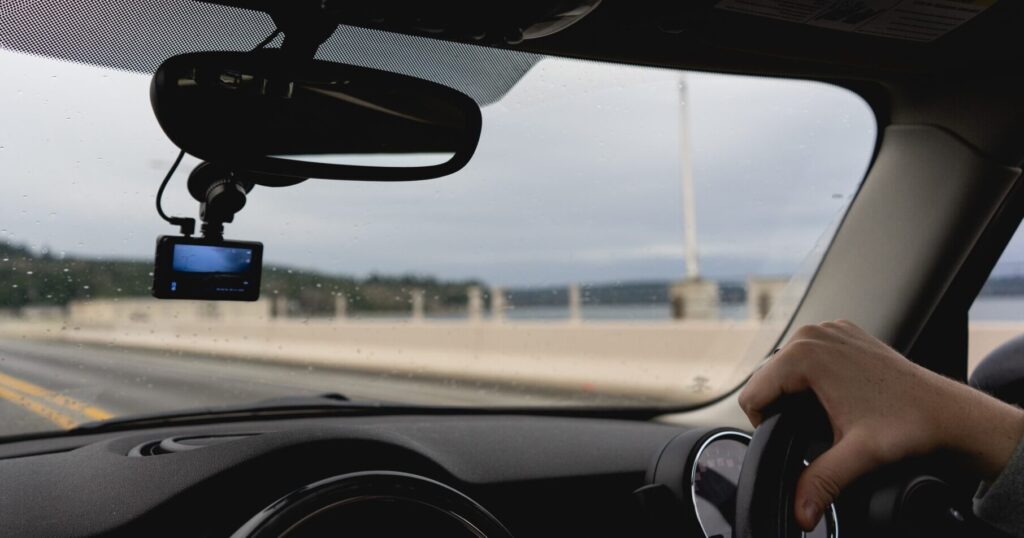
The best place to mount a dash cam is behind the rearview mirror on the passenger side. This position keeps the camera centered for accurate lane recording while staying out of your line of sight. In most cars, the mirror is large enough to hide the dash cam completely from the driver's perspective.
Avoid mounting the camera on the windshield directly in front of the driver, as many states have laws restricting windshield obstructions. A good rule of thumb is to keep the device within the top 4 to 6 inches of the windshield or behind the mirror housing. Before sticking anything to the glass, clean the mounting area thoroughly with isopropyl alcohol and a microfiber cloth. Any dust or oil will weaken the adhesive and could cause the camera to fall on a hot day.
Mounting the Dash Cam Securely
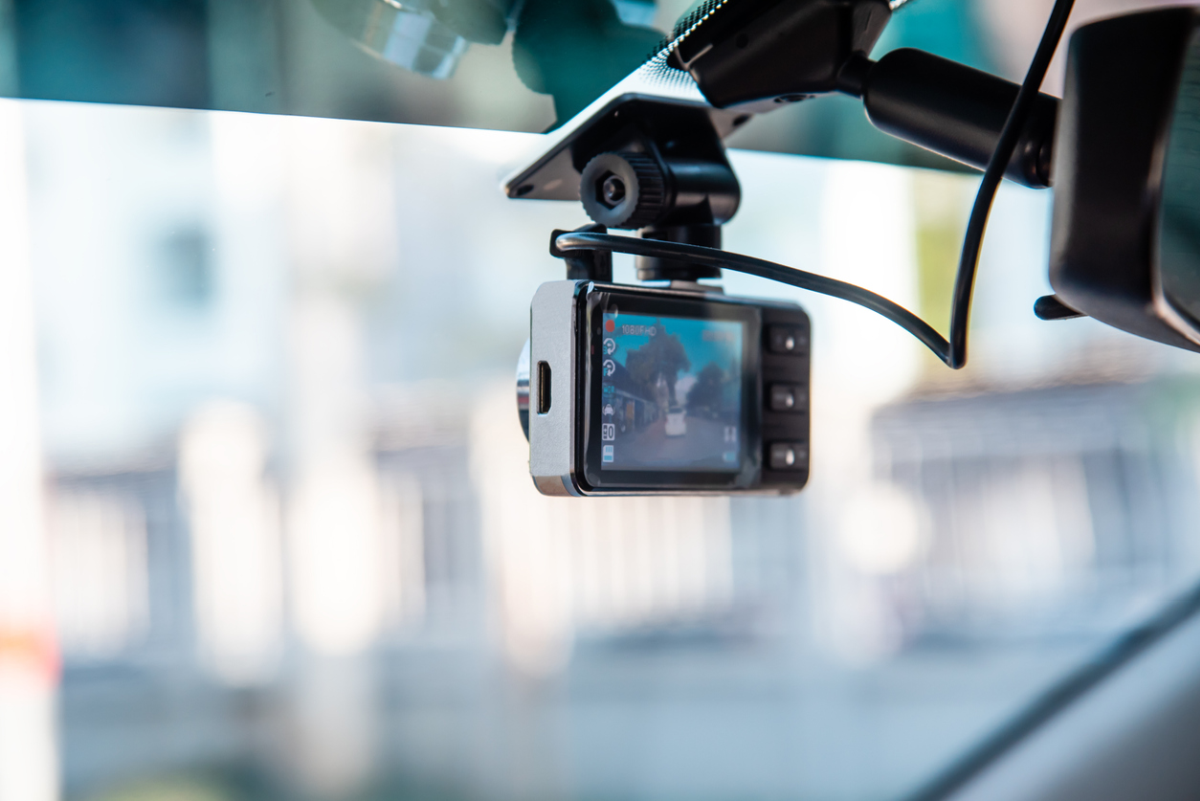
Most dash cams use either a suction cup mount or an adhesive pad. Suction cups are reusable and easy to reposition, but adhesive mounts hold stronger over time, especially in extreme heat or cold. If your car spends a lot of time parked in the sun, go with adhesive.
To install the mount, peel the backing off the adhesive pad and press it firmly against the windshield for at least 30 seconds. Then attach the camera to the mount and adjust the angle. A good framing tip is to aim the lens so the horizon sits in the middle of the frame, and you can see a sliver of the car's hood at the bottom. This gives you context during playback without wasting pixels on the sky.

Running and Hiding the Power Cable
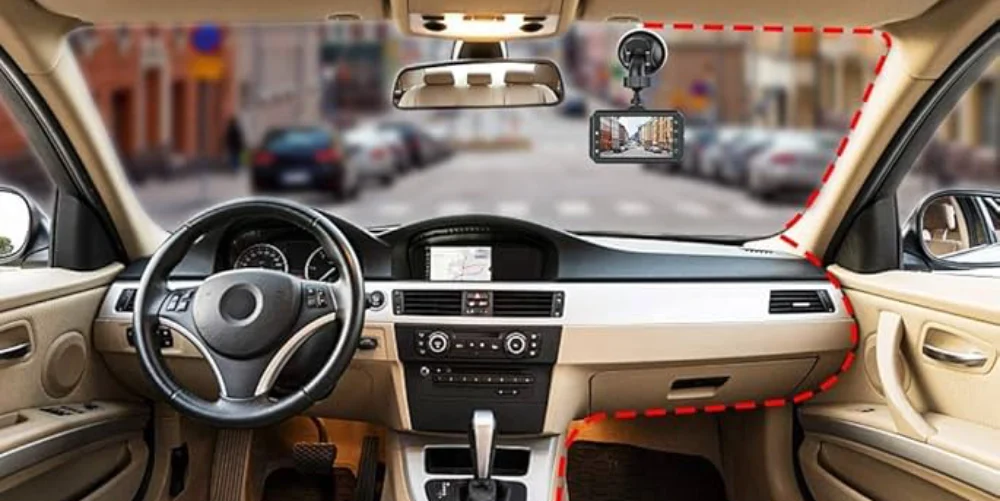
The cleanest installation routes the power cable along the headliner, down the A-pillar, and into the cigarette lighter or fuse box. Tucking the wire properly is what separates a professional-looking install from a messy one.
Follow these steps to hide the cable:
- Start at the camera and tuck the cable into the headliner gap using your fingers or a plastic trim tool.
- Work your way across the top of the windshield toward the passenger side A-pillar.
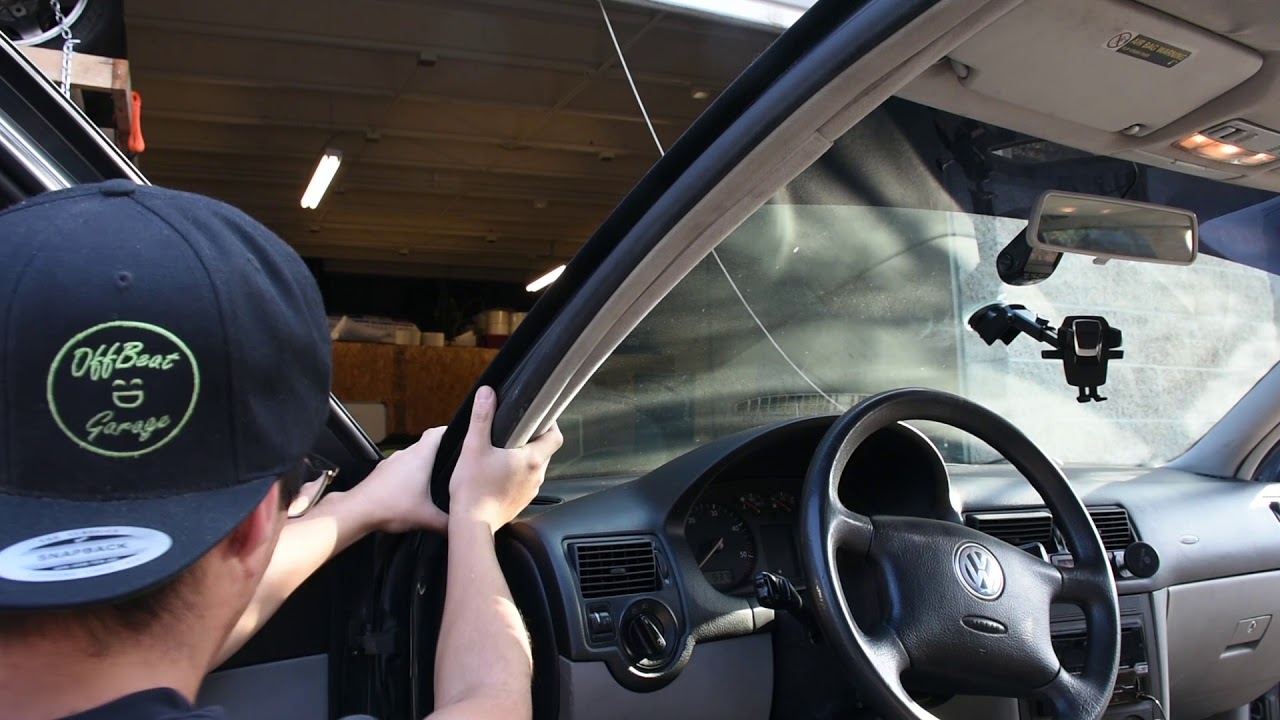
- Pull back the weather stripping along the A-pillar just enough to slide the cable behind it.
- Route the wire down toward the dashboard, then across to the power source.
- Leave a little slack near the camera so you can adjust the angle without straining the cable.
If you're plugging into the 12V outlet, use cable clips to secure any extra wire near the dashboard. For a hardwired setup, you'll connect the red wire to a constant fuse, the yellow wire to an ignition-switched fuse, and the black wire to a ground bolt. Always use an add-a-circuit fuse tap to avoid splicing factory wiring.
Configuring Your Dash Cam Settings
Once powered on, don't just hit record and drive away. Spend 10 minutes in the driveway setting up your dash cam properly. First, format the microSD card using the camera's built-in menu. This prevents file errors and ensures smooth loop recording.
Next, adjust the resolution and frame rate. Most modern dash cams support 1080p at 30fps, which is the sweet spot for clear footage without filling the card too fast. If your camera has 4K, you can use it for shorter trips, but be aware that high-res files eat storage. Enable loop recording so the camera automatically overwrites the oldest footage when the card fills up.
Other settings to check:
- G-sensor sensitivity: medium is usually best to avoid locking files from every bump
- Time and date stamp: turn this on for legal evidence
- Parking mode: enable if you have a hardwire kit or battery pack
- Wi-Fi or app connectivity: pair your phone for easy file transfers

Common Installation Mistakes to Avoid
Over the years, I've seen the same handful of mistakes ruin otherwise good dash cam setups. The biggest is mounting the camera too low, which catches too much hood and too little road. Aim for that horizon-in-the-middle framing I mentioned earlier.
Another common error is running the cable across the driver's side A-pillar. On many cars, the passenger-side airbag deploys from there, and a loose cable can interfere with its deployment. Always route on the side that matches your power source, and never drape the wire across the steering column.
Finally, don't skip the fuse rating. If you're hardwiring, match the fuse tap to a circuit that can handle the extra draw. Cigarette lighter circuits are usually safe for 10 amps, and most dash cams pull less than 2 amps.
Testing and Maintaining Your Dash Cam
After installation, take a short test drive and review the footage. Check that the time and date are correct, the audio is clear, and the angle captures both lanes and the car ahead. If the video looks shaky, tighten the mount or add a dab of adhesive.
Maintenance is simple. Format the microSD card once a month to keep it healthy, and clean the lens with a microfiber cloth every few weeks. Extreme heat can shorten the life of dash cams, so consider removing the unit from the mount during heat waves if you park outside often.

How to Install a Dash Cam with a Hardwiring Kit
If you want a truly invisible setup, hardwiring is the way to go. A hardwiring kit connects directly to your car's fuse box and provides constant power for parking mode. The process takes about 30 to 60 minutes and requires a fuse tap, a ground screw, and a multimeter or test light to identify fuse types.
Locate your fuse box, usually under the dashboard on the driver's side or in the engine bay. Use a fuse puller to remove an existing fuse, insert it into the lower slot of the add-a-circuit, and add a new fuse of the same rating for the dash cam. Connect the ground wire to any unpainted metal bolt nearby. Tuck the wiring along the same path you used for the 12V install, and you're done.
Frequently Asked Questions
How long does it take to install a dash cam?
A basic 12V plug-in installation takes 20 to 45 minutes for most beginners. Hardwiring can take 1 to 2 hours depending on your experience and the layout of your fuse box.
Will a dash cam drain my car battery?
A standard dash cam draws very little power and won't drain a healthy battery during normal drives. In parking mode, a hardwired dash cam can drain a weak or old battery over several days, so consider using a dedicated dash cam battery pack if you park for long periods.
Can I install a dash cam without adhesive?
Yes, suction cup mounts work well for temporary setups or if you frequently move the camera between vehicles. Just clean the glass and the suction cup regularly, and avoid mounting in direct sunlight for long periods.
Do I need a special microSD card for my dash cam?
Always use a high-endurance microSD card rated for continuous recording. Standard cards wear out quickly under constant write cycles. Look for cards labeled "high endurance" or "dash cam" rated.
Is it legal to mount a dash cam on the windshield?
Laws vary by state and country, but most allow dash cams if they are mounted in the top 4 to 6 inches of the windshield or behind the rearview mirror. Check your local regulations to be safe.
Final Thoughts
Installing a dash cam is one of the most rewarding DIY car projects you can tackle in a single afternoon. Once you understand the basics of mounting, cable routing, and power management, the process becomes second nature. Take your time with the wire tucking, double-check your fuse connections, and don't forget to format that memory card every few weeks. A few minutes of care during installation will give you years of reliable footage and the kind of peace of mind that pays for itself the first time something unexpected happens on the road. If you found this guide helpful, share it with a friend who just bought a new dash cam, or drop a comment below with your own installation tips.