
Always disconnect the negative terminal first, then the positive terminal when removing a car battery, and reverse the order when reconnecting.
There's something almost ritualistic about working on a car battery. Over the years, I've helped friends jump-start dead cars, swap out batteries in freezing parking lots, and even taught my teenage nephew how to do basic car maintenance. Every single time, the very first thing I tell them is the order in which to disconnect the terminals. It's one of those small details that separates a smooth job from a potentially dangerous or expensive mistake. In this guide, I'll walk you through everything you need to know about disconnecting a car battery safely, why the sequence matters so much, and how to avoid the common pitfalls that even experienced DIYers sometimes make. Whether you're replacing a battery, doing electrical work, or just storing a car for a while, this is the kind of knowledge that pays for itself the first time you need it.
Why the Order Matters When Disconnecting a Car Battery
Before we get into the step-by-step process, let's talk about why the order is so important. Your car's battery is connected to a network of electrical components, and the entire system is grounded to the chassis of the vehicle through the negative terminal. That means the negative cable is essentially connected to every metal part of the car.
If you accidentally touch your tool between the positive terminal and any grounded metal surface while the negative is still connected, you create a short circuit. The result is sparks, possible damage to the battery, blown fuses, or in worst cases, a fire. On the other hand, if you disconnect the negative terminal first, you break the ground connection. After that, even if your wrench slips and touches the positive terminal and the car body simultaneously, nothing happens because the circuit is already open.
This is also why reconnecting happens in reverse. You connect the positive first, then the negative, so that the final connection made is the ground. This minimizes the risk of sparks near the battery, which can produce flammable hydrogen gas.
In short, the order protects you, your tools, and your car's electrical system. It's a habit worth forming.
What Order to Disconnect Car Battery: The Correct Sequence
Now let's get into the actual process. This is the part I walk every beginner through, and it's the part where most accidents happen when people skip the basics.
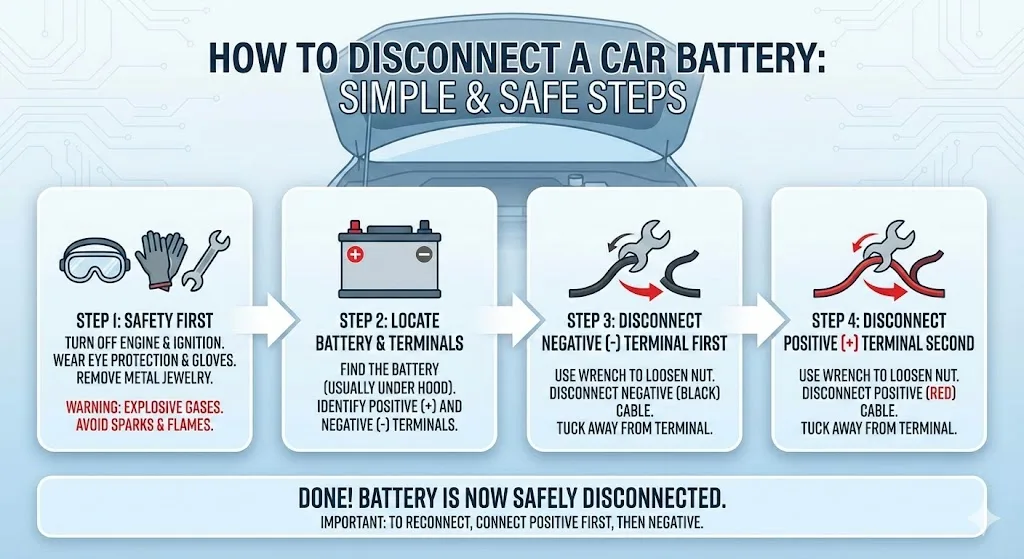
Step 1: Gather Your Tools and Safety Gear
Before you pop the hood, make sure you have everything ready. You'll want:
- A wrench or socket set, typically 10mm for most battery clamps, though some vehicles use 8mm or 13mm
- A pair of insulated gloves to protect your hands from corrosion and accidental shocks
- Safety glasses, because battery acid and flying debris are no joke
- A memory saver device if you want to preserve your radio codes and ECU settings
- A clean rag or battery terminal brush for cleanup
I learned the hard way years ago to keep a dedicated 10mm wrench in my glove box. It's the most common size for battery terminals, and I've used it more times than I can count.
Step 2: Turn Off the Vehicle and Remove the Key
Make sure the engine is completely off, all accessories are off, and the key is out of the ignition. If your car has a push-button start, make sure the system is fully shut down. Open the hood and locate the battery. In most cars, it's under the hood, but in some models, you'll find it in the trunk or under the rear seat.
Step 3: Identify the Positive and Negative Terminals
This sounds obvious, but it's worth double-checking. The positive terminal is usually marked with a plus sign (+) and has a red cover or red cable. The negative terminal has a minus sign (−) and a black cable. If the markings are faded or corroded, remember that the negative cable typically connects to the chassis or engine block, while the positive cable runs to the starter or fuse box.
Step 4: Disconnect the Negative Terminal First
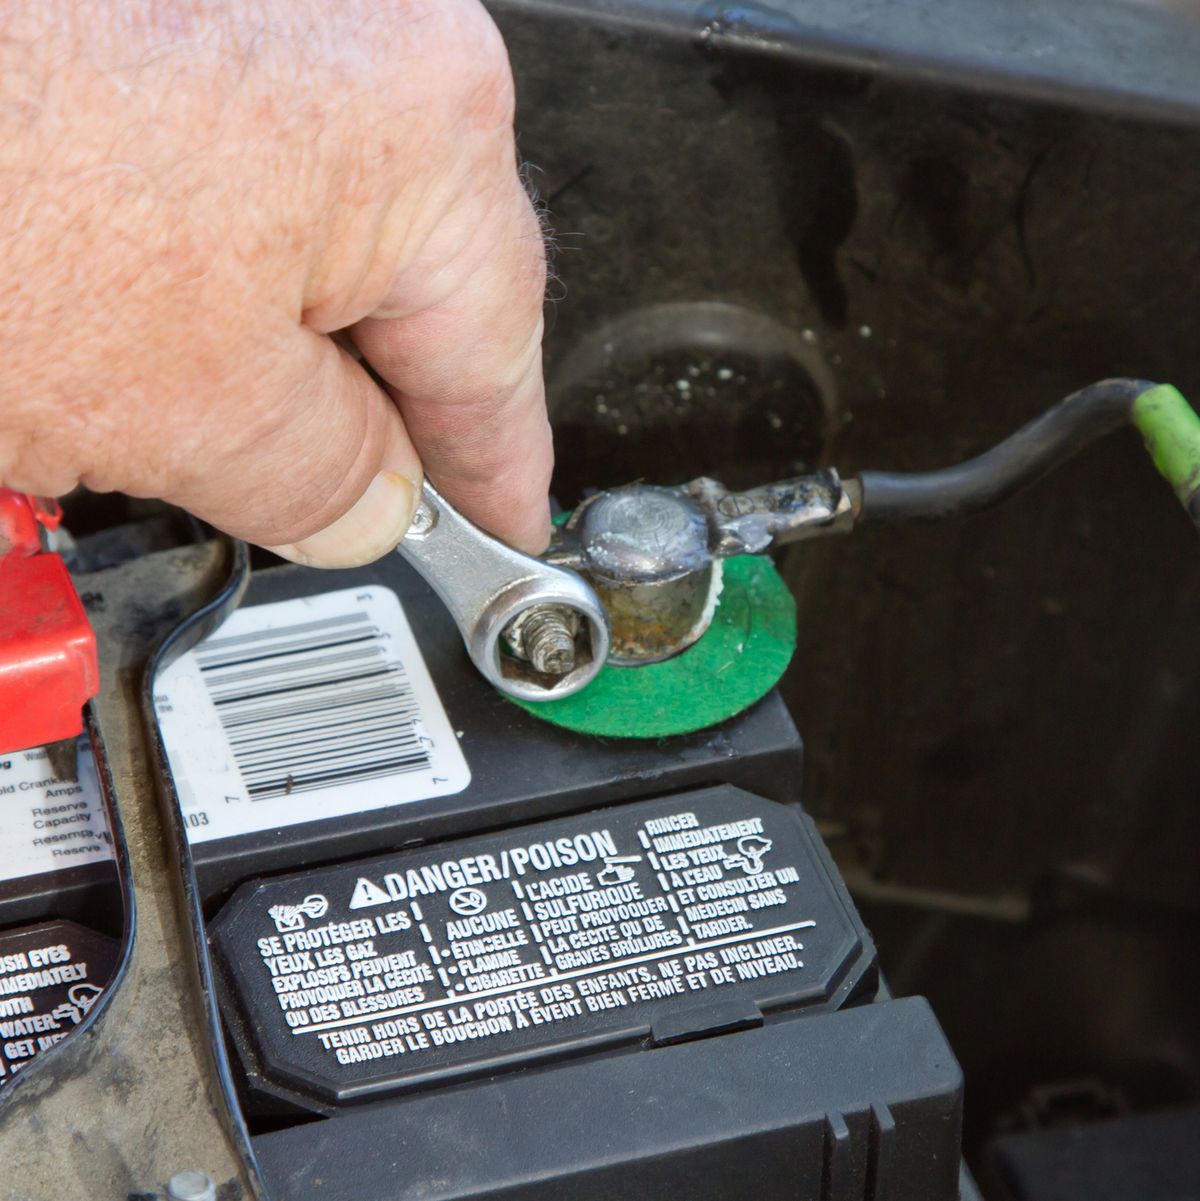
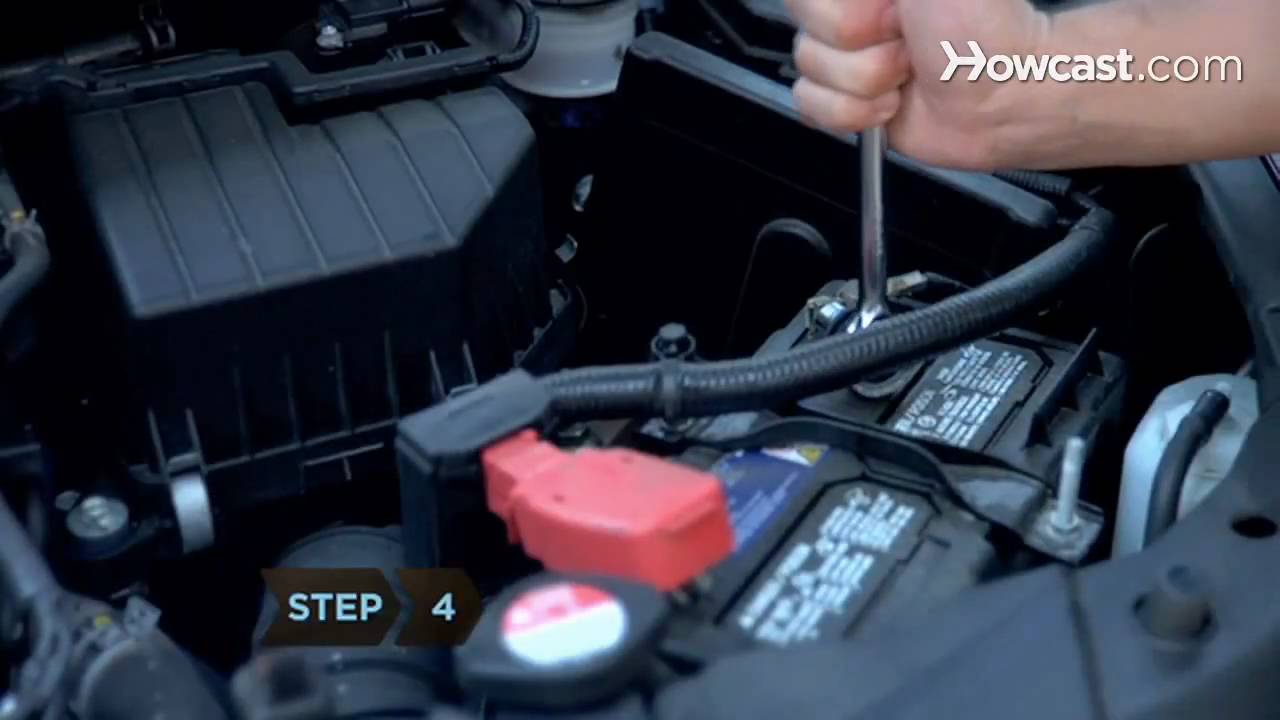
Using your wrench, loosen the nut on the negative terminal clamp. Turn it counterclockwise, but don't remove the bolt completely. Once it's loose, gently wiggle the clamp and lift it off the terminal. Tuck the cable away from the battery so it doesn't spring back and accidentally touch the terminal.
I always recommend tucking the negative cable to the side or even wrapping it in a rag to keep it secure. A loose negative cable that swings back into contact is a mistake you'll only make once.
Step 5: Disconnect the Positive Terminal
Now move to the positive terminal. Loosen the nut the same way, counterclockwise, and remove the clamp. Once both cables are off, the battery is fully disconnected and safe to remove if needed.
Step 6: Remove the Battery if You're Replacing It
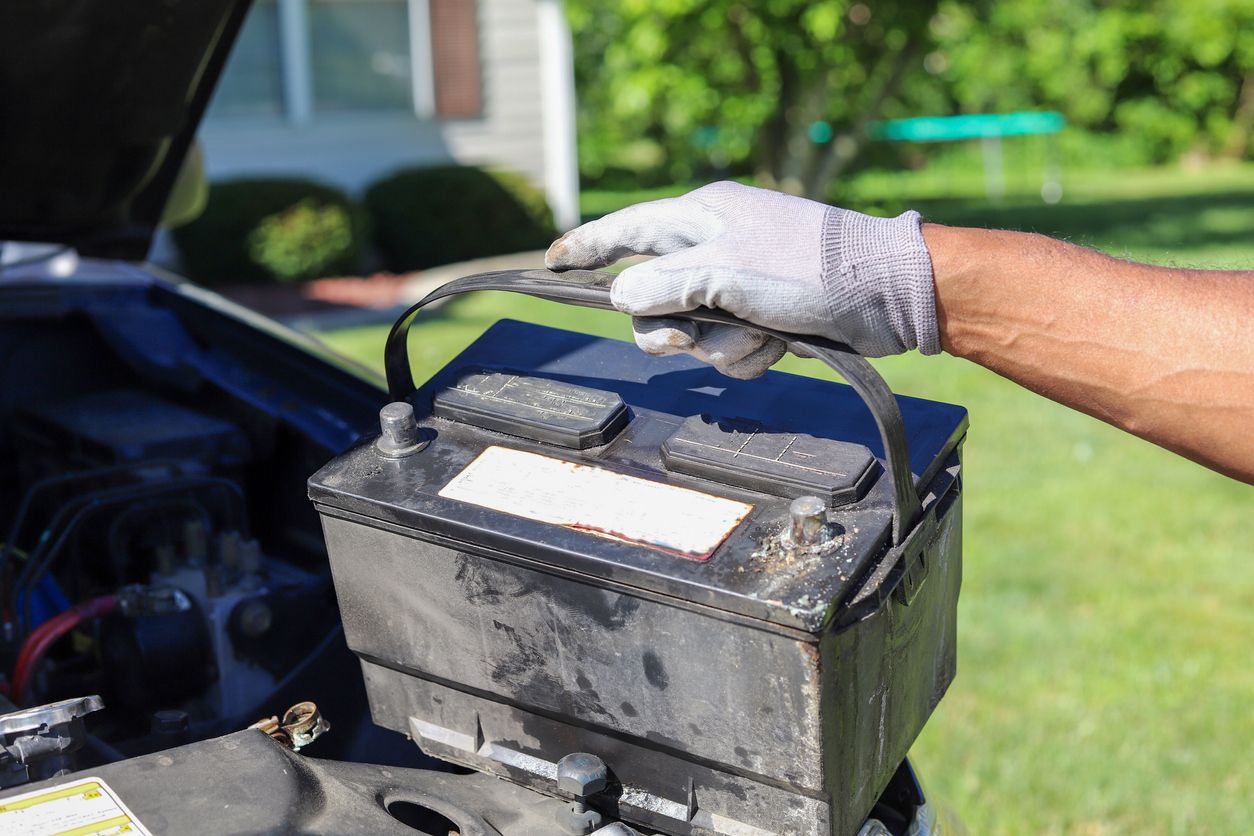
If you're swapping the battery, you'll usually need to remove a hold-down clamp or bracket. This is typically a small bolt or wingnut at the base of the battery. Once that's removed, lift the battery straight up. Batteries are heavier than they look, usually around 40 pounds, so use both hands and keep your back straight.

How to Reconnect a Car Battery in the Correct Order
When it's time to put the battery in or hook everything back up, you reverse the order. This is the part where people often get confused, so let's go through it.
Step 1: Place the Battery and Secure the Hold-Down
Set the battery in the tray and tighten the hold-down clamp. You want it snug so the battery doesn't move around while driving, but don't overtighten and crack the case.
Step 2: Connect the Positive Terminal First
Attach the positive cable to the positive terminal and tighten the nut clockwise until it's secure. Give the clamp a gentle tug to make sure it doesn't slide off.
Step 3: Connect the Negative Terminal Last
Now attach the negative cable and tighten it down. As you do this, you might see a small spark. That's completely normal. It's the car's electrical system coming back online and drawing initial current.
Step 4: Test and Reset
Start the car to confirm everything is working. You may need to reset your clock, radio presets, and window auto-up features. Some vehicles require a throttle relearn procedure, so check your owner's manual if you notice any rough idling.
Common Mistakes to Avoid When Disconnecting a Car Battery
I've seen people make every mistake in the book, and some of them are expensive. Here are the big ones to watch out for.
Reversing the Order
This is the most common error. People disconnect the positive first because they assume "positive first" sounds intuitive. It doesn't work that way with batteries. Always negative first, always positive last when reconnecting.
Letting the Cables Touch
Once the negative is off, don't let it flop around. If it touches the positive terminal while the wrench is still on the positive, you've got a dead short. Tuck both cables away from each other.
Not Wearing Protection
Battery acid is corrosive, and the corrosion that builds up on terminals can irritate your skin and eyes. Gloves and safety glasses aren't optional.
Forgetting the ECU Reset
Modern cars rely on the ECU for everything from fuel mapping to transmission behavior. Disconnecting the battery resets it, which can cause idle issues until it relearns. Drive normally for 10 to 15 miles and let the car adapt.
Ignoring Corrosion
If the terminals are covered in white, blue, or green powder, clean them before reconnecting. A mixture of baking soda and water works well, or you can use a dedicated terminal cleaner. Corroded connections cause voltage drops and hard starting.

When You Should Disconnect Your Car Battery
Not every situation requires disconnecting the battery, but there are times when it's the right move.
Long-Term Storage
If you're storing a car for more than a few weeks, disconnecting the negative terminal prevents parasitic drain. Modern cars have electronics that draw power 24/7, and a disconnected battery will hold its charge much longer.
Electrical Repairs
Any time you're touching wiring, replacing fuses, or working on components like the alternator or starter, disconnecting the battery is the safest move.
Battery Replacement
This one's obvious. You have to remove the old battery to put a new one in.
After a Jump Start
If your car has been jump-started and is still running, you don't need to disconnect anything. But if the alternator is failing and you're trying to get home, disconnecting the battery while the engine is running is a bad idea. The battery acts as a buffer, and without it, voltage spikes can fry your electronics.
Tools You Need for the Job
You don't need a lot, but having the right tools makes the job easier.
- Wrench or socket set: 10mm is the most common, but check your battery terminals first
- Insulated gloves: Protect against acid and accidental contact
- Safety glasses: Non-negotiable
- Terminal brush: For cleaning corrosion
- Battery terminal protector spray: Helps prevent future corrosion
- Memory saver: Optional, but helpful for newer cars
Tips From Experience
Over the years, I've picked up a few tricks that make the job smoother.
I always disconnect the battery on a warm day if I have the choice. Cold batteries are harder to remove, and the plastic casing can crack if you're prying against frozen components.
If the terminal clamps are stuck, don't yank them. Use a dedicated terminal puller or carefully pry them with a flathead screwdriver. Tugging too hard can damage the battery posts.
When reconnecting, apply a thin layer of dielectric grease or petroleum jelly to the terminals. This prevents corrosion and makes the next disconnection smoother.
If you're working on a hybrid or electric vehicle, the rules are very different. These systems use high-voltage orange cables that can deliver a lethal shock. Always disconnect the service plug and wait at least 10 minutes before working on anything orange.
Frequently Asked Questions
What happens if I disconnect the positive terminal first?
If you disconnect the positive terminal first and your wrench accidentally touches any grounded metal part of the car, you create a short circuit. This can cause sparks, melted tools, blown fuses, or damage to the battery and electrical system. It's the exact scenario the negative-first rule is designed to prevent.
Can I just disconnect one terminal to work on my car?
In most cases, yes. Disconnecting the negative terminal breaks the circuit and makes it safe to work on most electrical components. However, if you're doing major work like replacing the alternator or starter, it's often easier to take both off and set the battery aside.
Will disconnecting the battery reset my check engine light?
It can, but it won't fix the underlying problem. If your check engine light is on due to a real issue, it will come back as soon as the ECU completes its self-diagnostic cycle, usually within 50 to 100 miles of driving.
How long does a car battery last if it's disconnected?
A fully charged, healthy battery can last several months when disconnected. However, it will slowly self-discharge over time. If you're storing a car for the winter, it's a good idea to check the voltage every couple of months or use a trickle charger.
Is it safe to disconnect a car battery while the engine is running?
Absolutely not. The battery acts as a stabilizer for the electrical system. Running the engine without a connected battery can cause voltage spikes that damage sensitive electronics like the ECU, infotainment system, and sensors. Always turn off the engine before disconnecting.
Wrapping It All Up
Disconnecting a car battery is one of those simple jobs that almost anyone can do, but doing it the right way matters. The order is always negative first, positive last when removing, and the reverse when reconnecting. This sequence protects you from shocks, prevents damage to your car's electrical system, and keeps your battery in good shape.
The next time you pop the hood to swap a battery or do some electrical work, take an extra minute to double-check your steps. It's a small habit that prevents big headaches. If you've got questions about your specific vehicle or a tricky electrical issue, drop a comment below or check your owner's manual for model-specific guidance. Safe wrenching.