Setting up a dash cam is a straightforward process: mount it behind your rearview mirror, route the power cable neatly along the headliner, and plug it into a 12V outlet or hardwire it to your fuse box. With the right placement and a clean wire run, most installs take under 30 minutes.
I've been mounting dash cams in my own cars for years, helped friends set theirs up, and tested enough models to know the small tricks that make a big difference. A solid dash cam setup isn't just about sticking a camera on the windshield. It's about getting the right angle, hiding the wires, and choosing a power source that fits your driving habits. Done right, your dash cam becomes a silent witness that protects you in crashes, hit-and-runs, and insurance disputes without ever getting in your way.
Let me walk you through the entire process, from choosing the right spot to hiding every wire, so you can get clean, reliable footage every time you drive.

Choosing the Right Dash Cam Before You Install
Before you even touch the windshield, picking the right dash cam saves you hours of frustration later. I've learned this the hard way after buying a cheap unit that died in six months.
Look for these features when shopping:
- 1080p resolution at minimum, though 1440p or 4K gives clearer license plate captures
- Wide dynamic range (WDR) or HDR for balancing bright skies and dark shadows
- A supercapacitor instead of a lithium battery, since supercapacitors handle heat far better in parked cars
- Loop recording so the camera automatically overwrites old files when the card fills up
- A G-sensor that locks footage during sudden impacts
- Parking mode if you want surveillance while your car is off
Front-and-rear dual channel systems give you full coverage, but a single front-facing unit works fine if you mainly want evidence for front-end collisions. For ride-share drivers, interior-facing cameras add a layer of protection against passenger disputes.
Pick a microSD card that's rated for high endurance video recording. Regular cards wear out fast under constant write cycles. I stick with cards labeled "High Endurance" from SanDisk or Samsung, usually 128GB to 256GB depending on how much footage I want to keep.
Tools and Materials You'll Need for the Setup
You don't need much, but having the right tools turns a messy install into a clean one. I keep a small kit in my glove box just for this kind of work.
Gather these items before you start:
- The dash cam unit with its mounting bracket or adhesive pad
- A trim removal tool or a flat plastic pry tool to tuck wires without scratching your car
- Microfiber cloth and isopropyl alcohol to clean the windshield
- Cable clips or adhesive mounts if your headliner doesn't hide wires easily
- A 12V outlet (cigarette lighter) adapter or a hardwiring kit with a fuse tap
- Optional: an external battery pack like a Cellink NEO for extended parking mode without draining your car battery
The trim tool is the unsung hero here. Trying to tuck wires with a screwdriver usually ends with a cracked trim panel or a scratched headliner. Spend a few dollars on a plastic kit and thank yourself later.
Picking the Best Mounting Location
Where you place the dash cam affects everything: video quality, legality, and how much it blocks your view. I always aim for a spot that's discreet, central, and within the wiper's sweep zone.
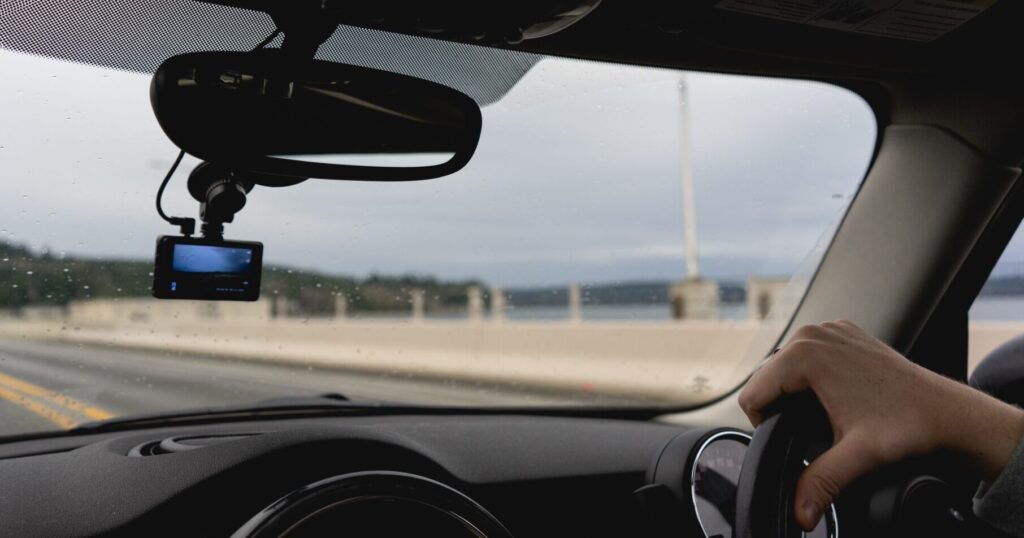
The sweet spot is just behind the rearview mirror, slightly to the passenger side. This keeps the camera out of your direct line of sight while still capturing a balanced view of the road. In most states, mounting on the windshield is legal as long as it doesn't obstruct the driver's view, but laws vary by jurisdiction, so check your local regulations.
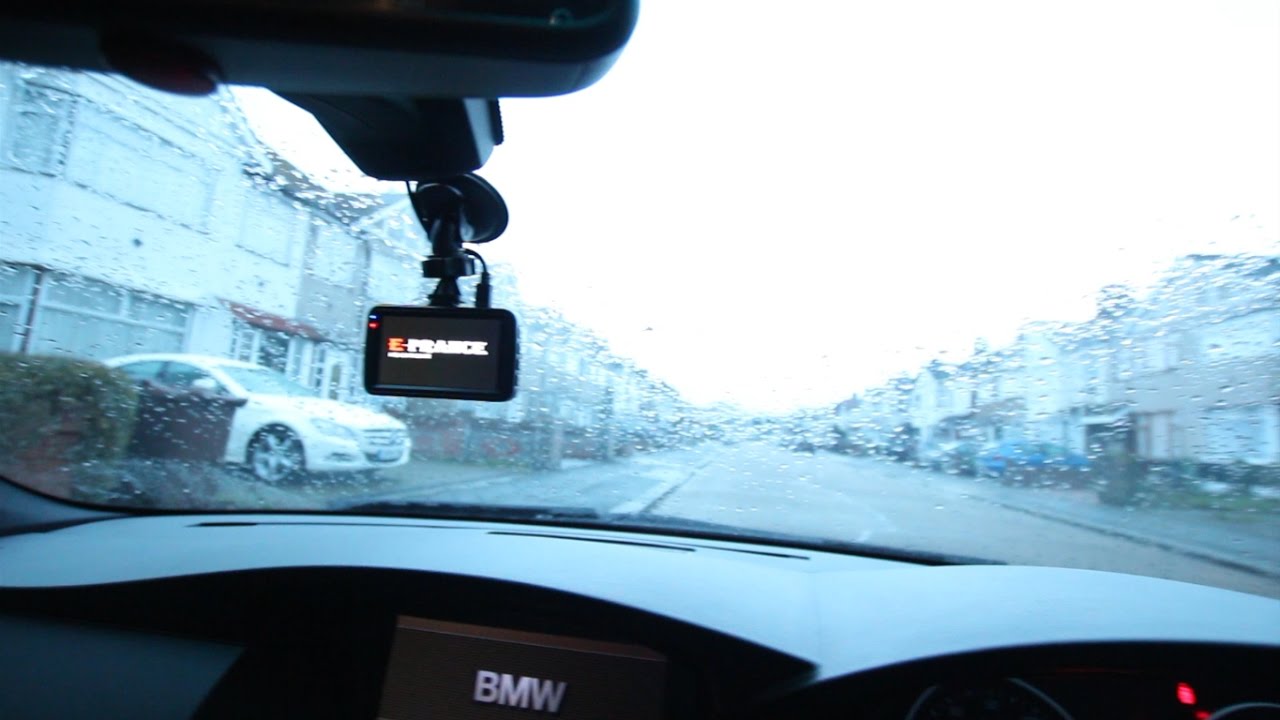
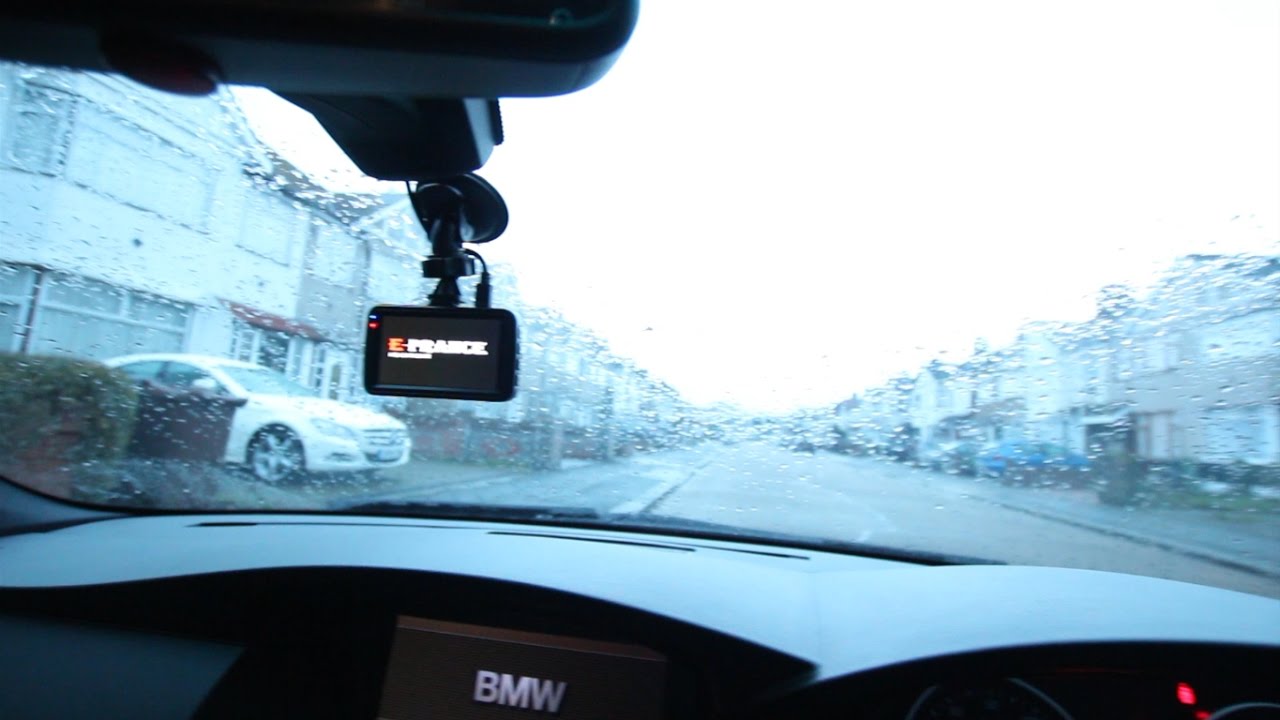
Make sure the lens sits within the area your windshield wipers clean. Otherwise, on a rainy night, your footage will be useless right when you need it most. Clean the glass with isopropyl alcohol first, then let it dry completely before pressing the adhesive mount in place. Suction cup mounts are easier to remove, but adhesive pads hold firmer over time, especially in heat.
Hold the camera up and turn it on before sticking anything down. Check the live view on your phone or the cam's screen to confirm the horizon line sits about 60% road and 40% sky. Too much sky means you'll lose detail in shadows. Too little and you miss the context of the road ahead.

How to Route and Hide the Power Cable
Tangled wires hanging from your dash cam look terrible and can interfere with driving. Routing the cable along the headliner and down the A-pillar gives you a factory-installed look.
Start by plugging the cable into the dash cam and running it straight up into the headliner. Most headliners have a small gap where they meet the windshield, and you can gently push the cable into that seam with your trim tool. Work your way across to the A-pillar on the passenger side.
The A-pillar is where most people get nervous, and rightly so. Modern cars often have side curtain airbags hidden behind that trim panel. Always route the cable down the side of the pillar, not across the middle where the airbag deploys. Look for the airbag warning label on your pillar to confirm its location. Gently pull back the rubber weatherstripping along the door frame, tuck the cable behind it, and let the strip snap back into place to hold the wire secure.
Run the cable down toward the kick panel near your feet, then across to the center console where your 12V outlet lives. Leave a little slack near the camera so you can adjust the angle without straining the wire. If you have a rear camera cable, route it along the headliner all the way to the back of the car, usually down the passenger side and into the trunk or hatch area.
Powering Your Dash Cam the Right Way
You have three main options for power, and each has tradeoffs.
A 12V cigarette lighter adapter is the easiest. You plug it in, and it works. The downside is the camera turns off when you shut off the ignition (unless your outlet is always hot), and the visible cable looks messy.
Hardwiring gives you the cleanest look. You connect the dash cam directly to your car's fuse box using a fuse tap. This setup also enables parking mode, since the camera can draw power even when the car is off. You'll need to identify a constant fuse (always on) and an accessory fuse (on with ignition), then ground the wire to a metal bolt on the chassis. Most dash cams come with a hardwiring kit that includes a voltage cutoff to prevent your car battery from dying.
External battery packs offer the best of both worlds. They charge while you drive and power the camera for hours in parking mode without touching your car's electrical system. They're more expensive, but for anyone who parks on busy streets or in lots, the extra run time is worth every penny.
Whichever method you choose, test the setup before buttoning everything up. Turn the car on and off, check that the camera powers up correctly, and confirm parking mode kicks in if you enabled it.

Configuring Dash Cam Settings for Best Results
Mounting the camera is only half the battle. The default settings rarely give you the best footage, and tweaking a few options makes a noticeable difference.
Set the resolution to the highest your camera supports, and choose 30fps for smoother motion. Some cameras offer 60fps at 1080p, which is great for capturing fast-moving license plates, but the lower resolution can cost you detail. I usually go with 1440p at 30fps as a balance.
Turn on loop recording and set the segment length to three or five minutes. Shorter files are easier to download and review, but longer ones mean fewer file breaks in the middle of an incident. Enable the G-sensor sensitivity to medium. Too high, and every speed bump locks a file. Too low, and the camera might miss a real impact.
If your dash cam has parking mode, configure the motion detection sensitivity and the voltage cutoff threshold. A setting around 11.8V to 12.0V protects most car batteries from going flat. Time-lapse mode is a nice alternative if you want continuous parked coverage without filling your card with motion clips.
Set the date, time, and timezone correctly. Footage with wrong timestamps is harder to use as evidence, and some insurance adjusters will question it. Most modern cameras sync via GPS, but double-check that the time matches your local time after you set everything up.
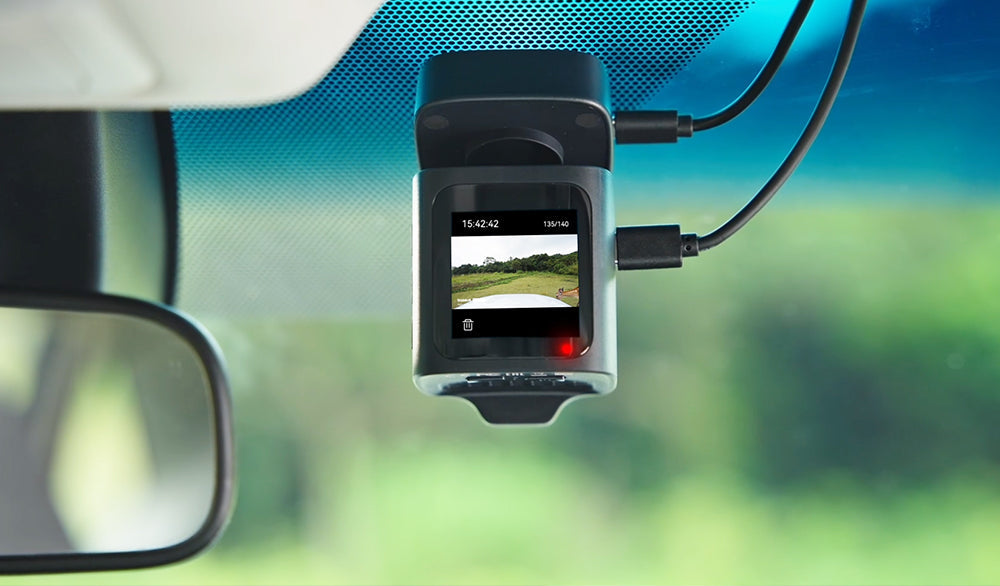
Testing Your Setup and Ongoing Maintenance
Don't trust that your camera is working just because the screen lights up. Test it before you rely on it.
Drive around the block and review the footage. Check that the horizon is level, license plates are readable when you pass parked cars, and there's no glare washing out the image. Night footage is especially important to test since most accidents happen in low light. If details look muddy, adjust the angle slightly or enable HDR if your camera has it.
Format the microSD card once a month. Constant writing wears out memory cells, and formatting keeps the file system clean. Most cameras have a format option in the settings menu, but you can also do it on a computer. Replace the card every year or two depending on usage, since even high-endurance cards have a finite lifespan.
Check the adhesive mount every few months, especially in hot climates. Heat cycles can weaken the bond, and the last thing you want is your camera falling off the windshield mid-drive. Wipe the lens with a microfiber cloth whenever you wash your car. A dirty lens is the number one reason people think their "dash cam quality is bad" when the actual problem is just a smudge.

Common Mistakes to Avoid When Setting Up a Dash Cam
I've made most of these mistakes myself, so save yourself the trouble and learn from my experience.
- Mounting too low or too far to the side, which creates a skewed view and misses important details
- Skipping the alcohol wipe before applying adhesive, leading to a mount that falls off in a week
- Routing cables across the airbag path, which can interfere with deployment during a crash
- Using a cheap microSD card not rated for continuous recording
- Forgetting to format the card, which can cause recording errors over time
- Ignoring local laws about windshield mounting, which can result in a ticket in some states
- Pointing the camera too high, capturing mostly sky instead of the road
Take your time during the install. Rushing leads to crooked cameras, loose wires, and poor footage. The whole process should take 30 to 60 minutes if you're doing it carefully.

Frequently Asked Questions
How long does it take to install a dash cam?
A basic install using a 12V outlet takes about 15 to 30 minutes. Hardwiring to the fuse box usually takes 45 to 90 minutes, especially if it's your first time working with automotive electrical systems. Take your time to route cables cleanly and test everything before finishing.
Can I install a dash cam myself without experience?
Yes, most people can handle a basic 12V outlet install with no prior experience. Hardwiring requires more comfort with car electronics, but countless tutorials walk you through identifying fuses and using a fuse tap. If you're unsure, any car audio shop can hardwire a dash cam for around $50 to $100.
Where should I avoid mounting a dash cam?
Don't mount it in front of the driver's line of sight or where it blocks road visibility. Avoid placing it over any dark tint strip at the top of the windshield, since adhesive doesn't bond well to tint film. Also steer clear of areas outside the wiper's sweep zone, where rain or snow will obscure the lens.
Do dash cams drain car batteries?
Hardwired dash cams can drain your battery if the voltage cutoff is set too low or if your battery is already weak. Most modern cameras include low-voltage protection that shuts them off before your battery dies. Using an external battery pack eliminates this concern entirely.
Is it legal to use a dash cam in every state?
In the US, dash cams are legal in all 50 states for personal use, but mounting locations are regulated. Some states restrict where on the windshield you can place objects, and a few limit audio recording without consent. Check your local laws to make sure your setup complies.
Final Thoughts
Setting up a dash cam is one of the smartest investments you can make for your car, and the actual installation is far less intimidating than most people think. With the right placement, clean cable routing, and properly configured settings, your camera will quietly record every mile without you ever having to think about it. The peace of mind that comes from having a reliable witness on the road is worth the 30 minutes it takes to do it right.
Start with a quality camera and a high-endurance memory card, take your time with the install, and remember to test your footage before you trust it. Once it's set up, do a quick format of the card every month and check the mount every few months. That small bit of maintenance keeps everything working when you need it most.
If you found this guide helpful, share it with a friend who's been thinking about getting a dash cam, or drop a comment below with your own setup tips. The road is unpredictable, but a good dash cam setup makes sure you're always ready for whatever comes next.