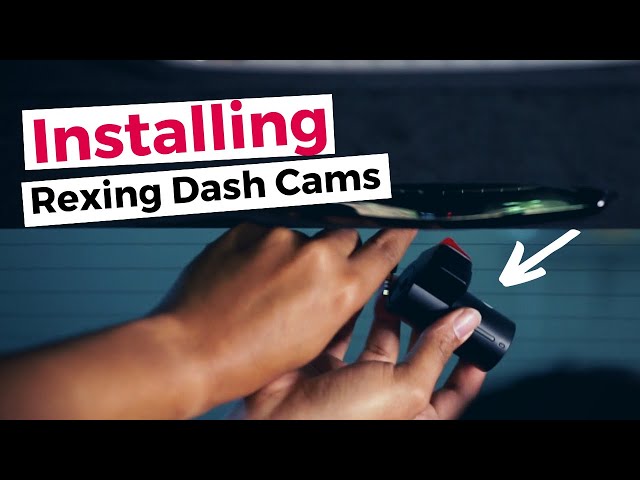
Installing a Rexing dash cam is a straightforward process that involves mounting the camera, routing the power cable, and adjusting the settings for optimal recording performance.
I've been setting up dash cams in my own cars for years, and the Rexing models are some of the easiest to work with. The whole process usually takes me about 20 to 30 minutes from start to finish, even when I'm running the power cable along the headliner for a clean, factory-style look. In this guide, I'll walk you through every step I use, share the small tricks I've learned, and help you avoid the common mistakes that can make your footage shaky or your install messy.
What You'll Need Before You Start
Before you mount anything, gather your tools so you're not hunting around the garage mid-install.
- Rexing dash cam (front, rear, or both, depending on your model)
- 32GB or 64GB microSD card (Class 10 or higher recommended)
- Suction cup or adhesive mount (usually included in the box)
- Car charger or hardwire kit
- Cable clips or adhesive cable management tabs
- Microfiber cloth to clean the windshield
- Plastic trim tool (optional, but very helpful for tucking cables)
Pro tip: Format your microSD card in the camera before you start. It saves a lot of headaches later. I learned this the hard way when my first Rexing kept throwing "card error" messages because I skipped that one step.
Choosing the Right Spot on Your Windshield
Where you place the camera matters more than most people think. A bad spot can block your view, catch too much glare, or record footage that doesn't actually help you in an accident.
Look for a spot behind or near the rearview mirror on the passenger side. This keeps the camera out of your line of sight while still capturing a wide view of the road. The Rexing wide-angle lens is generous, so you don't need to center it perfectly.
Make sure the area is clean. Wipe the glass with a microfiber cloth, and let it dry fully before you stick anything to it. Dust and moisture are the two biggest reasons mounts fall off, especially in hot weather.
Mounting the Dash Cam
Most Rexing dash cams come with either a suction cup mount or an adhesive mount. The suction cup is great if you want to move the camera between cars, while the adhesive mount is more permanent and stable.
If you're using the suction cup, slightly dampen the suction surface, press it firmly against the glass, and flip the locking lever. Give it a gentle tug to make sure it holds. If you're using adhesive, peel the backing, press the mount firmly for about 30 seconds, and let it cure for at least an hour before attaching the camera.
A small mistake I made early on was attaching the camera to the mount before the adhesive was fully set. On a hot day, the whole thing slid down the windshield. Now I always let the mount sit overnight if I have the time.
Routing the Power Cable
This is the part that scares most people, but it's actually the easiest once you know the path. The goal is to hide the cable so it runs along the headliner, down the A-pillar, and into the cigarette lighter or fuse box.
Start by plugging the cable into the camera. Then tuck it into the headliner with your fingers or a plastic trim tool. Work your way toward the A-pillar on the passenger side, and gently pull back the rubber weather stripping to hide the cable inside it. Run the cable down to the footwell, and then across to the power source.
Most people route the cable to the right of the A-pillar to avoid interfering with the passenger airbag. The airbag is usually marked with a warning label, so you'll see it clearly. Keep the cable in front of the weather stripping, not behind it, so the airbag can deploy without any obstruction.
If you're using a car charger, just plug it into the 12V outlet and you're done. If you're hardwiring, connect the red wire to a constant fuse, the yellow wire to an ignition-switched fuse, and the black wire to a ground point. Rexing's hardwire kit comes with clear instructions, and the whole thing takes about 10 extra minutes.
Setting Up the Rear Camera (If You Have One)
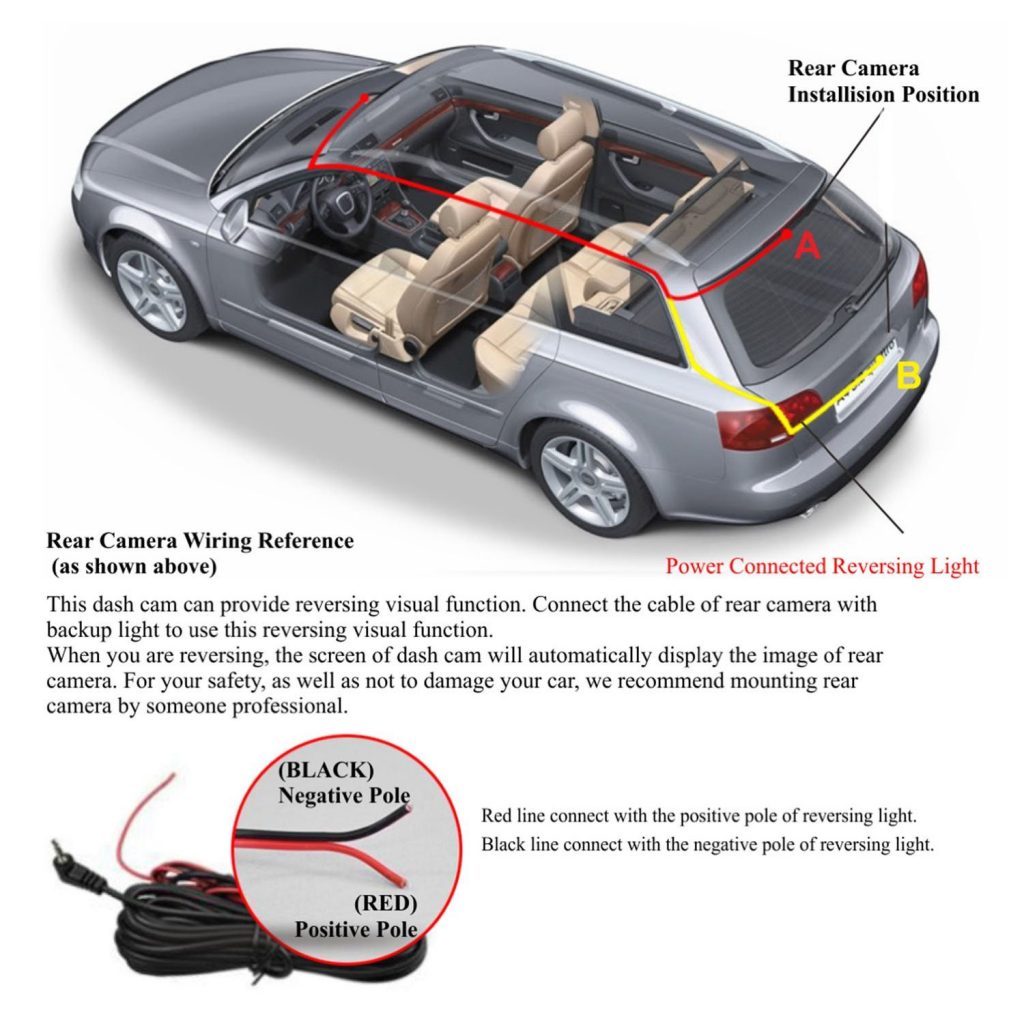
If your Rexing model came with a rear camera, the install is similar but adds a second cable run. Mount the rear camera at the top of the rear windshield, centered if possible. Route the cable along the headliner of the back seat, down the C-pillar, and along the floor or under the door seals until you reach the front camera.
The rear cable is usually longer and thinner than the front one, so it tucks away easily. I've found that using a few extra cable clips along the top of the rear windshield keeps everything tidy and prevents the cable from falling down when you open and close the trunk.
Powering On and Adjusting the Settings
Once everything is mounted and plugged in, start your car. The Rexing dash cam should power on automatically and start recording within a few seconds.
Take a minute to go through the settings menu and make a few adjustments:
- Set the resolution to the highest setting your model supports, usually 1080p or 4K.
- Turn on loop recording so the camera overwrites old footage when the card is full.
- Enable the G-sensor so the camera saves and locks footage during sudden stops or impacts.
- Set the date and time so your footage has accurate timestamps.
- If your model has parking mode, turn it on and adjust the sensitivity.
I always do a quick test drive after the install. It lets me check the angle, make sure the camera isn't shaking, and confirm that the footage actually looks good. There's nothing worse than needing footage after an accident and finding out your camera was pointed at the sky the whole time.
Common Mistakes to Avoid
A few small errors can turn a good install into a frustrating one. Here are the ones I see most often:
- Mounting too low on the windshield, which blocks the driver's view and records too much hood.
- Skipping the cable management, leaving wires dangling across the dashboard.
- Forgetting to format the microSD card, which causes recording errors.
- Using a cheap or old microSD card, which can't keep up with the camera's write speed.
- Pointing the camera too high or too low, missing the actual road.
Fixing any of these usually takes just a few minutes, but it's much easier to get it right the first time.
Maintaining Your Rexing Dash Cam
Once your dash cam is installed, a little bit of maintenance goes a long way. Check the mount every few weeks to make sure it's still secure, especially in summer when heat can weaken adhesive. Wipe the lens with a microfiber cloth regularly so dust and fingerprints don't blur your footage. Format the microSD card once a month to keep it healthy, and replace the card every year or two if you use the camera daily.
A well-maintained Rexing dash cam will give you years of reliable recordings, and you'll be glad you took the time to set it up properly.

Frequently Asked Questions
How long does it take to install a Rexing dash cam?
Most people can complete the install in 20 to 45 minutes, depending on whether you're routing cables to the 12V outlet or hardwiring the camera to the fuse box.
Do I need to hardwire my Rexing dash cam?
Hardwiring is optional, but it gives you access to parking mode and frees up your 12V outlet. Plugging into the cigarette lighter works just fine for basic recording while driving.
Where is the best place to mount a Rexing dash cam?
The best spot is behind or next to the rearview mirror on the passenger side. This keeps the camera out of your view while still recording a wide angle of the road.
Can I install a Rexing dash cam myself without experience?
Yes, the install is designed for beginners. If you can follow the included manual and use a plastic trim tool to tuck cables, you can do the whole job without any professional help.
Will a Rexing dash cam drain my car battery?
In normal driving mode, the camera uses very little power. If you use parking mode with a hardwire kit, the camera will draw a small amount of power, but most kits have a low-voltage cutoff to protect your battery.
Final Thoughts
Installing a Rexing dash cam is one of the best upgrades you can make for your car. It takes less than an hour, costs very little, and gives you peace of mind every time you hit the road. Once you've done it once, you'll wonder why you waited so long. Take your time with the cable routing, double-check your angle, and don't forget to format that memory card. If you have any questions about your specific Rexing model, drop them in the comments below and I'll help you figure out the best setup for your car.