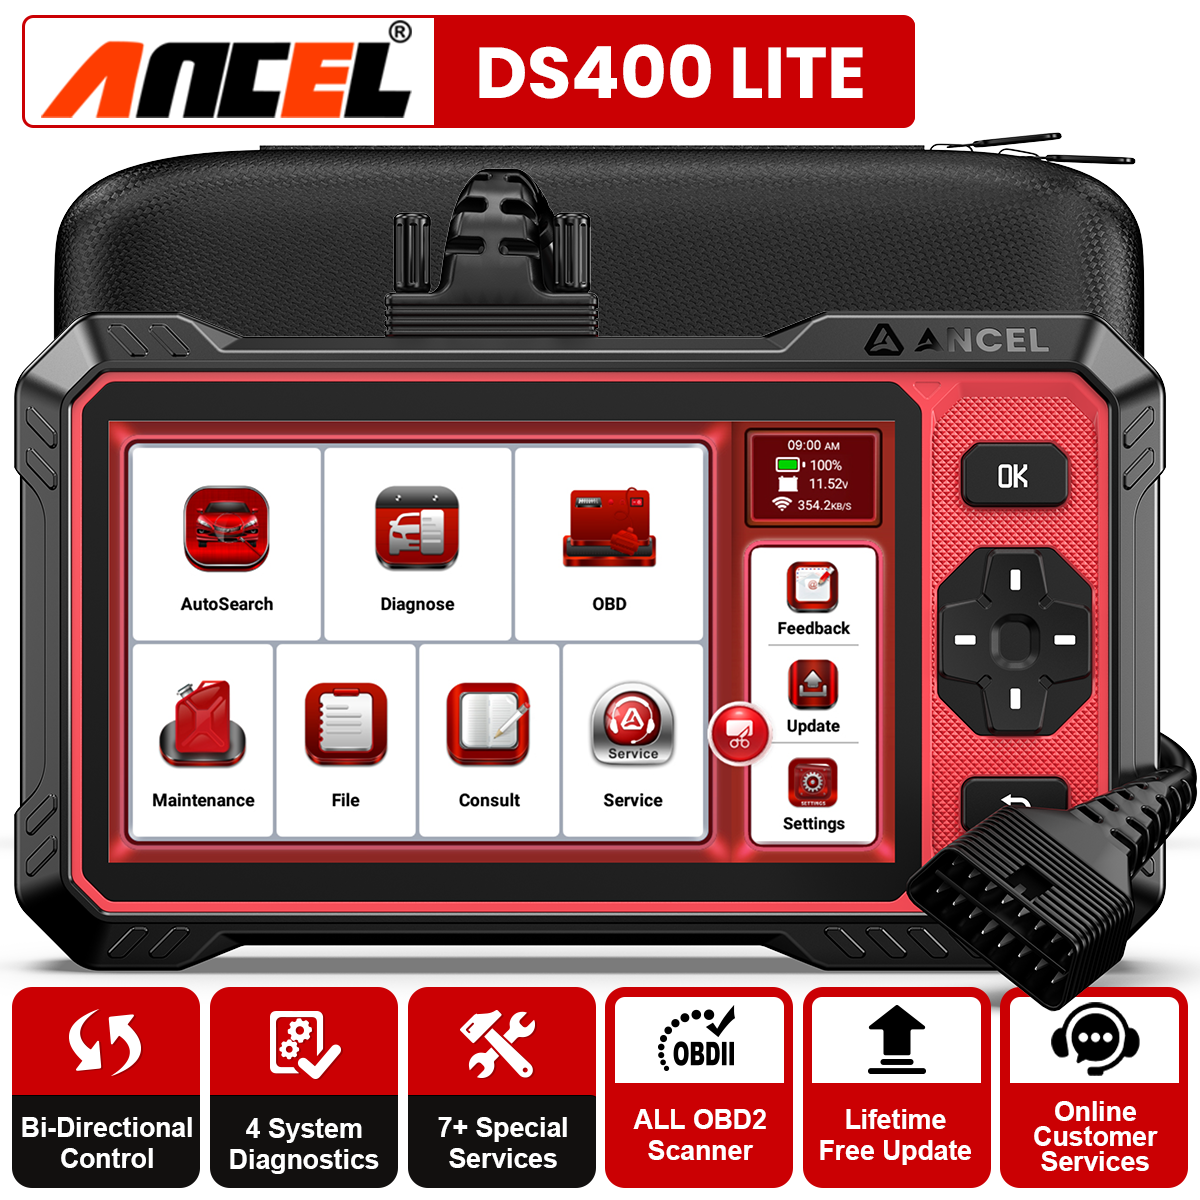
Using an ANCEL OBD2 scanner is simple: plug it into your car's OBD-II port, turn the ignition to the ON position, and follow the on-screen menu to read codes, view live data, or clear the check engine light.
If you've ever stared at a glowing check engine light and felt that little pang of dread, you're not alone. I've been there, popping the hood and wishing I had a magic wand. The good news? Learning how to use an ANCEL OBD2 scanner is one of the easiest DIY skills you can pick up, and it can save you hundreds of dollars in mechanic fees. Whether you're a weekend warrior or just someone who wants to understand what your car is trying to tell you, this guide will walk you through every step. I've spent years tinkering with vehicles and testing different scanners, and I can honestly say ANCEL makes some of the most beginner-friendly tools on the market. Let's dive in and turn that confusing dashboard warning into something you can handle with confidence.
What Is an ANCEL OBD2 Scanner and Why You Need One
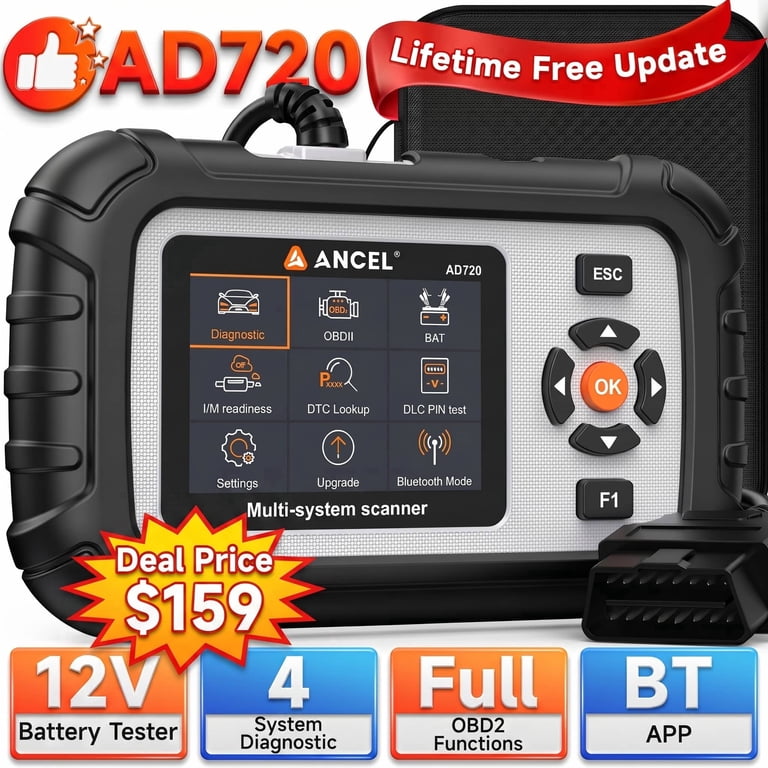
An ANCEL OBD2 scanner is a handheld diagnostic tool that connects to your vehicle's onboard computer system. It reads trouble codes, monitors real-time data, and helps you understand what's happening under the hood without visiting a mechanic.
Think of it as a translator for your car. Modern vehicles have computers that constantly track everything from engine performance to emissions. When something goes wrong, the computer stores a code. Without a scanner, you're guessing. With an ANCEL OBD2 scanner, you get straight answers.
These tools have become essential for car owners because they put professional-level diagnostics into your hands. You can check why your check engine light is on, monitor fuel efficiency, reset oil lights, and even test battery health depending on the model. Compared to dealership visits that charge $100 or more just to read codes, a one-time investment in a quality scanner pays for itself after a single use.
Getting to Know Your ANCEL OBD2 Scanner
Before you start scanning, take a few minutes to familiarize yourself with the device. Most ANCEL scanners feature a color display, navigation buttons or a keypad, and a connection cable that plugs into your vehicle.
The interface is designed to be intuitive, even if you're not a mechanic. You'll find buttons for navigating menus, confirming selections, and going back to previous screens. Higher-end models like the ANCEL AD310 or ANCEL FX2000 include additional features such as ABS and SRS diagnostics, while basic models focus on engine codes and emissions readiness.
One of the best things about ANCEL scanners is their universal compatibility. They work with most vehicles manufactured after 1996 in the US, which is when OBD2 became standard. Whether you drive a Toyota, Ford, Honda, or BMW, chances are your car speaks the same diagnostic language.
Preparing Your Vehicle and Workspace
A little preparation goes a long way toward a smooth scanning experience. Find a safe, flat area to work and make sure your car is parked with the parking brake engaged.
Turn off the engine before connecting the scanner, but leave the key in the ignition so you can switch it to the ON position later. The ON position powers your car's electronics without starting the engine, which is exactly what you need for diagnostics.
Locate your OBD2 port before you start. In most vehicles, you'll find it underneath the dashboard on the driver's side, usually near the steering column. It looks like a trapezoidal-shaped outlet with 16 pins. Some cars hide it behind a small panel or cover, so don't be afraid to look around. If you're having trouble, your owner's manual will show the exact location.
Make sure the scanner's cable can reach comfortably from the port to where you're sitting. There's nothing more frustrating than having to twist yourself into a pretzel just to read the screen.
Step-by-Step Guide: How to Use an ANCEL OBD2 Scanner
Now for the main event. Follow these steps, and you'll be reading codes like a pro in no time.
Step 1: Locate the OBD2 Port
Find the 16-pin diagnostic port under your dashboard. It's usually on the driver's side, but some vehicles place it in the center console or near the passenger side. If it's not immediately visible, check behind a small removable panel.
Step 2: Connect the Scanner
With the ignition off, plug the scanner's connector into the port. It should click into place. Avoid forcing it. The connector is shaped so it only fits one way.
Step 3: Turn the Ignition to the ON Position
Insert your key and turn it to the ON position without starting the engine. This powers your car's computer and the scanner. Your ANCEL device should light up and display a welcome screen or main menu.
Step 4: Navigate the Main Menu
Use the arrow keys or keypad to select "Diagnostics" or "Read Codes" from the main menu. Most ANCEL scanners organize functions into clear categories like Read Codes, Erase Codes, Live Data, and I/M Readiness.
Step 5: Select the System You Want to Test
Choose the specific system you want to diagnose. Basic scanners focus on the engine, while advanced models let you check ABS, airbags, transmission, and more. Pick the one matching your concern.
Step 6: Read the Codes
The scanner will communicate with your car's computer and display any stored trouble codes. These appear as a mix of letters and numbers, like P0301 or P0420. Each code corresponds to a specific issue.
Step 7: Interpret the Results
Use the scanner's built-in code library or the user manual to look up what each code means. Many ANCEL scanners show a brief description on-screen. Write down the codes so you can research them further if needed.
Step 8: Decide Your Next Steps
Once you know what's wrong, you can decide whether to fix it yourself, take it to a mechanic, or simply clear the code if it was a minor issue like a loose gas cap.
Reading and Understanding Diagnostic Trouble Codes
Diagnostic trouble codes follow a standardized format that makes them easier to interpret once you understand the system.
The first character tells you the system involved. P stands for powertrain (engine and transmission), B for body, C for chassis, and U for network communication issues. The second character indicates whether it's a generic code (0) or manufacturer-specific (1). The third digit points to a specific subsystem, and the last two or three digits identify the exact problem.
For example, P0301 means there's a misfire in cylinder one. P0420 typically points to a catalytic converter efficiency issue. P0171 often indicates a lean fuel mixture. Knowing how to read these codes transforms you from someone who panics at a dashboard light into an informed car owner who can have intelligent conversations with mechanics.
Clearing Codes: When and How to Do It Safely
Clearing codes is one of the most satisfying things you can do with your ANCEL scanner, but it's important to do it at the right time.
You should only erase codes after you've identified and fixed the underlying problem. Clearing a code without addressing the cause is like turning off a smoke alarm instead of putting out the fire. The light will come back, and you'll have missed an opportunity to catch a real issue.
To clear codes, navigate to the "Erase Codes" or "Clear Codes" option in the menu. The scanner will ask you to confirm, and within seconds, the check engine light will disappear. Keep in mind that erasing codes also resets your vehicle's readiness monitors, which means your car won't pass an emissions test until it completes its self-diagnostic cycles. This usually requires driving 50 to 100 miles under various conditions.
Using Live Data for Real-Time Monitoring
Beyond reading codes, ANCEL scanners let you watch your car's vital signs in real time. This feature, called Live Data or Data Stream, shows you everything from engine RPM and coolant temperature to fuel trim and oxygen sensor readings.
Live data is incredibly useful for diagnosing intermittent problems that don't trigger a code. If your car hesitates occasionally but runs fine most of the time, watching live data while driving can help you spot the moment something goes wrong. You can see if the oxygen sensor is lazy, if the coolant temperature is running too high, or if the fuel mixture is off.
It's like having a doctor's monitor hooked up to your car. You can observe how systems behave under different conditions and catch issues before they become serious.
Common Mistakes to Avoid When Using Your ANCEL Scanner
Even though these tools are designed for ease of use, a few common pitfalls can trip up beginners.
First, don't skip the user manual. I know it's tempting to just plug and play, but spending ten minutes reading the manual can save you hours of frustration. Each ANCEL model has slightly different features, and understanding yours unlocks its full potential.
Second, avoid clearing codes without diagnosing them first. I made this mistake years ago on an older car, and the issue returned worse than before. The code was a warning, not the problem itself.
Third, don't ignore manufacturer-specific codes. While generic codes are standardized, manufacturer-specific codes require additional research specific to your vehicle's make and model.
Finally, remember that a scanner is a diagnostic tool, not a crystal ball. It tells you what the computer knows, but some issues exist outside the computer's awareness. Things like worn brake pads, bad belts, or leaking hoses won't show up on a scanner.
Tips From My Own Experience With ANCEL Scanners
Over the years, I've used ANCEL scanners on everything from old sedans to newer hybrid models, and they've consistently delivered reliable results.
One piece of advice I always share: keep the scanner in your car. You'd be surprised how often a warning light appears at the worst possible moment. Having the tool within reach means you can diagnose the issue right away instead of waiting for a mechanic's appointment.
Another tip is to take notes. When you read codes, jot down the numbers, when they appeared, and what you were doing at the time. This information becomes invaluable if you need to seek professional help later.
I also recommend investing in a scanner that supports more than just engine codes if your budget allows. Models like the ANCEL AD610 or ANCEL X7 offer ABS, SRS, and transmission diagnostics. These systems are expensive to diagnose at a shop, so the scanner pays for itself quickly.
Lastly, update your scanner's software when possible. ANCEL releases updates that add new vehicle coverage and improve functionality. A quick check for updates every few months keeps your tool current.
Maintaining Your ANCEL OBD2 Scanner for Long-Term Use
A quality scanner should last for years with minimal care. Store it in a cool, dry place away from extreme temperatures. Avoid dropping it or exposing it to moisture, even though many models are built with durable casings.
Clean the connector periodically with a soft, dry cloth to ensure a good connection. Dust and corrosion on the pins can cause communication errors. If you live in a humid climate, consider keeping the scanner in a sealed bag with a silica gel packet.
Charge the battery before extended storage if your model is rechargeable. For scanners that draw power from the OBD2 port, you don't need to worry about battery life, but you should still inspect the cable for wear or damage.
Frequently Asked Questions About How to Use an ANCEL OBD2 Scanner
Do I need to start my car when using an ANCEL OBD2 scanner?
No, you don't need to start the engine. Turn the ignition to the ON position, which powers the electronics and allows the scanner to communicate with the car's computer without running the engine.
Will an ANCEL scanner work on any car?
ANCEL scanners work with most vehicles manufactured after 1996 in the US, which is when OBD2 became a standard requirement. Some models also support older OBD1 vehicles with the right adapter, but always check compatibility before purchasing.
Can using an OBD2 scanner damage my car?
No, using an OBD2 scanner is completely safe. These tools are designed to read information from your car's computer without making changes. As long as you use the erase function only after addressing the problem, there's no risk of damage.
How often should I scan my car?
There's no strict rule, but scanning whenever a warning light appears is a good practice. Some car enthusiasts scan monthly to catch developing issues early, especially on older vehicles or those with high mileage.
What's the difference between reading codes and live data?
Reading codes shows you stored trouble codes that triggered a warning light, while live data streams real-time information from various sensors. Live data is useful for diagnosing intermittent issues and monitoring how your car performs under different conditions.
Learning how to use an ANCEL OBD2 scanner is one of the most empowering things you can do as a car owner. You gain the ability to understand your vehicle, catch problems early, and make informed decisions about repairs. The process is straightforward once you understand the basics, and every scan makes you more confident. Grab your scanner, find that OBD2 port, and take control of your car's health. You'll wonder how you ever managed without it. If you found this guide helpful, feel free to share it with fellow car enthusiasts or drop a comment with your own tips and experiences.