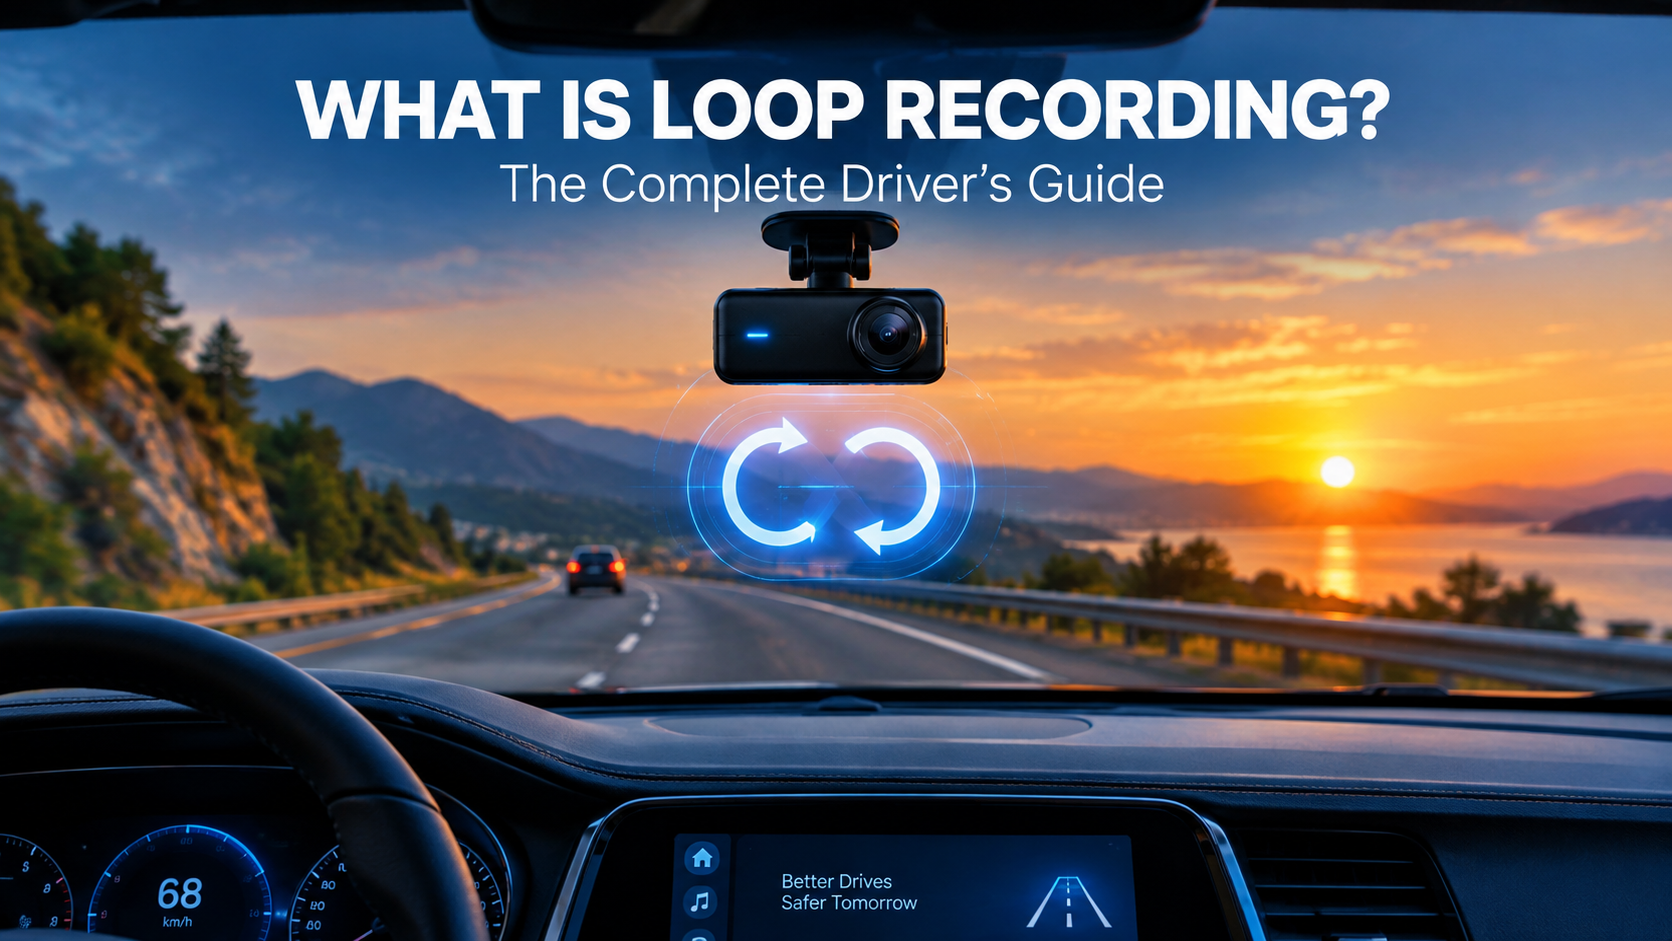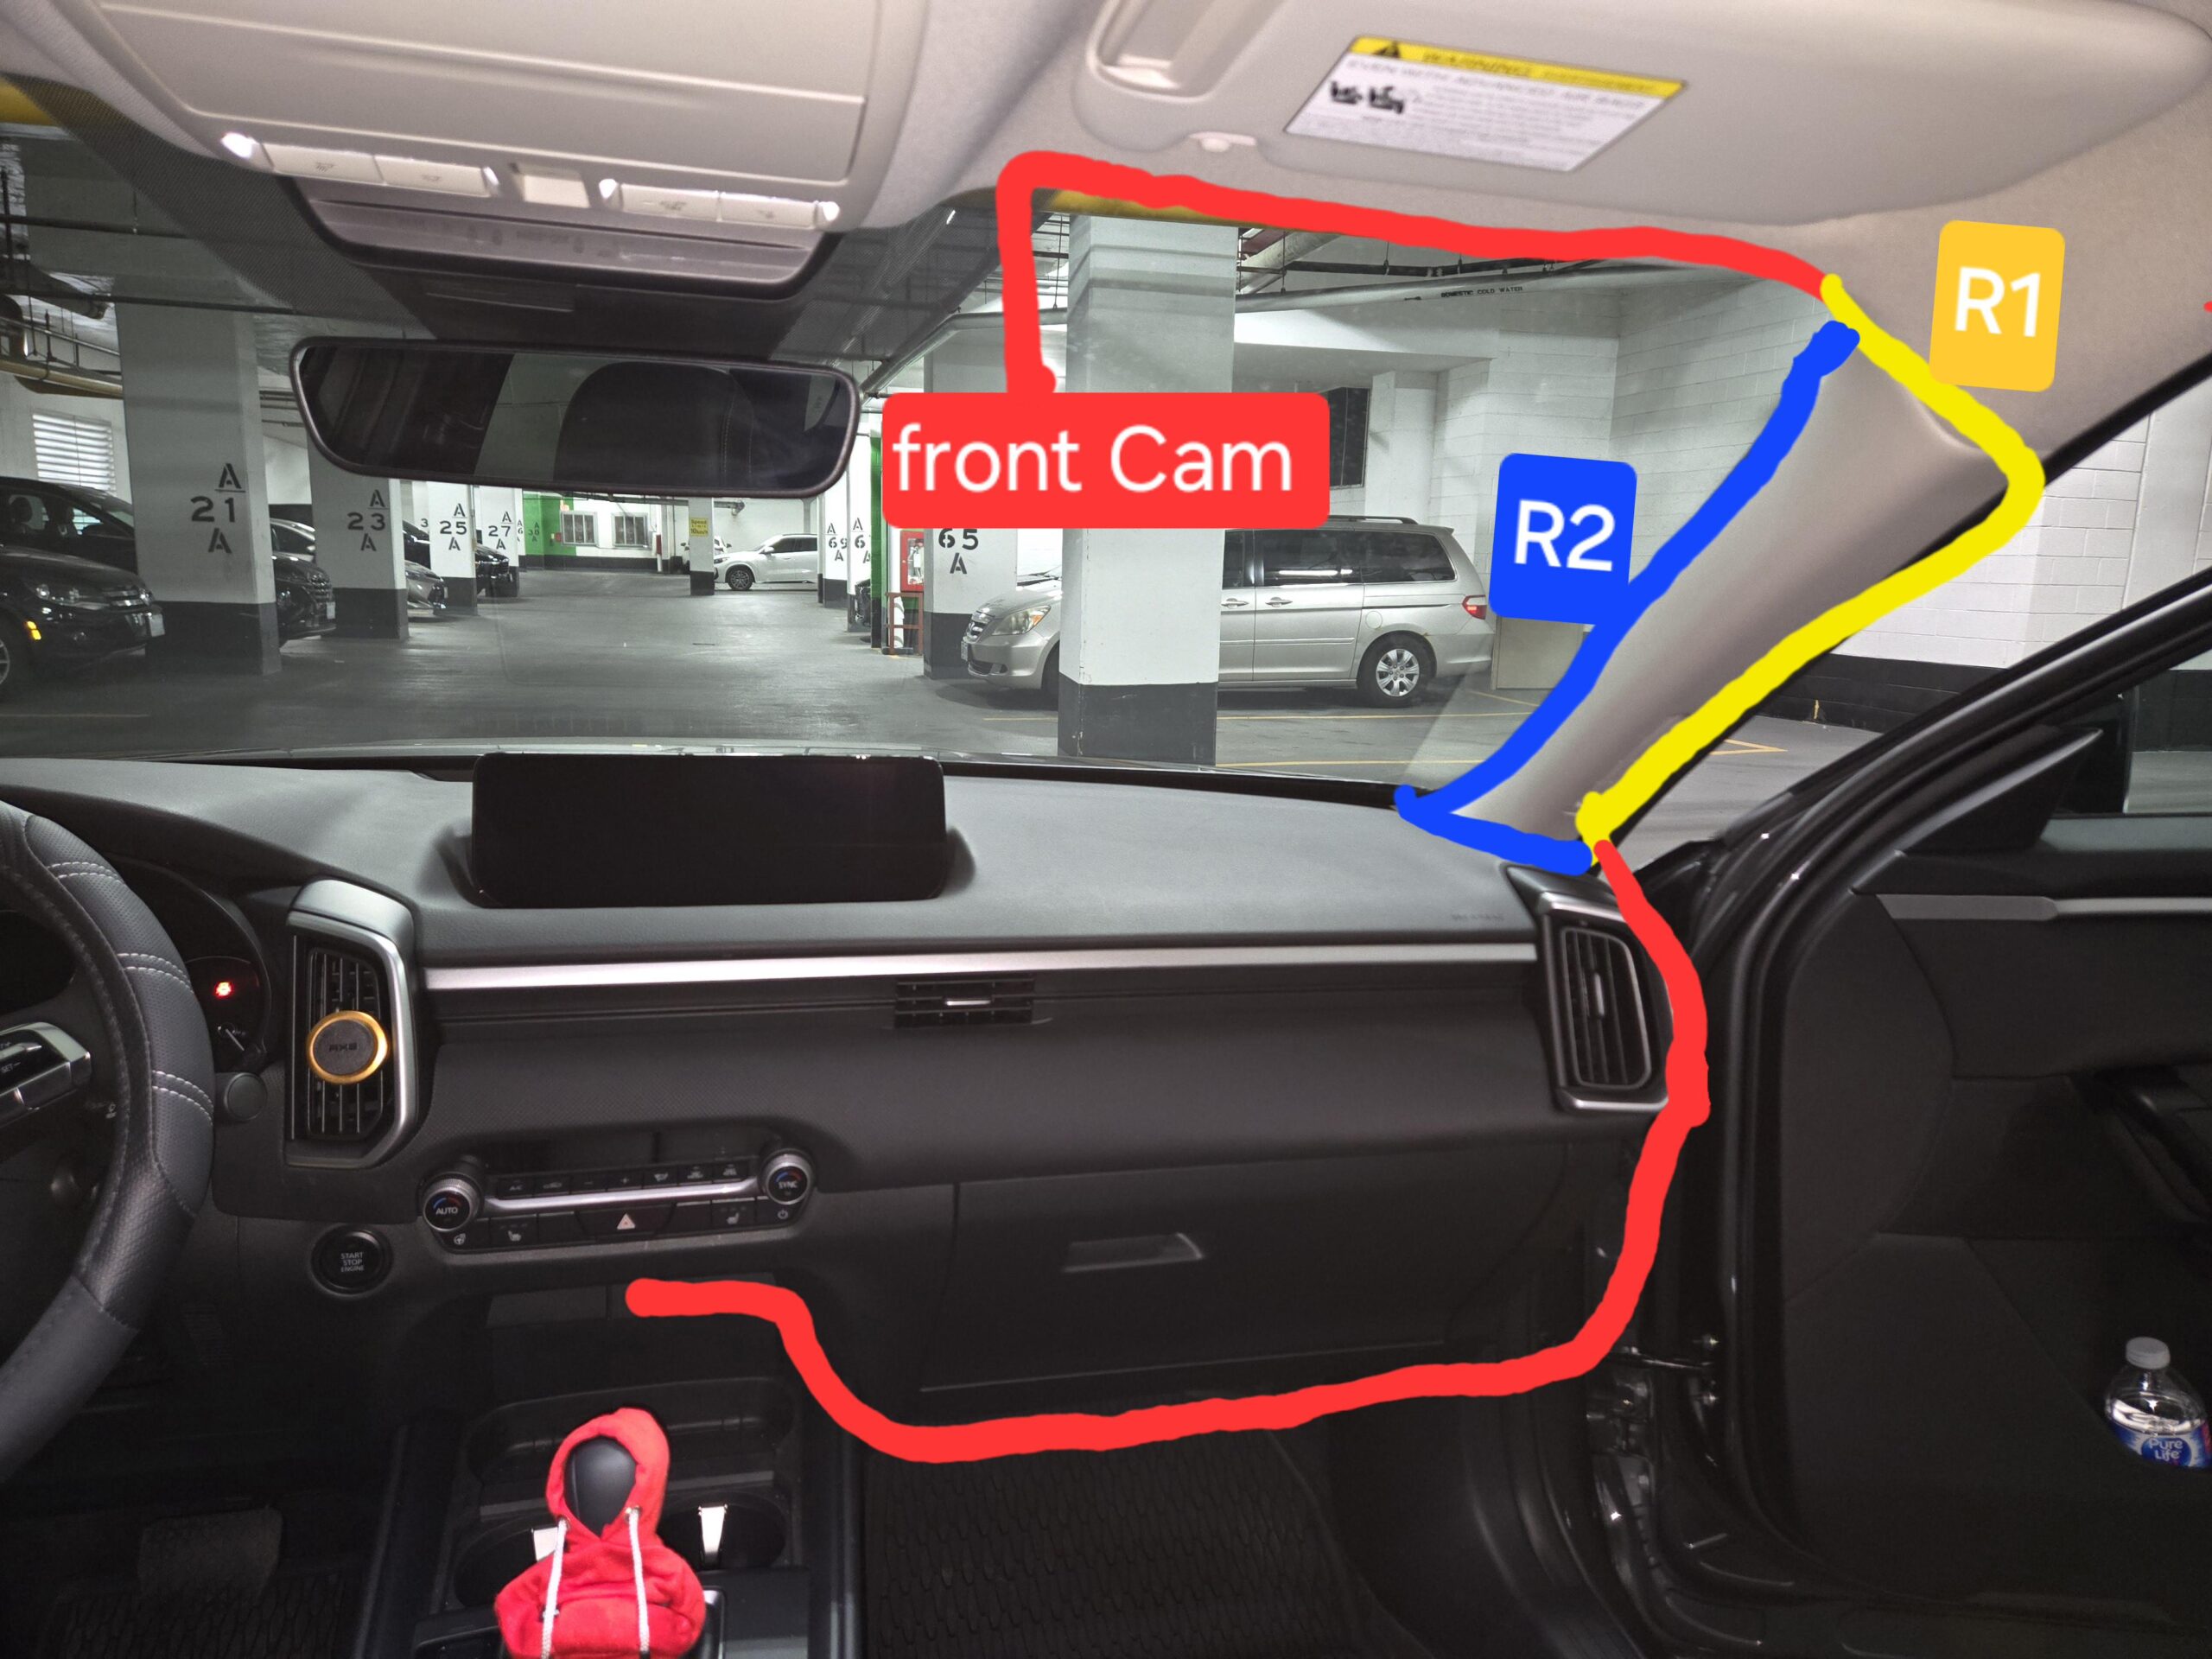
Wiring a dash cam is simple when you route the power cable along the headliner, down the A-pillar, and into the fuse box for a clean, hidden installation.
If you have ever bought a dash cam and felt stuck looking at the cable, you are not alone. Most drivers want a clean setup without cords hanging across the windshield. The good news is that wiring a dash cam is a basic DIY job that takes about 30 to 60 minutes with the right tools. After installing dozens of dash cams in my own cars and helping friends with theirs, I can walk you through the exact steps that work every time.
What You Need Before Wiring a Dash Cam
Before you start, gather all the tools and parts in one place. This saves you from running back and forth mid-install.
Here is a quick checklist:
- Dash cam with power cable and mount
- Hardwire kit with voltage cutoff
- Add-a-fuse taps (usually two)
- Trim removal tool or plastic pry tool
- Micro fuse holder if not included
- Zip ties and adhesive cable clips
- Wrench or pliers for battery terminal
- Multimeter to test fuse slots
- Owner manual for fuse box layout
A hardwire kit is the key part for a hidden look. It connects directly to your car battery through the fuse box and shuts off the cam when the battery gets low. This way, you do not need to plug into the cigarette lighter, and your dash cam can run in parking mode.
How to Choose the Right Power Source for Your Dash Cam
You have three main options to power a dash cam. Each one has its own pros and cons.
Cigarette lighter socket is the easiest. Just plug in and go. The downside is the cord hangs down, and the socket often turns off with the ignition. This means no parking surveillance.
USB port works for some cams but usually does not supply steady power. It is fine for short drives but not ideal for daily use.
Hardwiring to the fuse box is the cleanest method. It gives constant power, supports parking mode, and hides every wire. This is what I recommend for anyone who wants a factory look.
If you want 24/7 recording or parking mode, a hardwire kit is a must. For basic front recording only, the cigarette plug works fine for a quick setup.
Step by Step Guide on How to Wire a Dash Cam
Here is the full process I follow every time. Take it slow, and you will get a perfect result.
Step 1: Plan the Cable Route
Look at your windshield and decide where the dash cam will sit. Most people mount it behind the rearview mirror to keep the view clear. The cable will run from the cam, up into the headliner, across the roof, down the A-pillar, into the dashboard, and finally to the fuse box on the driver or passenger side.
Plan the path before you touch anything. This avoids loose wires and keeps the install neat.
Step 2: Mount the Dash Cam
Attach the mount to the windshield using the adhesive pad or suction cup. Clean the glass first with alcohol wipes. A clean surface holds much better and stops the cam from falling on a hot day.
Adjust the angle so the lens covers the road ahead with a small bit of sky. Lock the mount tight.
Step 3: Run the Cable Along the Headliner
Tuck the power cable into the headliner starting at the dash cam. Use your fingers or a trim tool to push the wire into the gap between the headliner and the windshield. The headliner is soft, so the cable slides in easily. Keep going until you reach the A-pillar on the side closest to the fuse box.
Step 4: Route Down the A-Pillar
This part scares people, but it is safe if you go slow. The A-pillar cover just pops off with gentle pressure from a trim tool. Start at the top and work your way down.
Inside the pillar, you will see airbags in some cars. Always route the cable along the side of the pillar, not across the airbag path. The airbag has a clear line on the cover. Keep your wire behind that line, close to the door seal.
Tuck the cable down until you reach the dashboard at the bottom. You can now run it along the kick panel or under the dash toward the fuse box.
Step 5: Connect to the Fuse Box
Open the fuse box cover. Your owner manual shows which fuse is which. Pick a fuse that turns on with the ignition, like the radio or cigarette lighter. This gives switched power. For parking mode, also pick a constant hot fuse.
Use an add-a-fuse tap. Pull out the original fuse, put it into the lower slot of the tap, and add a matching fuse for the dash cam on the top slot. Crimp or plug the red wire from the hardwire kit into the tap. The black ground wire goes to a bare metal bolt nearby on the car chassis. Loosen the bolt, slide the ring terminal under it, and tighten back up.
Step 6: Test the System
Before you button everything up, turn the key to on. The dash cam should power up. Start the car and check the recording. Turn the car off to see if the cam shuts down properly if you used a switched fuse. If you wired constant power, the cam should stay on, but the hardwire kit will cut power if the battery drops below 11.8 volts.
Step 7: Reassemble and Final Cleanup
Snap the A-pillar cover back on. Tuck any extra wire behind the kick panel. Use zip ties to secure loose loops. Close the fuse box. Take your car for a short drive and watch the footage to make sure the angle is right.

Common Mistakes to Avoid When Wiring a Dash Cam
I have made some of these mistakes myself, so learn from me.
- Routing the cable across the airbag. It can block the airbag or get tangled in an accident. Always go around it.
- Using the wrong fuse size. Too small and it blows. Too big and the wire overheats. Match the dash cam fuse to the circuit.
- Skipping the ground wire. A bad ground causes random shutoffs and power issues. Sand the metal point for better contact.
- Hiding the wire under the rubber door seal only. It looks fine at first, but the door can pinch the cable over time. Use the headliner and pillar instead.
- Not setting the parking mode voltage. A hardwire kit with a wrong setting can drain your battery. Set it to 11.8V or 12.2V for safety.
Tips for a Clean and Hidden Dash Cam Install
A few extra tricks make the install look like it came from the factory.
Use black tape on the cable near the headliner to match the trim. Run the wire parallel to existing factory wires for a factory look. Buy a low-profile mount that hugs the glass. Pick a fuse location close to the door so you have less wire to hide.
If you have a rear cam too, run the rear cable through the headliner, down the B-pillar or C-pillar, and into the trunk. The same method works for side and rear cameras.
Safety Tips Before You Start
Working with car electrical systems is safe if you follow basic rules.
- Disconnect the negative battery terminal if you feel unsure
- Never work on the fuse box while the car is running
- Read the dash cam manual for power specs
- Test with a multimeter before making the final connection
- Do not force any trim pieces. They break easily
If your car is under warranty, check the manual. Some brands warn against hardwiring accessories. A simple fuse tap usually does not void the warranty, but it is good to know.
Tools That Make the Job Easier
A trim removal kit is the best five dollars you will spend. It prevents scratches and popped clips. A fuse tap set with multiple sizes covers almost every car. A small flashlight helps you see into dark fuse boxes. Magnetic screw holders save dropped bolts under the dash.
Benefits of Hardwiring Your Dash Cam
Hardwiring is more than just looks. It also gives real features.
Parking mode records hits and motion while you are away. The cam turns on automatically with the car. You free up the cigarette lighter for other devices. Your dashboard stays clean and uncluttered. The setup looks professional and adds value if you ever sell the car.
Frequently Asked Questions
Do I need a professional to wire a dash cam?
No, most people can do it at home with basic tools. The job takes less than an hour and only needs a trim tool, fuse taps, and a hardwire kit. If you are not comfortable with car electrical work, any car audio shop can do it for a small fee.
Will hardwiring a dash cam drain my car battery?
A good hardwire kit has a low voltage cutoff. It stops power to the cam when the battery drops to a safe level, usually 11.8V. This protects your battery from going dead. Modern hardwire kits are designed for daily driving without battery issues.
Can I wire a dash cam without a hardwire kit?
Yes, you can use the cigarette lighter socket. It is the fastest method but leaves a visible wire. It also usually turns off with the car, so no parking mode. Hardwiring is better for a clean look and full features.
Where is the best place to mount a dash cam?
Behind the rearview mirror is the most popular spot. It keeps the cam out of your view, centered on the road, and close to the headliner for easy wire routing. Make sure the lens has a clear view of the road ahead.
What fuse should I use for a dash cam?
Pick a fuse that matches the dash cam power draw, usually 2A or 3A. Common picks are the radio, cigarette lighter, or accessory fuse. Use a fuse tap to avoid cutting the original wire. Always check your owner manual for the right fuse slot.
Conclusion
Wiring a dash cam is a simple project that pays off every time you drive. With a hardwire kit, a few basic tools, and about an hour of your time, you can get a clean, factory-looking install that also unlocks parking mode and 24/7 protection. Take your time with the cable routing, respect the airbag paths, and test every connection before you snap the trim back in place. Once it is done, you will never have to look at a hanging cord again, and your footage will be ready whenever you need it. Got questions about your specific car model or dash cam brand? Drop a comment below and I will help you out.