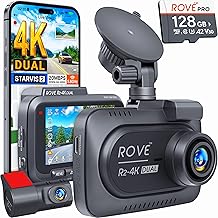
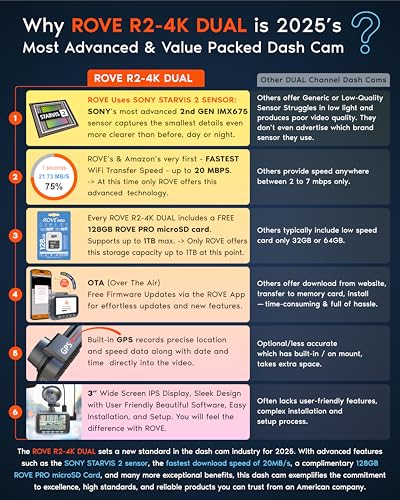
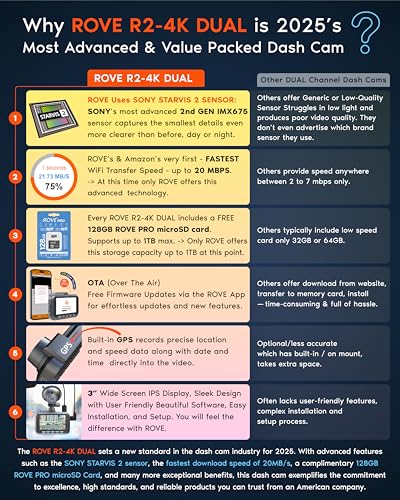
Installing a rear dash cam is a simple DIY project that involves mounting the camera, routing the power cable along the headliner and door seals, and connecting it to a power source or hardwiring it to the fuse box.
I remember the first time I installed a rear dash cam on my SUV. I spent almost an hour figuring out where to route the cable so it wouldn't dangle across the trunk. After a few tries, I learned that tucking the wire along the rubber weatherstripping makes it nearly invisible. That small trick turned a messy job into a clean, professional-looking setup, and it has saved me plenty of headaches ever since.
If you're planning to install a rear dash cam yourself, this guide will walk you through every step. From choosing the right tools to connecting the power, I'll share practical tips and lessons I've learned over the years to make the process smooth and stress-free.
What You'll Need Before Installing a Rear Dash Cam
Before you start, gather all the necessary tools and materials. Having everything ready saves time and prevents frustration mid-installation. Here's a checklist of what you'll typically need:
- Rear dash cam unit with mounting bracket or adhesive pad
- Power cable (usually included with the dash cam)
- Cable clips or adhesive cable holders
- Trim removal tool or a flat plastic pry tool
- MicroSD card (if not pre-installed)
- Fuse tap kit (for hardwiring)
- Multimeter or test light (optional, for checking fuse polarity)
- Microfiber cloth and alcohol wipes (for cleaning the mounting surface)
- Zip ties for securing excess cable
Most rear dash cams are designed to be user-friendly, so the installation doesn't require advanced technical skills. However, taking a few minutes to prep your workspace and read the user manual can prevent common mistakes.
Choosing the Best Mounting Location for a Rear Dash Cam
The placement of your rear dash cam is critical for capturing clear footage. The ideal location depends on your vehicle type, but here are the most common options:
- Inside the rear windshield, near the top center, just below the defroster lines
- On the rear hatch or trunk lid, mounted externally for trucks or SUVs with limited rear visibility
- Above the rear license plate, using a license plate mount for a discreet look
When choosing a spot, make sure the camera has a clear, unobstructed view of the road behind you. Avoid placing it where the windshield wiper or defroster lines could block the lens. Also, check that the camera doesn't interfere with your rearview mirror or any sensors.
From my experience, mounting the camera slightly off-center toward the driver's side often works best. It gives a wider view of the road and keeps the camera out of the way if you need to adjust the mirror.
How to Mount the Rear Dash Cam Securely
Once you've chosen the location, it's time to mount the camera. Follow these steps for a secure and stable installation:
- Clean the mounting area with an alcohol wipe to remove dust, grease, or residue. Let it dry completely.
- If your dash cam uses an adhesive pad, peel off the protective film and press the mount firmly against the glass for at least 30 seconds.
- If your dash cam uses a suction cup, moisten the cup slightly, press it against the glass, and lock the lever to create a strong seal.
- Attach the dash cam to the mount and adjust the angle so the camera水平 captures the road behind you. Most cameras swivel or tilt to help with alignment.
- Tighten any screws or knobs to lock the camera in place.
I always recommend double-checking the camera angle by reviewing a short test clip before moving on to the wiring. This small step saves you from having to re-mount the camera later if the framing is off.
Routing the Power Cable from Front to Rear
Routing the power cable is often the most time-consuming part of installing a rear dash cam, but it's easier than it looks. The goal is to hide the cable along the edges of your vehicle's interior so it's out of sight and doesn't interfere with passengers or cargo.
Start by plugging the power cable into the rear dash cam. Then, follow these steps to route it toward the front of the vehicle:
- Tuck the cable into the headliner along the top edge of the rear windshield
- Use a trim removal tool to gently pry open the rubber weatherstripping along the door frame and feed the cable behind it
- Continue routing the cable along the floor edge or under the door sill trim panels
- Bring the cable up along the front pillar and toward the front dash cam or power source
Most vehicles have plenty of space behind the trim panels and weatherstripping to hide the cable completely. Take your time and avoid forcing the cable into tight spots, as this could damage the wire or the interior trim.
If your dash cam kit includes extra-long cables, you can coil and secure the excess with zip ties behind the interior panels. This keeps things tidy and prevents rattling while driving.
Connecting the Rear Dash Cam to Power
There are three common ways to power a rear dash cam:
- Plugging into the front dash cam: Many front and rear dash cam systems connect directly, with the rear camera powered through a single cable from the front unit. This is the simplest method and usually requires no additional wiring.
- Cigarette lighter or 12V outlet: You can route the cable all the way to a 12V outlet in the front of the vehicle. This is easy but leaves a visible cable running across the dashboard.
- Hardwiring to the fuse box: This is the cleanest and most reliable method. It involves connecting the dash cam's power cable directly to a constant or switched fuse in your vehicle's fuse box using a fuse tap.
If you're hardwiring, use a multimeter or test light to identify a fuse that provides power only when the ignition is on (switched fuse) for driving mode, or a constant fuse if you want parking mode. Always use a fuse tap of the correct amperage to avoid electrical issues.
For most people, plugging the rear camera into the front dash cam is the easiest and safest option. It keeps the installation simple and avoids any risk of damaging the vehicle's electrical system.
Testing and Adjusting Your Rear Dash Cam
After everything is connected, it's important to test the system before hitting the road. Turn on your vehicle and check the following:
- The rear dash cam powers on and records video without interruptions
- The video feed is clear, with no glare or obstruction
- The camera angle covers the full width of the road behind you
- The cable is securely tucked and doesn't interfere with driving
Review a few minutes of footage to make sure the image quality is good and the time and date stamps are accurate. If the video looks shaky or blurry, try adjusting the mount or cleaning the lens.
I always take my car for a short test drive after installing a dash cam. This helps me spot any loose cables or rattling sounds that I might have missed in the garage.
Common Mistakes to Avoid When Installing a Rear Dash Cam
Over the years, I've seen a few common mistakes that can make a rear dash cam installation messy or ineffective. Here's what to watch out for:
- Mounting the camera too low, which can obstruct the driver's view or get blocked by the rear wiper
- Routing the cable across seat belts or airbags, which can interfere with safety systems
- Using cheap adhesive pads that lose grip in extreme heat or cold
- Forgetting to format the microSD card before first use, which can cause recording errors
- Skipping the fuse tap and tapping into random wires, which can lead to electrical shorts
Taking a little extra time to plan your route and secure the cable properly will save you from headaches down the road.
Maintenance Tips for Your Rear Dash Cam
Once your rear dash cam is installed, a little maintenance will keep it working reliably for years. Here are some simple tips:
- Clean the camera lens regularly with a microfiber cloth to remove dust and fingerprints
- Check the cable connections every few months to make sure nothing has come loose
- Format the microSD card every month or two to prevent file corruption
- Update the dash cam's firmware when new versions are available for improved performance
- Avoid leaving the camera in direct sunlight for extended periods, as extreme heat can shorten battery life
Treating your dash cam like any other important piece of tech will help you get the most out of it. A well-maintained camera is more likely to capture clear footage when you need it most.
Frequently Asked Questions About Installing a Rear Dash Cam
How long does it take to install a rear dash cam?
For most beginners, installing a rear dash cam takes between 30 minutes to an hour. If you're hardwiring it to the fuse box, it might take a bit longer, especially if you're unfamiliar with your vehicle's electrical system.
Can I install a rear dash cam without professional help?
Yes, most rear dash cams are designed for easy DIY installation. With basic tools and a little patience, you can complete the job without any special skills. Just follow the instructions and take your time routing the cable.
Do I need to hardwire my rear dash cam?
Hardwiring is optional but recommended if you want parking mode or a cleaner look without cables hanging from the cigarette lighter. It also frees up your 12V outlet for other devices.
Will installing a rear dash cam void my vehicle's warranty?
In most cases, installing a rear dash cam won't void your warranty. However, if you hardwire it and damage the electrical system, that could cause issues. Always follow the manufacturer's instructions and consider professional help if you're unsure.
What is the best position for a rear dash cam?
The best position is high on the rear windshield, centered or slightly off-center toward the driver. This gives the widest view of the road and minimizes blind spots. Avoid placing it where the defroster lines or wiper blades could block the lens.
Conclusion
Installing a rear dash cam is one of the smartest upgrades you can make for your vehicle. It adds an extra layer of security, captures evidence in case of an accident, and can even help you monitor your driving habits. With the right tools and a clear plan, the process is straightforward and rewarding.
If you've been thinking about adding a rear dash cam, I hope this guide gives you the confidence to tackle the job yourself. Take your time, follow the steps, and don't be afraid to ask for help if you get stuck. A properly installed rear dash cam is a small investment that pays off in peace of mind every time you hit the road.
Feel free to share your installation stories or ask questions in the comments below. Safe driving!