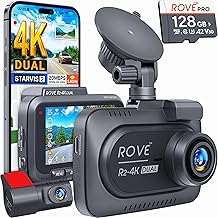
Installing the Rove R2-4K dual dash cam is a straightforward DIY process that takes about 30 to 45 minutes using basic tools and the included mounting hardware.
I've installed dozens of dash cams over the years, and the Rove R2-4K dual setup is honestly one of the most user-friendly systems I've worked with. The packaging includes everything you need, the cables are the right length for most vehicles, and the menu interface doesn't make you want to pull your hair out. Whether you're a total beginner or someone who's comfortable with basic car electronics, this guide will walk you through the entire installation process from start to finish. Let me show you exactly how to get your front and rear cameras mounted, wired, and recording in no time.
What Comes in the Rove R2-4K Dual Box
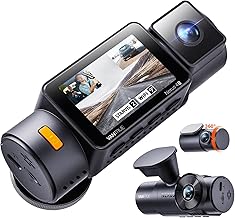
Before you start, it's helpful to know exactly what you're working with. The Rove R2-4K dual dash cam package typically includes:
- Front camera unit with built-in GPS
- Rear camera unit
- Main power cable with car charger adapter
- Rear camera connection cable (around 20 feet)
- Suction cup mount and adhesive mount
- Cable clips and trim tool
- User manual and warranty card
- 32GB or 64GB microSD card (depending on the bundle)
Having all these components laid out before you begin saves you from scrambling mid-installation. Trust me, nothing's more annoying than realizing a clip is missing when you're halfway through tucking cables.
Tools You Might Need
The good news is you don't need a fancy toolkit. Here's what I typically grab:
- Microfiber cloth for cleaning the windshield
- Plastic trim removal tool (usually included)
- Small Phillips screwdriver (sometimes needed for hardwiring)
- Zip ties for extra cable management
- Your phone with the Rove app installed
That's really it. The whole job is designed to be done without any drilling or permanent modifications to your vehicle.
Preparing for Installation
A little prep work goes a long way. Start by parking your car in a shaded area so the windshield isn't hot, which can mess with adhesive mounting. Clean the inside of your windshield thoroughly with the microfiber cloth, paying special attention to the area where the front camera will sit.
Insert your microSD card into the front camera before mounting. This sounds obvious, but I can't tell you how many times people mount everything first, then realize they need to remove the camera to access the card slot. The Rove R2-4K supports cards up to 512GB, but a 128GB or 256GB card is usually plenty for most drivers.
Charge the camera briefly using the car charger or a wall adapter if you have one. This lets you test the system before you commit to running cables all over your car.
Mounting the Front Camera
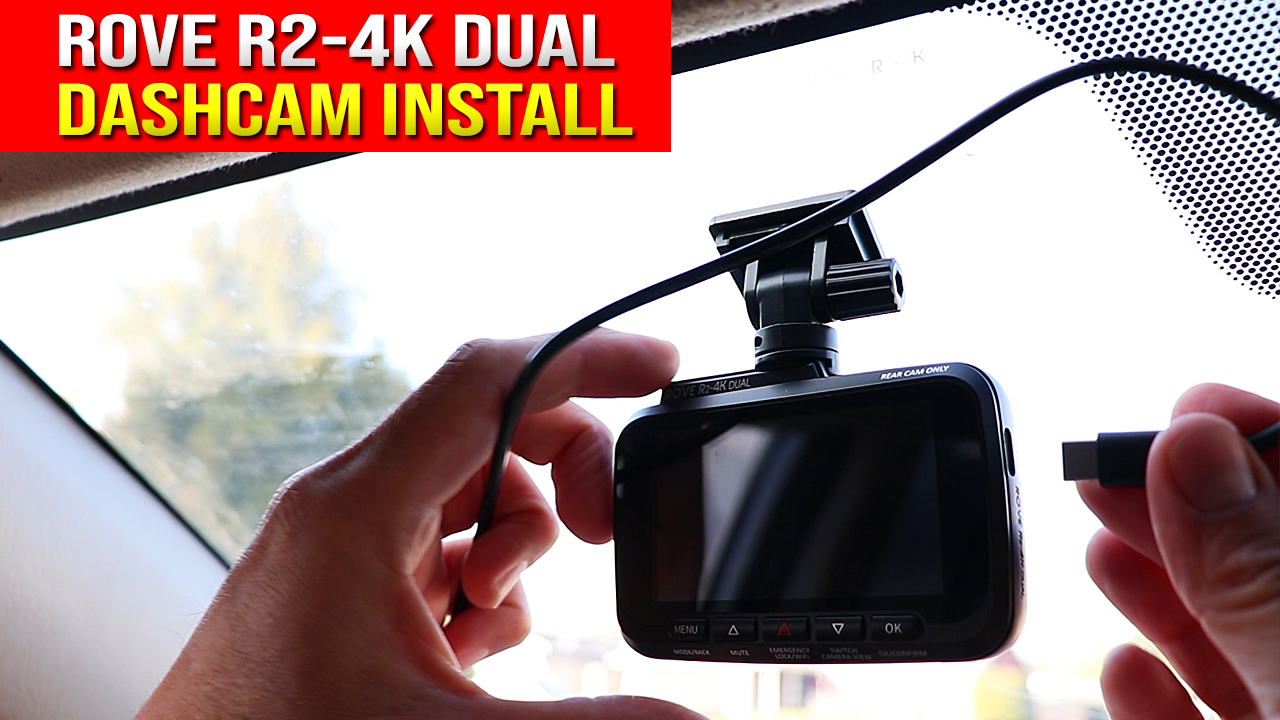
The front camera goes behind your rearview mirror, slightly to the passenger side. This position keeps it out of your line of sight while still capturing a clear view of the road. Most states have laws about windshield obstructions, and this spot usually complies with those regulations.
Here's how I mount it for the best results:
- Hold the mount against the windshield and check the camera's view through the Rove app or the camera's screen
- Make sure the lens covers the full width of the road ahead with a slight bias toward the hood
- Peel the adhesive backing or attach the suction cup, depending on which mount you're using
- Press firmly for 30 seconds to ensure a strong bond
- Wait at least 24 hours before hanging any weight on adhesive mounts
If you're using the suction cup, you can adjust the position more easily, but it may not hold up as well in extreme heat. The adhesive mount is more permanent but offers a stronger hold over time.
Installing the Rear Camera
The rear camera is usually smaller and simpler to mount. It goes on your rear windshield, typically near the top center. Before you stick it on, hop in the back seat and check the viewing angle. You want to capture as much of the road behind you as possible without the camera being blocked by the defroster lines or tinting stripes.
Clean the rear windshield thoroughly, mount the camera, and adjust the angle so the horizon sits roughly in the middle of the frame. The rear camera on the Rove R2-4K system is weather-resistant, so you can also mount it outside the vehicle if you prefer, though most people stick with inside mounting for cleaner aesthetics.
Running the Cables Like a Pro
This is the part that separates a sloppy install from a clean, factory-looking setup. The key is tucking cables into your headliner, A-pillar, and door seals. Here's my go-to routing strategy:
- Start at the front camera and run the power cable up into the headliner
- Use the trim tool to gently pry open the headliner edge and tuck the cable inside
- Work your way along the headliner toward the A-pillar on the passenger side
- Pull back the rubber weather stripping on the A-pillar and tuck the cable behind it
- Continue down along the door sill, tucking the cable under the plastic trim
- Run the cable to your power source, which is usually the 12V outlet or fuse box
For the rear camera cable, you'll follow a similar path but continue past the front doors:
- Route the rear camera cable along the headliner all the way to the back of the car
- Tuck it into the rear headliner and down the rear windshield pillar
- Connect it to the rear camera's input port
The trim tool is your best friend here. It prevents scratches and damage to your interior panels. Take your time, and don't force anything. If a panel doesn't want to come loose, there might be a hidden clip you need to release first.
Connecting to Power
You have two main options for powering your Rove R2-4K: the cigarette lighter socket or a hardwired connection to your fuse box.
The cigarette lighter method is the easiest. Just plug the car charger adapter into your 12V outlet, and you're done. The camera will turn on automatically when you start your car and shut off when you turn it off. Some people don't love having a cable hanging down to the outlet, but you can tuck most of the excess cable behind the trim for a cleaner look.
Hardwiring gives you a cleaner installation and unlocks parking mode features. You'll need a hardwire kit, which usually runs around $15 to $25. The kit connects to your car's fuse box and provides constant power, switched power, and ground. If you're not comfortable working with your vehicle's electrical system, this is a good place to call in a professional or watch a few vehicle-specific YouTube videos before attempting it.
When I hardwired my own Rove setup, I used an "add-a-fuse" tap on a constant fuse and a switched fuse. This setup lets the camera monitor your car while it's parked without draining your battery, thanks to the built-in voltage cutoff in the hardwire kit.
Pairing the Front and Rear Cameras
Once everything is mounted and wired, the front and rear cameras should pair automatically. The front unit detects the rear camera through the connection cable and starts displaying both feeds. If they don't connect right away, power cycle the system by unplugging it for 30 seconds and plugging it back in.
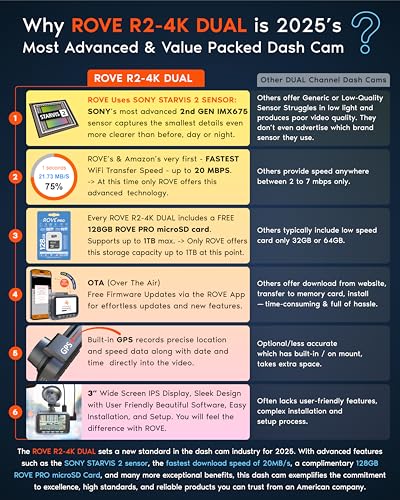
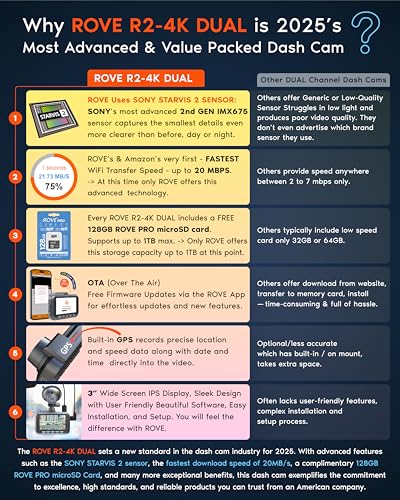
You can adjust settings like recording resolution, loop recording length, and G-sensor sensitivity through the front camera's menu. The rear camera typically records in 1080p, which is plenty for capturing license plates and details in most situations.
Configuring the Rove App
The Rove app lets you view live footage, change settings, and download videos directly to your phone. To connect, enable WiFi on the dash cam by pressing the WiFi button or finding the option in the menu. Then open your phone's WiFi settings and connect to the network broadcast by the camera. The default password is usually "12345678" or listed in the manual.
Once connected, open the Rove app and you can see what your cameras see in real time. This is incredibly handy for adjusting angles after installation. I usually spend a few minutes tweaking the front camera angle after driving around the block to make sure it's capturing exactly what I want.
Testing Your Installation
Before you call it done, take a short test drive and verify a few things:
- Both cameras are recording and saving files
- The GPS is locking onto satellites and logging your speed and location
- The time and date stamps are correct
- Audio recording is working if you want that feature enabled
- The parking mode kicks in when the car is off (if hardwired)
Review a few minutes of footage to make sure the angles are good and there's no annoying reflection or glare. Sometimes the angle that looks perfect when parked ends up being too low or too high once you're actually driving.
Common Mistakes to Avoid
After installing countless dash cams, I've seen the same handful of mistakes over and over:
- Mounting the camera too low, which blocks part of your view
- Running cables across airbag deployment zones in the steering wheel or A-pillar
- Forgetting to format the microSD card in the camera before first use
- Using a cheap or counterfeit memory card that can't handle constant recording
- Skipping the cable tucking and leaving wires hanging everywhere
Always use a high-endurance microSD card from a reputable brand. Regular cards wear out quickly under the constant write cycles of dash cam recording. Cards labeled "high endurance" or "dash cam" specific are worth the small extra cost.
Maintaining Your Rove R2-4K
Once installed, your dash cam doesn't need much maintenance, but a little attention goes a long way:
- Format the SD card once a month to keep it healthy
- Clean the lenses occasionally with a microfiber cloth
- Check cable connections every few months, especially in areas exposed to heat
- Update the firmware when Rove releases new versions for bug fixes and features
Frequently Asked Questions
How long does it take to install the Rove R2-4K dual dash cam?
For most people, the full installation takes between 30 and 45 minutes. If you're hardwiring to the fuse box, add another 20 to 30 minutes depending on your comfort level with car electronics.
Can I install the Rove R2-4K without hardwiring?
Absolutely. The included car charger adapter plugs into any 12V outlet and powers the camera just fine. Hardwiring is only needed if you want parking mode and a cleaner look without cables visible.
Will the rear camera work in bad weather?
Yes, the rear camera is designed to handle rain, snow, and temperature changes. It's mounted inside the rear windshield in most installations, so it's protected from direct weather exposure.
Do I need a special SD card for the Rove R2-4K?
You need a high-endurance microSD card with at least a U3 speed rating. Cards from SanDisk, Samsung, or Kingston in the "high endurance" line work great and last much longer than standard cards.
Can I move the Rove R2-4K to another car easily?
If you use the suction cup mount, you can remove the front camera quickly. The hardwired version takes more effort to uninstall, so that's something to consider if you frequently switch vehicles.
Wrapping Up Your Dash Cam Install
Getting your Rove R2-4K dual dash cam installed properly is one of the best investments you can make for your vehicle. With both front and rear coverage recording in crisp 4K and 1080p, you'll have solid evidence in case of an accident, hit-and-run, or any other incident on the road. The installation might seem intimidating at first, but once you start tucking cables and watching the system come to life, you'll realize it's a totally doable weekend project. Take your time with cable routing, use a quality SD card, and test everything before you hit the road for any long drives. If you have any questions about your specific vehicle setup or run into trouble during the install, drop a comment below and I'll do my best to help you troubleshoot.