Ever wondered what happens when your dash cam's memory card fills up? That’s where loop recording comes into play, a smart feature that keeps your camera rolling without you lifting a finger. Understanding what is dash cam loop recording is key to ensuring you always have recent footage ready, whether for personal records or potential incident evidence.
This continuous recording method is a standard on most modern dash cams, allowing them to function automatically. Manufacturer specifications often confirm that devices are designed to operate with loop recording enabled by default, ensuring that as of 2026, drivers can rely on their cameras to capture crucial moments without constant manual intervention.
Why Loop Recording Matters for Your Dash Cam
Loop recording is fundamentally about making sure your dash cam is always ready. Think of it as an essential function that prevents your camera from becoming a useless paperweight the moment its storage runs out. Without it, you’d constantly have to watch your memory card's capacity and manually delete old footage to make space for new recordings.
If you’ve ever been in a situation where you might need dash cam footage, maybe a fender bender, a hit-and-run, or even just to document exceptional road conditions, you need that recording to be happening in the moment. Loop recording ensures that the camera is actively capturing what’s happening right now, rather than stopping because its digital “tape” is full. This is especially important for security purposes, where continuous coverage is paramount.
Image source: Pexels / Connor Scott McManus (Pexels License)
How Dash Cam Loop Recording Actually Works
So, how does this magic of continuous recording happen? It’s a pretty straightforward process, designed to be automatic and hands-off. At its core, loop recording breaks your video capture into smaller, manageable chunks.
Recording Segments and Continuous Filing
Your dash cam doesn't record one giant, continuous video file. Instead, it creates short video clips, typically ranging from one to five minutes in length. When you first turn on your camera, it starts recording these segments. As the memory card begins to fill up, the camera doesn't just stop.
Once the card reaches its capacity, the camera automatically identifies the oldest completed recording segment and deletes it. It then starts recording a new segment in that freshly made space. This cycle repeats, creating a loop where older footage is constantly replaced by newer footage. This ensures that you always have the most recent period of driving available on your card.
The Role of the G-Sensor in Incident Capture
Here’s where things get really important for evidence. While loop recording is fantastic for continuous coverage, it also means that crucial moments could be overwritten if you’re not careful. That's why nearly all dash cams equipped with loop recording also feature a G-sensor, also known as an incident detection system.
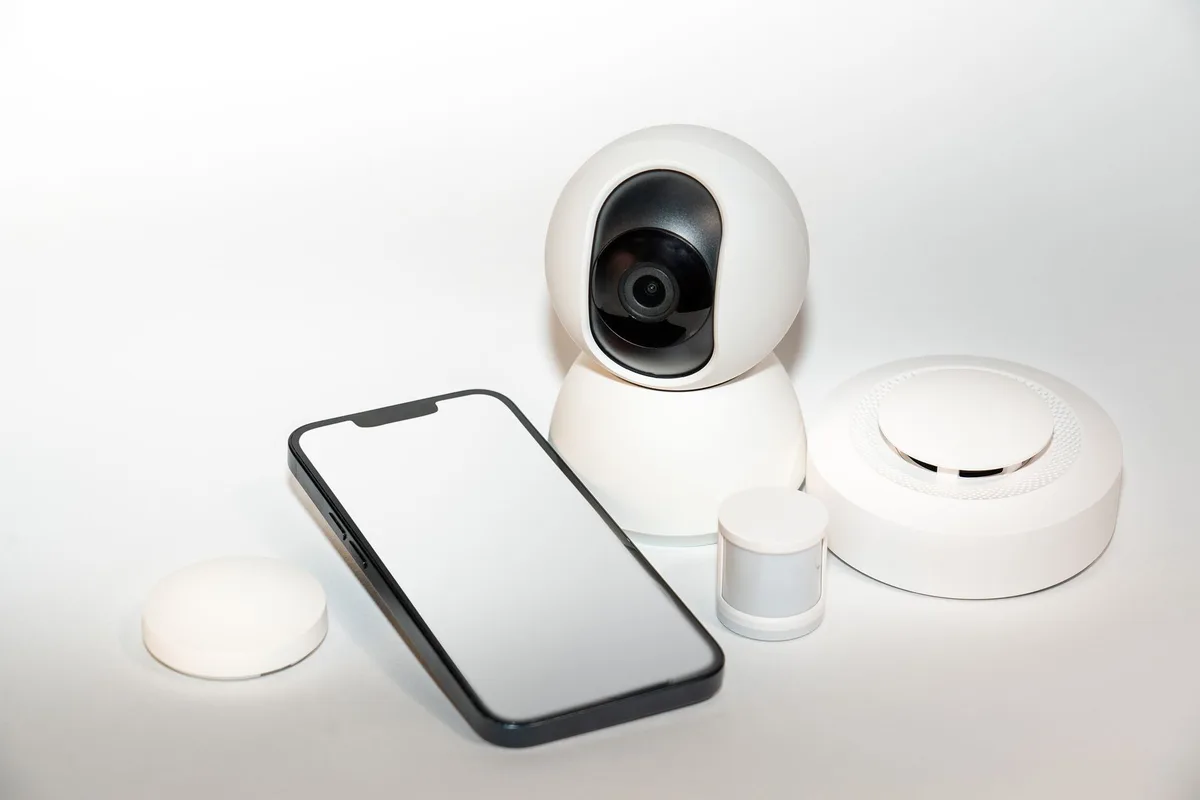
Image source: Pexels / Jakub Zerdzicki (Pexels License)
When the G-sensor detects a sudden jolt, impact, or rapid deceleration, like from a collision or even a really sharp brake, it sends a signal to the dash cam. This signal tells the camera to "lock" the current recording segment. Once locked, that specific video file is moved to a protected folder on the memory card and will not be overwritten by the loop recording process. This is your safeguard, ensuring that footage of any significant event remains accessible.
Choosing Your Loop Recording Segment Length
When you set up your dash cam, you’ll often find an option to select the length of each recording segment. Common choices are 1 minute, 3 minutes, or 5 minutes. Which one is right for you depends on how you plan to use your camera and how you prefer to manage your footage.
Shorter Segments: Pros and Cons
Opting for shorter segments, like 1-minute clips, has its advantages.
- Pros:
- Granular Footage: It’s easier to pinpoint exact moments within a shorter timeframe.
- Efficiency with G-Sensor: If an incident occurs, the locked file is smaller, taking up less space.
- Quicker File Access: For reviewing events, navigating through shorter files can be faster.
- Cons:
- More Files: You’ll end up with a much larger number of individual video files, which can feel a bit overwhelming if you’re manually sifting through them.
- Potential for Small Gaps: In very rare, rapid-succession events, you might theoretically miss a fraction of a second, though this is uncommon.
Longer Segments: Pros and Cons
Selecting longer segments, such as 5-minute clips, offers a different set of trade-offs.
- Pros:
- Fewer Files to Manage: This significantly reduces the number of video files on your card, making organization simpler.
- Broader Context: Each file captures a more extended period, providing more ambient information about the journey.
- Cons:
- Larger Locked Files: If the G-sensor triggers, the locked segment will be larger, consuming more precious storage space.
- Slightly Less Granular: Finding a very specific moment might require a bit more scrubbing through a longer clip.
What's Best For Most Drivers?
For most drivers, choosing a 3-minute or 5-minute segment length strikes a good balance. You get enough context within each file without creating an unmanageable number of video clips. The G-sensor is designed to lock the entire current segment, so you’re still well-protected even with longer clips. Unless you have a specific need for highly detailed, second-by-second logging, sticking with the mid-range options is generally the most practical approach.
When Loop Recording Might Not Be Enough
While loop recording is incredibly useful, it’s designed for a specific purpose: to ensure continuous capture of recent events. It’s not an archival solution for saving every single drive you’ve ever taken since the dawn of time. If your goal is to create a complete, permanent record of all your driving, loop recording will ultimately work against you.
The fundamental design of loop recording means that older footage is deleted. If you're involved in an incident and the footage isn't locked by the G-sensor, or if you simply want to keep a specific drive for purely nostalgic or personal reasons after it's been looped over, that data is gone. A typical dash cam with a 128GB memory card might only store about 10-15 hours of footage in HD resolution before overwriting begins. This is ample for daily incidents but not for long-term, comprehensive video archiving.
Avoiding Loop Recording Mistakes
Understanding how loop recording works is one thing; avoiding common pitfalls is another. Most issues stem from not fully grasping how the G-sensor interacts with the looping function or by assuming the camera will retain everything indefinitely.
Accidentally Overwriting Important Footage
The biggest mistake is assuming that any footage you see is automatically safe. If you witness something important or are involved in a minor incident without a hard jolt triggering the G-sensor, that footage is still subject to the loop. You might not realize its significance until days later, by which time it's likely been overwritten. The key is to manually lock footage if you suspect it might be important and the G-sensor hasn't triggered.
Many cameras have a manual "protect file" button.
Forgetting About Incident Lock Features
Conversely, some users might forget that their G-sensor exists or how it works. They might experience an accident but then not check for locked files, assuming the camera handled it automatically, only to find the relevant footage has been overwritten if the G-sensor sensitivity wasn't set correctly or if the impact wasn't strong enough to trigger it. It’s wise to periodically check your dash cam’s settings for G-sensor sensitivity and to familiarize yourself with how to access locked files. This proactive approach can save a lot of headache later on.
Setting Up Your Dash Cam for Loop Recording Success
Getting your dash cam ready to loop record is usually a straightforward process, often done during the initial setup of the device. Most cameras simplify this by making loop recording the default setting, so you might not even need to actively enable it. However, it's always a good idea to confirm it's active and to adjust the segment length to your preference.
Most dash cams connect via Wi-Fi to a smartphone app, or have an onboard menu accessible through the device itself. You'll typically navigate through settings menus, looking for options like "Loop Recording," "Record Interval," or "File Duration." Here, you'll select your desired segment length (1, 3, or 5 minutes). Ensure the G-sensor setting is also checked; you'll want to set its sensitivity appropriately for your driving conditions.
Why Is My Dash Cam Asking for a Memory Card?
Your dash cam needs a place to store all those video segments, and that's where a memory card comes in. Without a compatible memory card, the camera simply can't record anything, regardless of whether loop recording is enabled. These are typically microSD cards, and the camera will often prompt you to insert one if it's missing.
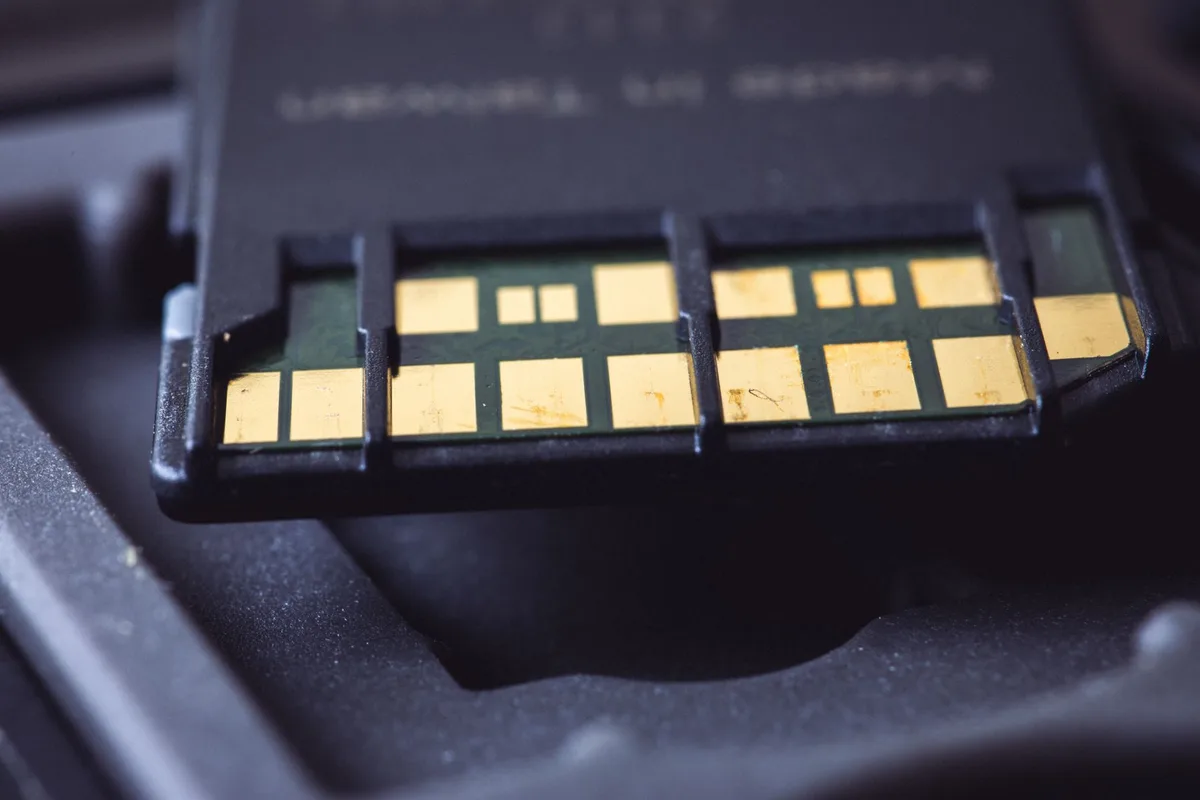
Image source: Pexels / Patrick (Pexels License)
The type and size of memory card matter. High-quality cards, often rated for high endurance (designed for constant read/write cycles), are recommended for dash cam use to ensure longevity. A card that’s too small will fill up extremely quickly and may not even be recognized by the camera. Always check your dash cam's manual for recommended card sizes and types.
Real-World Scenarios: Loop Recording in Action
Let’s look at a couple of common driving situations and how loop recording handles them. These scenarios highlight why understanding the feature is so practical.
Scenario 1: The Daily Commute. You're driving your usual route to work. Your dash cam is recording 3-minute segments. As you drive, older footage is continuously overwritten. If you don't get into an incident or manually save a clip, that footage from an hour ago is likely gone by the time you reach your destination.
This is exactly what loop recording is designed for, capturing ongoing events without storage issues.
Scenario 2: A Sudden Stop. You're driving on the highway, and the car in front of you slams on its brakes unexpectedly. Your dash cam's G-sensor detects the hard deceleration and immediately locks the current 3-minute recording segment. This segment, containing the incident, is now safely stored in a protected folder. The camera then continues recording a new segment, automatically overwriting older, non-locked footage.
This ensures you have the critical evidence of the sudden stop.
Key Takeaways for Using Loop Recording
Loop recording is a core function designed to make dash cams user-friendly and effective for everyday use. It’s not about keeping every single second of footage forever, but about ensuring that the most recent footage is always available.
Here’s a quick recap of what’s most important:
- Always enabled: Loop recording is the default on most dash cams.
- Automatic overwrite: Old footage is deleted to make space for new recordings.
- G-sensor is key: This feature locks important footage, preventing it from being overwritten.
- Segment length matters: Choose between 1, 3, or 5 minutes based on your preference for file management versus context.
- Memory card is crucial: Without one, nothing gets recorded.
By understanding these points, you can use your dash cam with confidence, knowing it’s working efficiently to capture your drives.