So, your motor's acting a bit sluggish, or maybe it's not starting at all? Nine times out of ten, when it comes to those common AC motors, the culprit is often the starting capacitor. Think of it like a little power boost that helps the motor get going from a standstill.
Why Your Motor Might Not Be Starting
When an AC motor fails to start or hesitates, a failing starting capacitor is a prime suspect, explaining many common motor complaints. Aggregate user feedback consistently points to this component as a frequent failure point in refrigeration units, fans, and pumps. Manufacturer specifications indicate that starting capacitors are critical for providing the initial surge of energy required to overcome rotational inertia, a function typically measured in microfarads (µF).
What Exactly Is a Starting Capacitor?
A starting capacitor is a crucial, yet often overlooked, component in many single-phase AC motors. Its primary job is to provide a temporary boost of electrical energy to the motor's auxiliary winding at startup. This surge is what helps the motor's rotor begin to turn.
The Role of the Starting Capacitor in AC Motors
AC motors require a rotating magnetic field to start. In simpler single-phase motors, a separate starting winding and a capacitor work together to create this initial phase shift. Once the motor reaches about 75% of its operating speed, a centrifugal switch (or sometimes an electronic relay) disconnects the starting capacitor and winding from the circuit. This prevents the capacitor from overheating and being damaged by continuous operation.
If this capacitor fails, the motor may hum, try to start without success, or fail to start altogether.
Essential Tools for Testing
To properly diagnose a potential starting capacitor issue, you'll need a few key tools. The most important among these is a multimeter capable of testing capacitance.
Your Multimeter: The Key Piece of Equipment
A digital multimeter (DMM) with a capacitance testing function is indispensable for confirming whether a starting capacitor is performing within its specified parameters. These meters allow you to measure the actual capacitance value, usually displayed in microfarads (µF). Manufacturer specifications, such as those found on the capacitor itself or in the motor's service manual, will list the expected capacitance range, often with a tolerance of ±10% to ±20%.

Safety First: Before You Touch Anything
Working with electrical components, especially capacitors, carries inherent risks. Unexpected electrical discharge can cause serious injury. Always prioritize safety by observing strict precautions before attempting any testing or removal.
Discharging the Capacitor Safely
Capacitors can retain a significant electrical charge even after the power source has been disconnected, posing a shock hazard. It is critical to discharge this stored energy before handling the component.
- Ensure power is completely off to the appliance or motor.
- Use an insulated tool, like a screwdriver with a well-insulated handle, to bridge the terminals of the capacitor. A small spark may occur as the residual charge dissipates.
- Hold the tool across the terminals for several seconds to ensure a complete discharge. Repeat the process a couple of times to be absolutely certain.
- Never touch the capacitor terminals directly with your hands or any uninsulated conductive material.

Step-by-Step Guide: Testing the Capacitor
With safety measures in place and your multimeter ready, you can proceed with testing the starting capacitor. This diagnostic process involves a few distinct steps, from removal to measurement.
Locating and Removing the Capacitor
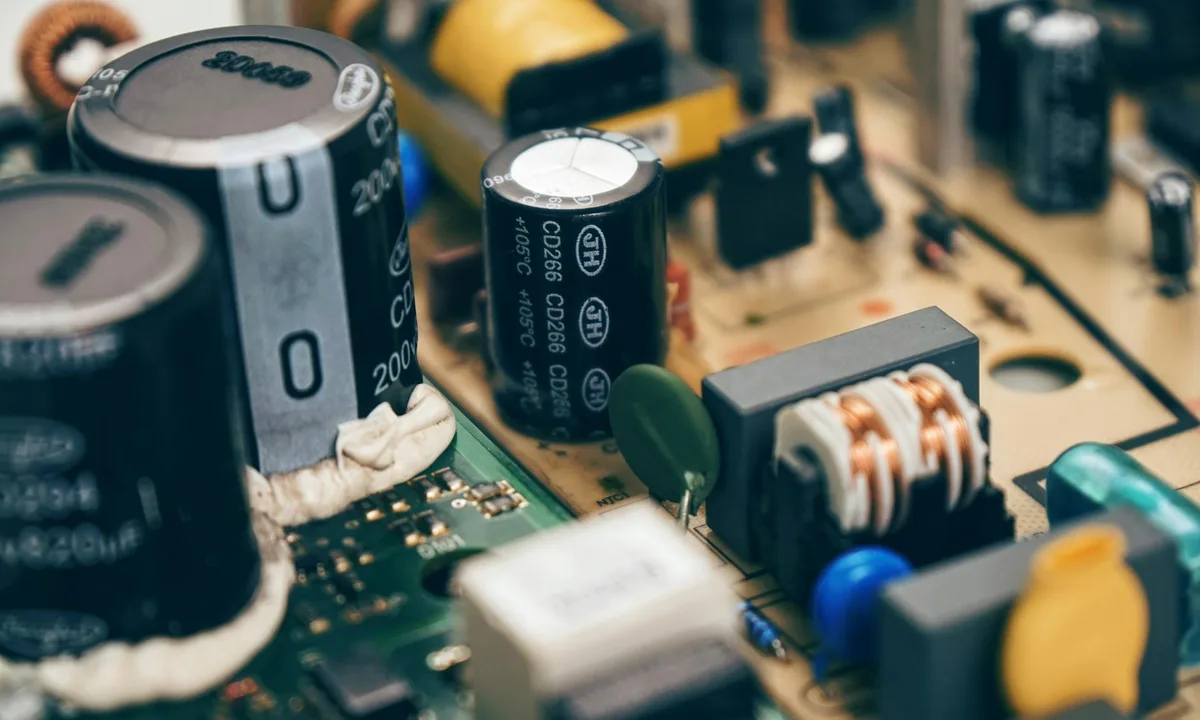
Start by identifying the starting capacitor on or near your motor. It's typically a cylindrical component, often made of metal or plastic, with two or more terminals. Before disconnecting any wires, take a moment to note their exact positions. Many technicians find it helpful to take a quick photo with their phone for reference during reassembly.
Once you've documented the connections, carefully detach the wires from the capacitor's terminals.
Setting Up Your Multimeter
Turn your digital multimeter to its capacitance testing mode. This setting is usually indicated by the Greek letter mu (µ) followed by an "F" (µF). If your DMM offers multiple capacitance ranges, select a range that is higher than the rated capacitance of the capacitor you are testing. For example, if the capacitor is rated at 150 µF, set your multimeter to the next available larger range, perhaps 200 µF or 250 µF.
Taking the Capacitance Measurement
With the multimeter set correctly, carefully touch the probes of the meter to the terminals of the discharged capacitor. Ensure that the probes are making good, firm contact with the metal terminals. Observe the multimeter's display. The reading should begin to climb and eventually stabilize, showing the measured capacitance value.
Interpreting the Reading: Good or Bad?
When the multimeter reading settles, compare it to the capacitance value printed on the capacitor's housing. A general rule of thumb suggests a capacitor is functioning correctly if its measured capacitance falls within ±10% to ±20% of its stated rating. For instance, a capacitor rated at 100 µF is usually considered acceptable if the reading is anywhere between 80 µF and 120 µF. Readings significantly outside this range indicate a fault.
A reading of zero, or an "OL" (overload) indication, typically signifies an open circuit and a bad capacitor.
Checking for Internal Shorts
As a final diagnostic step for the capacitor itself, it's wise to check for internal shorts. Switch your multimeter to its continuity setting (often indicated by a speaker symbol). Touch the probes to the capacitor's two terminals. If the multimeter emits a continuous beep, it means the capacitor has an internal short and must be replaced immediately.
A healthy capacitor will not produce a beep on the continuity setting.
What If the Capacitor Tests Good?
If your multimeter indicates the starting capacitor is within its specified tolerance range, it's likely not the source of your motor's problem. This outcome means we need to look elsewhere for the malfunction. It's common for other components in the motor's starting circuit or the motor itself to fail.
Other Common Motor Problems
The starting circuit isn't just the capacitor; it includes other parts that can wear out. A motor's centrifugal switch, for example, is designed to disconnect the starting circuit once the motor reaches operational speed. If this switch becomes stuck open, it won't engage the capacitor when needed. Alternatively, worn motor bearings can create excessive friction, making it incredibly difficult for the motor to start, even with a good capacitor.
Loose or corroded electrical connections anywhere in the circuit can also disrupt power flow and prevent proper operation. In some instances, the motor's internal windings may have failed, requiring a more extensive repair or replacement of the entire motor unit.
Replacing a Faulty Capacitor
When your testing confirms a starting capacitor is indeed faulty, replacing it is often a straightforward repair. However, it's crucial to select the correct replacement to ensure the motor functions as intended and to prevent further damage.
Choosing the Right Replacement
The most critical specifications for a replacement starting capacitor are its microfarad (µF) rating and its voltage rating. The µF rating determines the amount of starting boost the motor receives, and it should match the original capacitor precisely or be within a very narrow, acceptable range as specified by the motor manufacturer. The voltage rating, often listed in volts AC (VAC), indicates the maximum voltage the capacitor can safely handle. It's generally acceptable to use a replacement capacitor with a higher voltage rating than the original, but never use one with a lower rating, as this could lead to premature failure.
Always consult the motor's manual or the original capacitor's markings for these exact specifications. For instance, if the original is rated for 250 VAC and 100 µF, you might find a replacement labeled "100 µF ± 6% 330 VAC," which would be suitable.
Final Verdict: When to Replace
Based on the testing and diagnostic steps, a decision point is reached: the starting capacitor needs replacement. This is a common and often manageable repair for many DIY enthusiasts, provided safety protocols are strictly followed.
DIY vs. Professional Help
If you've performed the tests and confirmed a faulty capacitor, and you feel comfortable with basic electrical safety and component replacement, then a DIY approach is certainly viable and can save on service costs. However, if you encountered any complications during testing, are unsure about the capacitor's specifications, or if other components like the centrifugal switch are suspected, it's always best to consult a qualified appliance repair technician. They have the specialized tools and experience to accurately diagnose complex issues and ensure repairs are made safely and correctly.
Frequently Asked Questions
How long does a starting capacitor typically last?
The lifespan of a starting capacitor can vary greatly depending on the motor's operating conditions, the quality of the capacitor, and the frequency of starts. Under normal use, many starting capacitors can last for 10 years or more. However, with frequent starting and stopping, or in environments with high temperatures, their lifespan might be reduced.
Can I use a capacitor with a different µF rating?
While it's tempting to use whatever capacitor you have on hand, using a different µF rating can cause problems. If the new capacitor has too low a µF rating, the motor may struggle to start or fail to start at all. If it has too high a µF rating, it can cause the motor to draw excessive current, potentially overheating the windings or damaging the centrifugal switch. Always aim to match the original µF rating as closely as possible.
What does it mean if the capacitor reads zero or OL?
If your multimeter shows a reading of zero or "OL" (an abbreviation for overload or open line), it means the capacitor has likely failed by breaking its internal circuit. This is known as an open circuit. In this condition, the capacitor cannot hold or deliver any electrical charge, rendering it completely ineffective for starting the motor. This type of failure will unequivocally prevent the motor from starting.